Here is a look at our first warm up sketch in this sketching on location series:
Want to know how to learn the basics of sketching on location? In this series, Brian Wong will walk you through the steps he takes while doing just that.
By definition, sketching is a drawing (or other composition) that is not intended as a finished work, but a preliminary exploration. In general, a sketch is a quick way to record an idea for later use.
Artist’s sketches primarily serve as a way to try out different ideas and establish a composition before undertaking a more finished work, especially when the finished work is expensive and time consuming (as in the case of a large painting or fresco).
Sketching sharpens an artist’s ability to focus on the most important elements of a subject and is a prescribed part of artistic development for students.
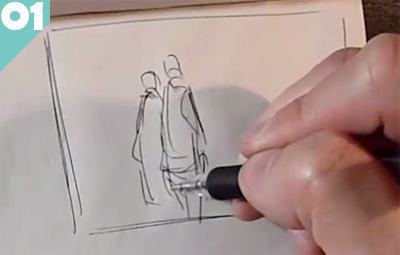
Step .01
Discovering how to learn the basics of sketching on location begins with a loose warm up.
Observe your subject and try to create a loose shape of their form.
It does not have to look perfect. The goal here is to work fast and fluid, not to be 100% accurate.
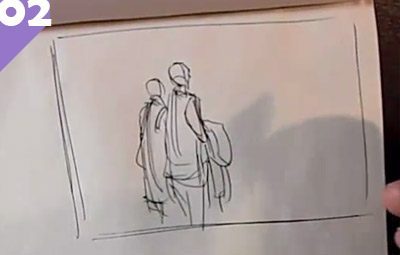
Step .02
When learning the basics of sketching on location, it’s a good idea to target the main focal point of your subject.
In this case, it is the two bodies outlines along with the main contours and folds of their clothing and the jacket that is being held.
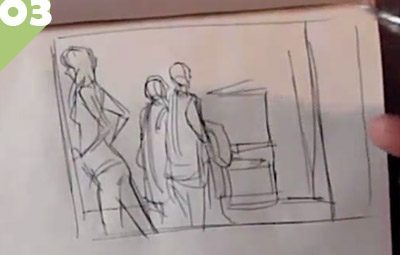
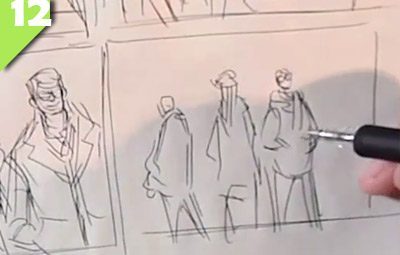
Step .03
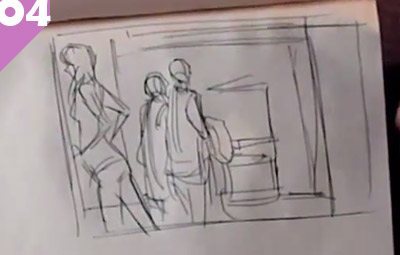
With only a few strokes, you can get a very good idea of what is happening in the scene. Add some environmental information in as well to provide a full context of the scene.Step .04
And within only minutes, you have the basis of your drawing established.
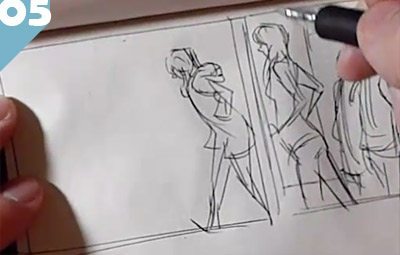
Step .05
And that is it for this lesson. Click here to continue on in lesson two.Step .06
Here we have the girl briskly walking past the three men on the street.
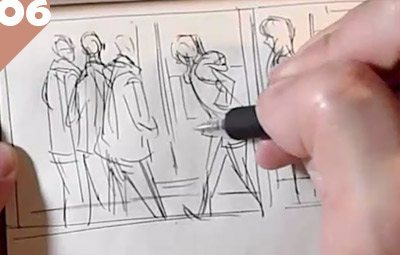
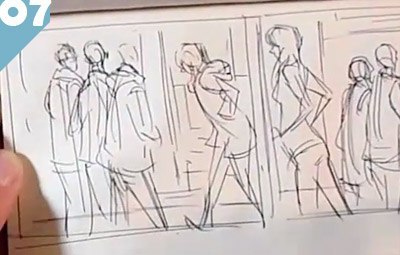
Step .07
The line work in this scene is even less but you can see how little is required to get an idea across.
As mentioned, the sketch was originally used to store information for a bigger,more complex medium.
Early artists never had access to cameras so they had to quickly record that information for future reference.
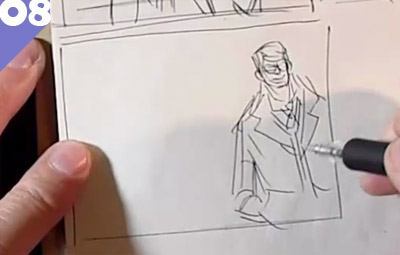
Step .08
We drew in his head in only seconds and then added his jacket and had him completely roughed in mere moments. Being good at sketching is a fine balancing act of speed vs. accuracy.
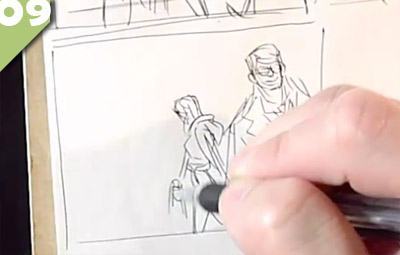
Step .09
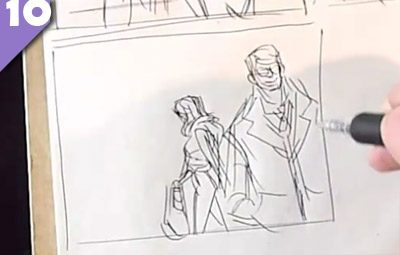
Start placing in your secondary characters from the background.Step .10
With only a few strokes, you can get a very good idea of what is happening in the scene. Add some environmental information in as well to provide a full context of the scene.
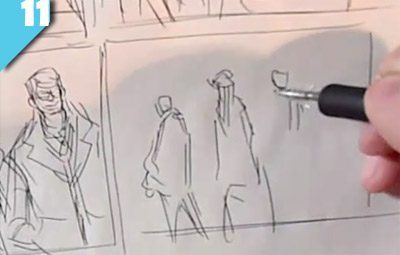
Step .11
This sketch is even faster and looser. Experiment with how fast you can draw. Attempt to reduce the amount of lines you use and see if your drawing is still understandable.
You may find that you can really reduce the lines you add and still have a strong image. Or maybe not too, and you find that ‘more is better’ in some cases. The only way to find out is to attempt it yourself though.
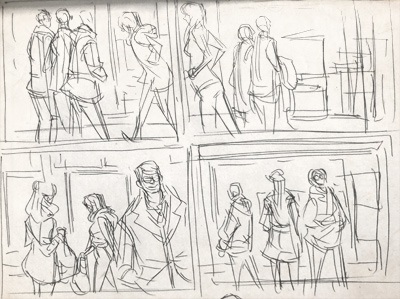
Step .12
This is it for this lesson – we hope you now know how to learn the basics of sketching on location! Follow us on Lesson .02 for the next half of this lesson to finish off the warm ups of sketching.