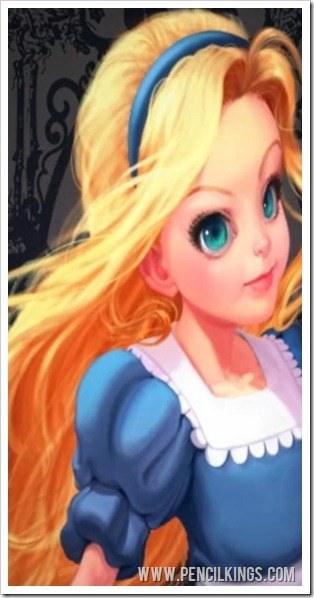
Take a final look at the finished painting in this series on portrait painting techniques
Congratulations! You’ve reached the final lesson in this series on portrait painting techniques, and, by this stage, your painting should be just about done.
So, to finish up, we’re just going to take one final look over your painting and make any last adjustments as necessary.
Once you’re happy with how the hair is looking, merge this layer down, zoom out and let’ s get this painting finished!
Adding Some Final Details
Now we’re into the exciting final stages of our painting, it’s worth taking a good look at your painting and making any changes as you see fit.
Here, the hair at the top has caught Sycra’s eye, so he just adds some final small brush strokes to create a little more texture.
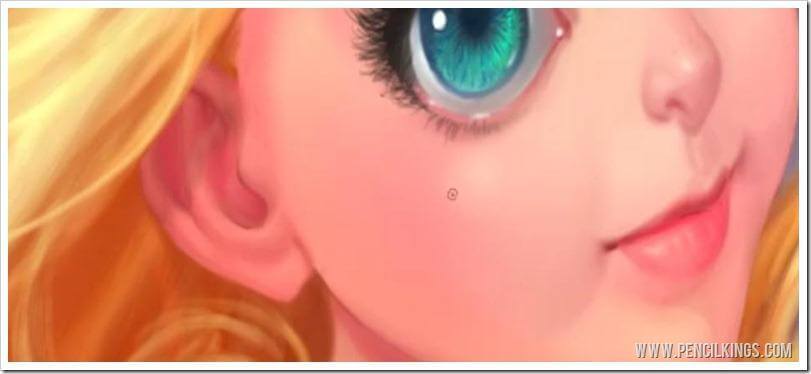
When you’re learning portrait painting techniques, this is a great time to add some really fine details, such as freckles on Alice’s face. Notice how these are barely visible – we want to make the viewer look closely at your painting to see them.
To do this, take a brush with low opacity and pick up a reddish-brown color.
Pay close attention to any edges that still need a little refinement. Here, Sycra works on the edge of the ear, just smartening up the line a little.
Adjusting Your Layers to Complete the Look
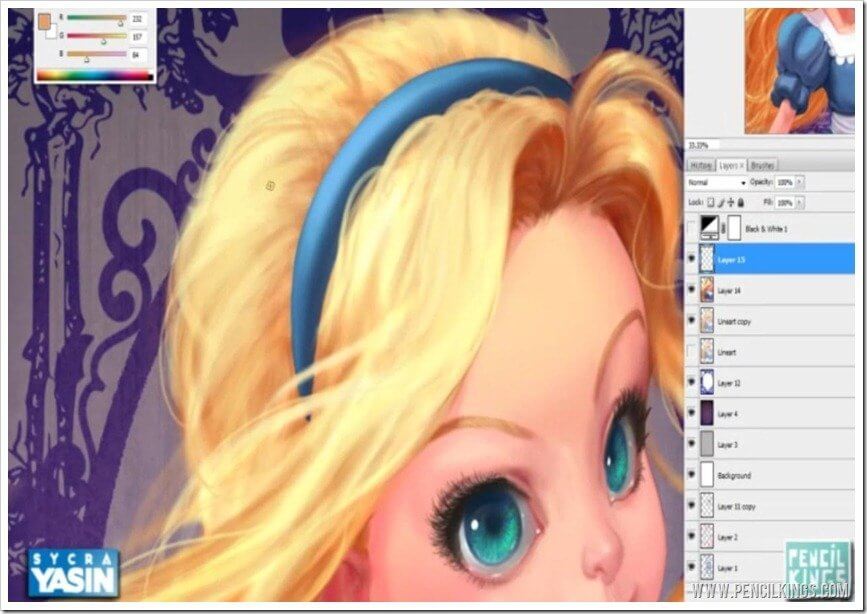
The next stage in our portrait painting techniques tutorial is to take a look at your painting and see how the levels of color value are looking. Take a look at your black and white Color Value layer and you’ll get an idea of how all those colors are working together.
Sycra decides to adjust these slightly, so he creates a new layer and makes this into a Levels adjustment layer.
To do this, go to the Create New Fill or Adjustment Layer symbol at the bottom of your Layers palette – it’s the one that looks like a Yin Yang icon.
This will bring up your Levels window and from here, you’ll be able to see the levels of shadow, mid-tones and light areas in your painting.
You might wish to make the light areas lighter, so you can do this by adjusting the slider until you find the look you’re happy with.
Just keep experimenting and seeing how adjusting these levels affects the overall look of your painting.
Once you’re done, you can then adjust the opacity of this layer to give a more subtle effect. Try it out and see how this changes your painting.
If you turn your black and white color value layer on, you should now see that the blacks have a little more punch and that the lighter values really stand out.
Adding a Gradient Layer to Complete Your Painting
Our painting is looking awesome, but to finish it, we just need to add a gradient layer to bring things together more.
This will fade out the edges of the painting and concentrate the viewer’s attention on the main focal point – your character, Alice.
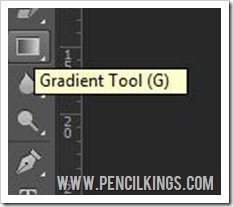
To do this, create a new layer beneath your adjustment layers and select the Gradient Tool from your Toolbar.
Then, select a Linear Gradient, choose a gray color and draw some short lines coming from each corner of your painting towards the center.
Once you’re done, change the Gradient Layer Mode to Multiply and you’ll see that all the edges of your painting have been darkened, meaning your eye is instantly drawn towards Alice’s face. If you think the gradient is too much, adjust the opacity of this layer.
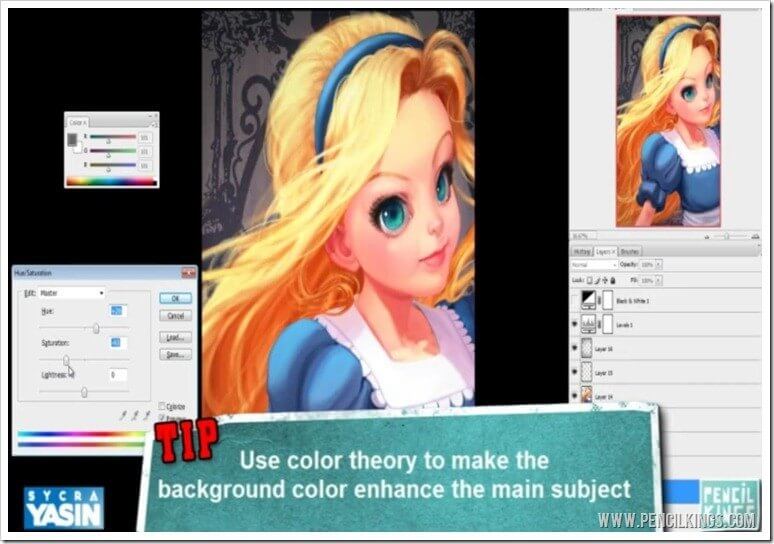
Adjusting the hue of the Background Layer
After the hair was done, Sycra noticed that the color of the background layer wasn’t working so well. When learning about portrait painting techniques, it’s amazing how changing the colors and textures in one area of your painting can have such an impact in other areas!
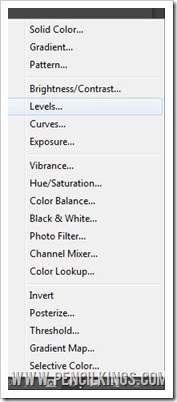
So, to correct this, go to your Background Layer and hit Ctrl + U to bring up your Hue and Saturation palette.
Here’s where applying a little color theory can really help bring some of the features in your painting out. Notice how different colors in the Background Layer affect the features in your painting and make them stand out.
Finally, Sycra settles for a dull, de-saturated purple color which, because purple is a complementary color to yellow, makes the hair stand out and draws the viewer towards Alice’s eyes.
After this stage, we’re done! Our painting has come such a long way from the early stages and the skills you’ve picked up along the way will help with every other aspect of your artistic career.
We hope you’ve learned a lot through watching this series on portrait painting techniques and would love to hear your comments on any of these lessons.
Have fun, keep creating and we’ll see you next time for some more professional tips from leading figures in the world of digital art. Good luck and happy painting from all of us here at Pencil Kings!
Return to the Stylized Painting Lessons Page