 Now that you’ve spent some time coloring,
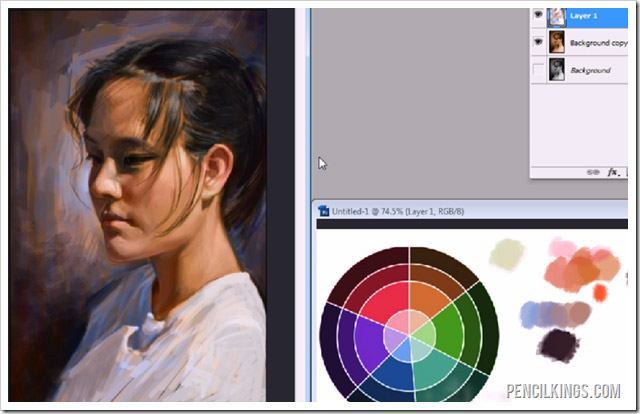
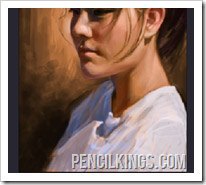
here’s what your final image will look like at the end of this lesson on how to paint portraits.
Create a New Color Layer
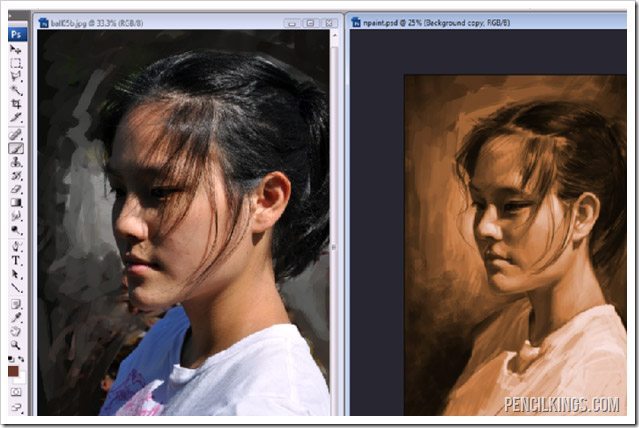
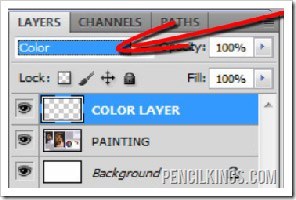
For the next part of this tutorial on how to paint portraits, create a new layer on top of the under-painting layer that you were left with at the end of the last lesson and change the blending mode for this layer to Color.
If you are new to Photoshop: What the blending modes do is change the way that one layer interacts on top of another layer.
Working with layers is one of the really amazing things about Photoshop, and the way that you can quickly and easily get a number of varying effects simply by changing the blending mode is very powerful.
You can read more about them in the Photoshop Help, and don’t be afraid to play with and experiment with the blending mode on your own.
Adding in Color
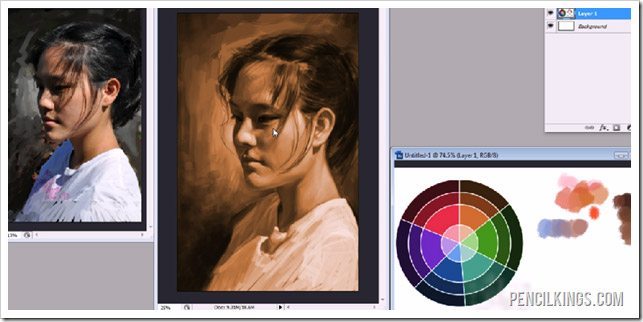
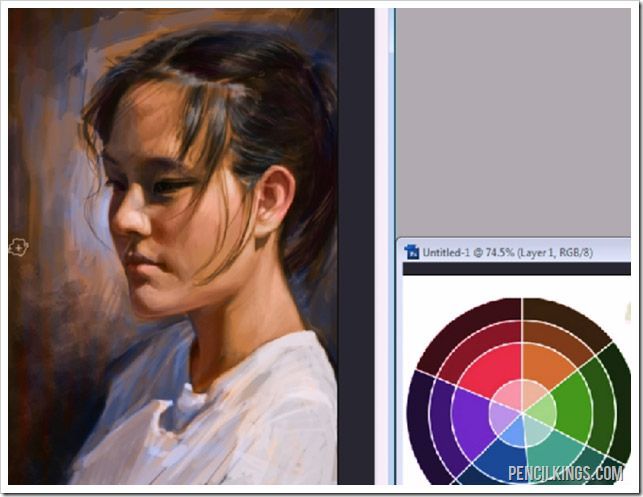
Using the colors that you mixed in the last lesson from your updated color wheel, you can begin to lay in the color of your image.
This will appear very subtle, which is good, because it’s these subtle changes in color that are really going to bring your portrait to life.
By using the colors from your palette when learning how to paint portraits, this will ensure an overall color harmony which will give it a more natural feeling.
Another advantage of working this way is that you have limited yourself to the amount of color possibilities you have available, so you won’t feel the need to spend large amounts of time trying to find the perfect color.
Because you have changed the blending mode for this layer to “color” none of the value (remember – this is the black and white layer under your color layer) information is going to be changed – that was all established previously. This blending mode only adds the color information.
Working Non-Destructively
This way of working is Non-Destructive, which means that all of your dark and light values will always remain intact.
As you continue to progress as a digital artist and learn how to paint portraits, this term ‘Non-Destructive’ will gain more importance because it means that you will always have the option of going back to an earlier state of your drawing without losing any of the detail you have spent creating up until that point.While you are painting, remember that you can use the shortcut key ‘ALT’ to change your brush into an eyedropper tool to select new color values while you are working.
This is very beneficial when you begin blending colors together and then want to select the color that was created by the blending so you can keep working with it.
Coloring the Background
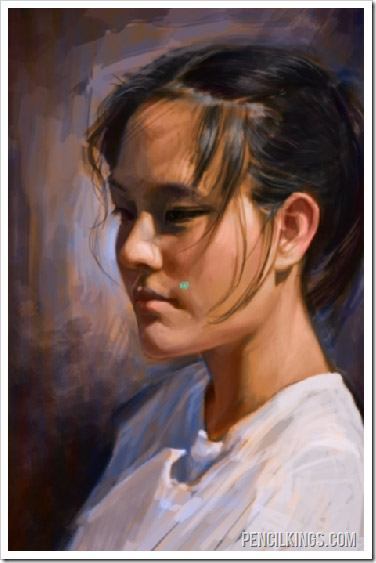
Violet-blue was selected to color the edge of the cheek where it meets the background. This color will give a good contrast between the head and the background, really making it pop.
While you are painting in the background, don’t worry about being a little sloppy at this stage. You should vary your color, and don’t be afraid to let some of the under-painting show through on the background.
All of this variation in the background and natural ‘mistakes’ will give a very interesting final result.
Harmony between the Face and Background
Now that the background color has generally been defined with this violet-blue, you should also add some of this color into the face to create a relationship between the subject and the background.
This technique comes from traditional painting, and will help give your digital work a more natural feeling.
The hair is another place where you can add in some color tones from the background to create that color relationship between the character and the background.
Return to the Realistic Portrait Painting Lessons Page