How to Make Prints of Your Art For Killer Portfolios and Exhibitions
Learning how to make prints of your art can help you create a killer portfolio or exhibition
Ever wondered how to make prints of your art to sell or include in a killer portfolio? Whether you paint with pixels or prefer to let your creativity flow onto canvas, you’ll want to find out how to get your art printed to take your creative career further.
However, this isn’t always as straightforward as it seems. All too often, those rich colors you spent ages working on just look washed out, and your drawings have got all the tonal value of a polar bear in a snowstorm. Or a brown paper bag in a sea of beige…
So where did you go wrong? Is there a magic formula for making prints of original artwork that will give you the results you want every time?
Turns out, there is. And, by following a few simple steps, you’ll soon be enjoying – and hopefully even selling – high quality affordable prints of your art.
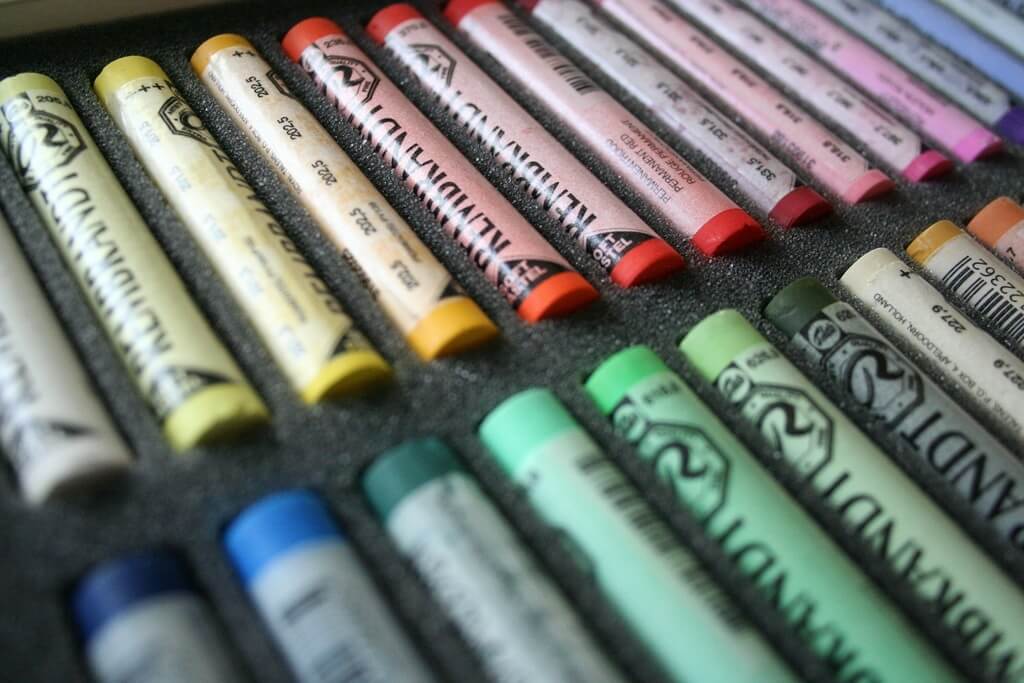
You’ll want to capture all the rich colors in your art when printing it
Method One: How to Make Prints of Your Art Using a Scanner
If you want how to make prints of your art at home, one way to do this is to scan them. The first thing you’ll need for this is a scanner capable of scanning up to 600 dpi. What does ‘dpi’ mean? It stands for ‘dots per inch’, and the more dots per inch you have, the better quality your scan is going to be.
To get started, place your canvas or paper onto the flatbed of the scanner. Don’t worry if it’s too large to fit – you can always scan it in sections and stitch it together in Photoshop (or another image editing program) later.
Next, select the scanning option that best suits your work. For example, select ‘color’ for a painting, or ‘grayscale’ for a black and white drawing. Then, place the scan button and away you go!
Once you’ve finished scanning, your computer will prompt you to save the file. After you’ve done this, open your scan up in Photoshop and adjust the levels until it looks good. Hit Ctrl + M to bring up your Curves window.
Important: Remember that the bright colors and tones you see on your monitor screen will print out much darker, because there’s no light from behind illuminating them. Therefore, when doing your adjustments, you might want to make the image lighter to compensate for this.
These screenshots show you how to adjust Curves in Photoshop:
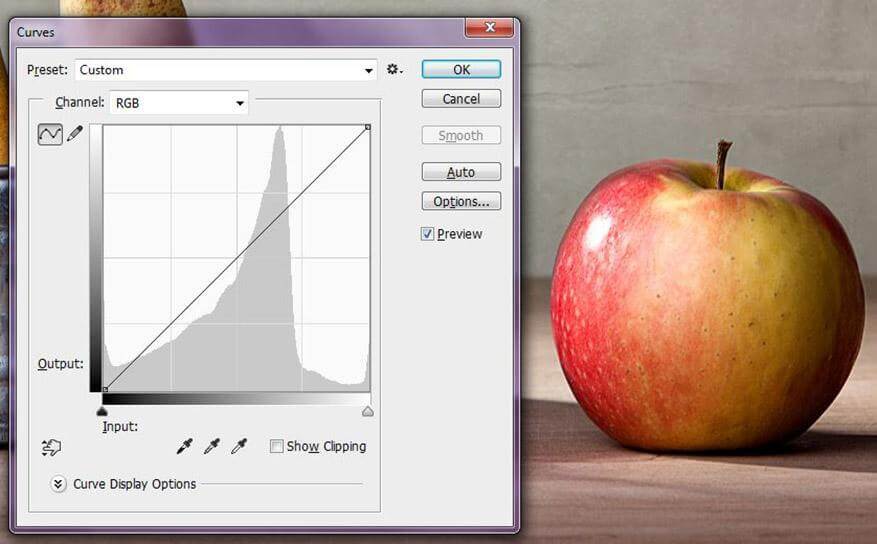
This window will appear when you hit Ctrl + M in Photoshop
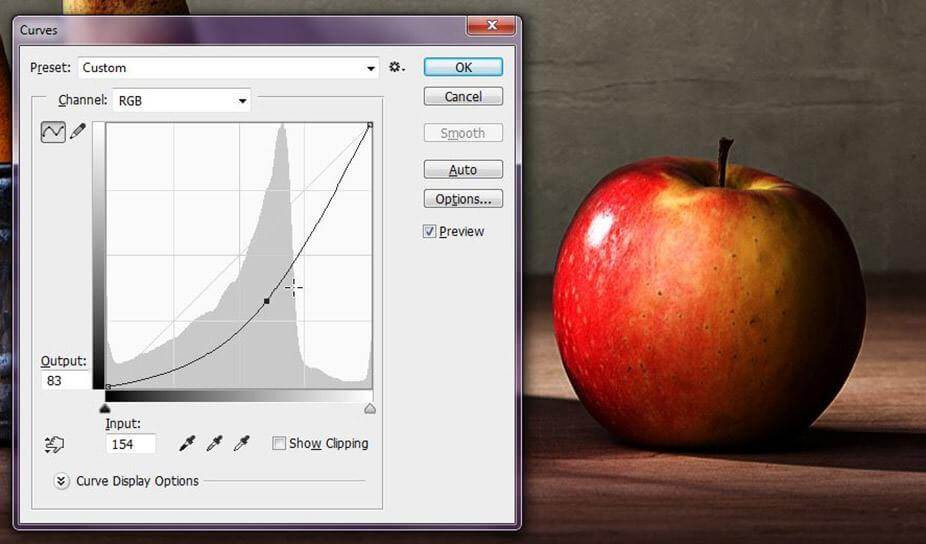
Click in the middle of the line, and drag it up or down to make your image lighter or darker
You might also want to use other adjustment tools to get rid of any smudges and/or glare from your scanner, such as adjusting the brightness and contrast (go to Image > Adjustments) or by using the Clone Tool to get rid of any imperfections.
These screenshots show you how to access these tools:
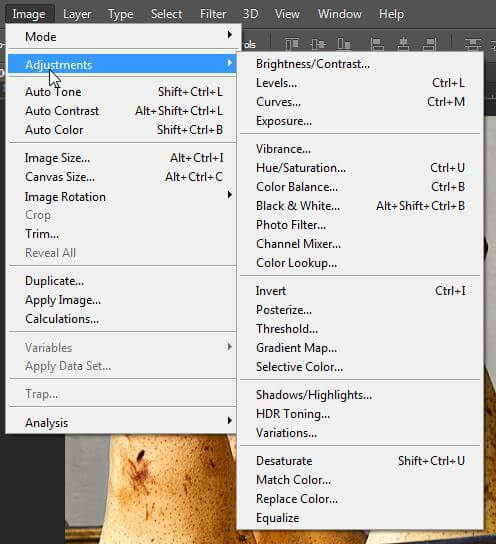
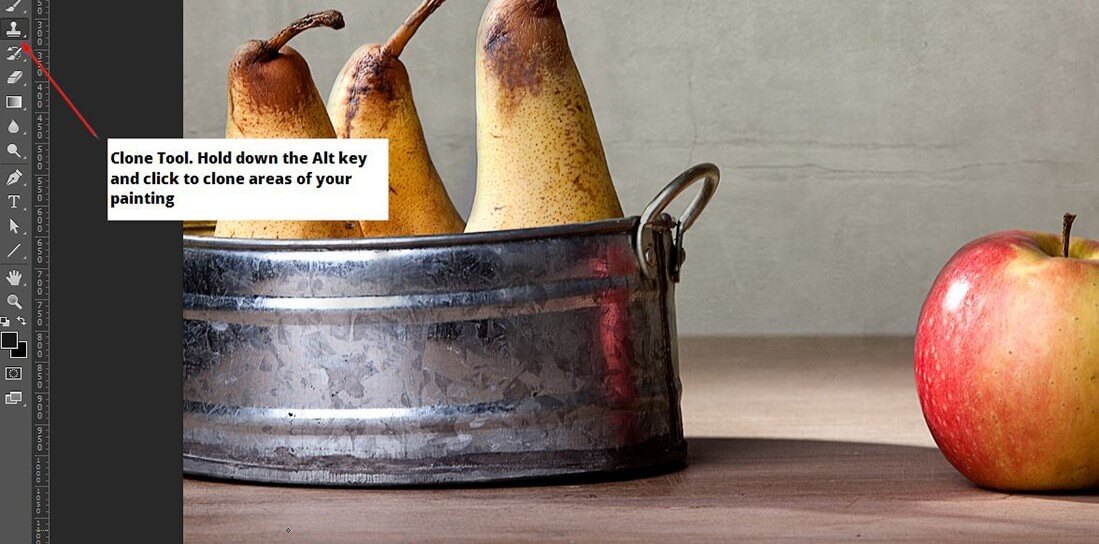
When you’ve finished tweaking your scanned image, the next thing you’ll want to do is prepare it for printing. Go to Edit > Image Size in Photoshop to resize your image, or crop it if you prefer. Save your file, and call it something different so it doesn’t overwrite the original.
And finally, you’re ready to go. When printing your work, it’s important to remember that the end result will only be as good as the quality of your printer and the inks and paper in it. Therefore, try using good quality photo paper and make sure the ink levels in your good quality ink cartridges are topped up.
If you need to replace your cartridges, it’s worth looking in your local supermarket or stationery store. Most places offer a cheaper alternative to the expensive manufacturer’s cartridges and the results can often be pretty good. Avoid the really cheap cartridges, though. The colors they produce are a little like opening a blank tin of paint – you never really know what you’re going to get!
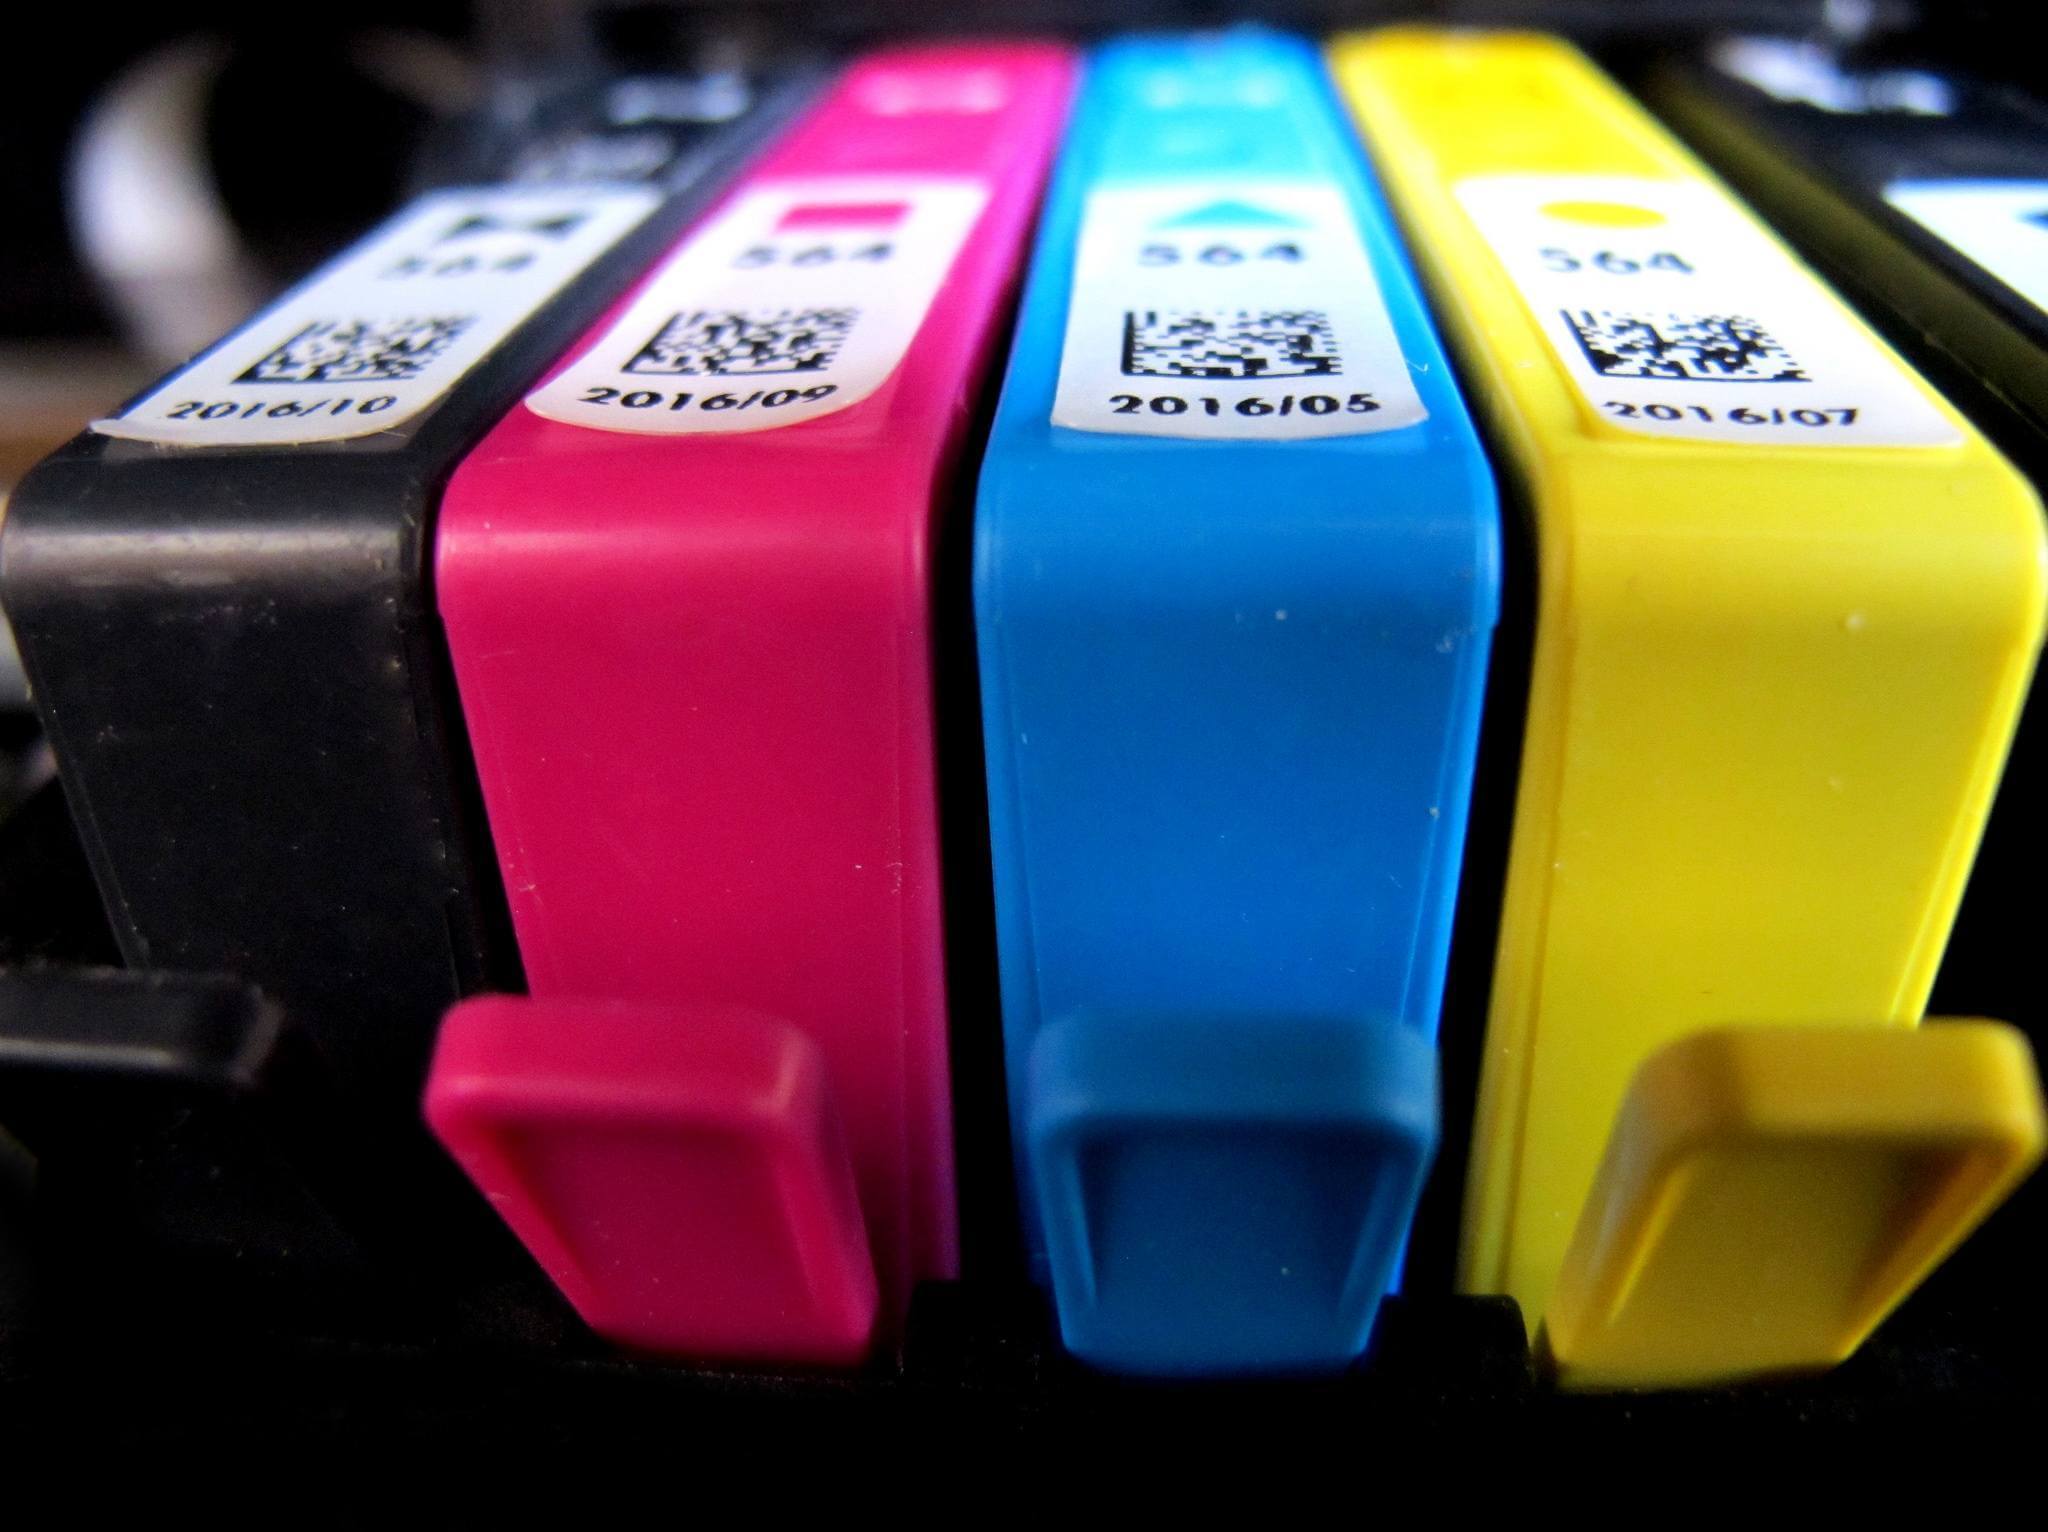
Good quality printer inks will give you better results
Once you’ve printed out your work, take a good look and see if you’re happy with it. You might need to make some more adjustments to your scan to get the colors and tones exactly how you want them.
But what if you’re still not getting the great results you want? If you want to know how to make prints of your art with that professional touch, it might be time to think about upgrading your printer to a professional grade model, such as the Epson Stylus Photo R2800. Although these now discontinued printers were super expensive to buy new back in 2009, you can pick one up on Ebay or Amazon for $400-$800.
Alternatively, pop your print-ready files onto a memory stick and take them to your local photo-processing outlet. Most supermarkets have one of these, and the prices are often very reasonable.
Method Two: Printing at Home From Photographs
If your work is too big to even think about putting on the flatbed of your scanner, you’ll need to take a high quality photograph in order to print it out. Photographing your paintings and drawings can be tricky, but this article has everything you need to know about this subject.
Just like with the scanned images, you’ll need to make some adjustments in Photoshop before you’re ready to go to print. And, guess what? The quality of the end result will only be as good as your printer, so you might want to upgrade or nip down to your local photo-processing place to get your hands on some high quality prints of your work.
Method Three: Printing Your Paintings and Drawings Professionally
Although you can get great results from learning how to make prints of your art at home, many artists prefer to get their work printed professionally instead.
Why? Because the results are pretty much guaranteed, and it’s often nowhere near as expensive as you might think. When choosing a professional printer, you’ve got several options (and an endless range of papers and finishes) to choose from, like:
Professional Digital Printing
This is basically like printing at home, but with much better and more powerful equipment. A good professional digital printshop will be able to output multiple copies of your work without the set-up costs associated with traditional offset printing (more on this later).
You can either search for a digital printshop locally, or choose from the thousands available online. Costs vary, so feel free to shop around and read reviews until you find the right one for your needs.
Advantages of Digital Printing:
Fast turnaround times, no minimum print run, usually cheaper than traditional printing.
Disadvantages of Digital Printing:
Although the results can be pretty awesome, some people think the quality of traditional printing is better.
Having said that, there’s one digital printing process that you could describe as a total game-changer…
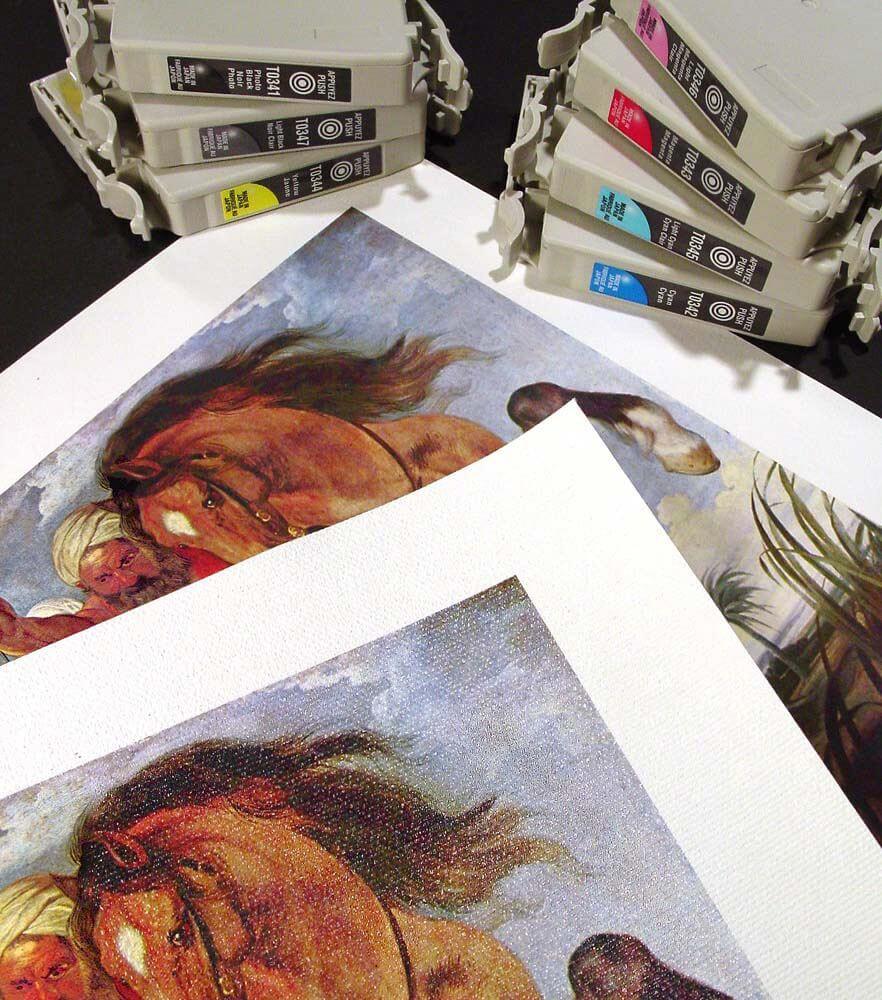
Giclée printing is fast becoming the number one choice for artists
What is Giclée Printing?
Giclée printing (pronounced zhee-klay), is a relatively new innovation in digital printing. In fact, you’ve probably already seen many artists selling giclée prints online. The results are spectacular, and many creatives won’t have their work printed any other way. But what is it, and how does it work?
With giclée printing, high quality archival inks (this means they’re pigment-based) are sprayed onto the paper or canvas using a range of nozzles. This method allows for highly accurate color reproduction, smooth color transitions, and an unlimited range of color variations.
Any disadvantages? When compared to other methods, giclée printing can seem quite expensive. That’s why you’ll see artists often charge more for work printed using this method.
Again, shop around online, read some reviews, and you’ll eventually find the right printshop for you. Price your work accordingly to include any extra printing costs – customers are usually happy to pay a little extra for high quality prints.
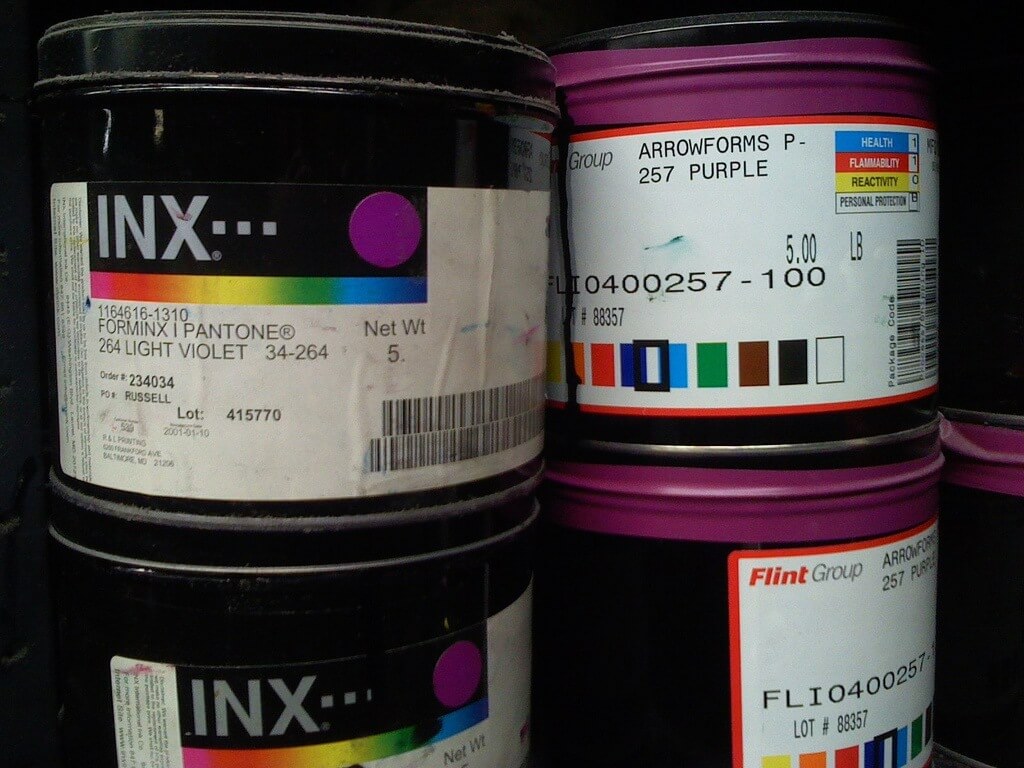
Professional Offset Printing can be an economical choice for artists
Professional Offset Printing:
Traditional offset printing is where the image is split into four color channels (Cyan, Maganta, Yellow, and Black – CMYK), before being output onto a metal plate, and then transferred to a rubber blanket before going onto the printed surface.
This method, which has been around since 1875 when Englishman Robert Barclay invented the offset press, is one of the most widely used forms of printing in the world.
Newspapers, magazines, books, you name it – chances are, they’ll have been printed using offset.
Advantages of Offset Printing:
Although the initial set-up costs can be expensive, offset printing usually works out much cheaper than digital in the long run. This is because although the metal plate has to be created first, this can be used many times over for repeat orders. The printing quality is usually excellent, because the widely-used CMYK process is capable of capturing an almost limitless range of color variations.
Disadvantages of Offset Printing:
Initial set-up costs can seem more expensive than digital, but often work out much cheaper if you’re producing large quantities. Due to the traditional process and set-up, turnaround times are generally longer. There can sometimes be a change in colors when artwork is converted from RGB (your computer monitor’s standard setting) to CMYK, but a good printshop will make adjustments first to ensure it’s as close a match as possible.
Color Profiles Explained
If you want to get really technical, it’s worth reading up on ‘color profiles’. You may have noticed the long list of these in Photoshop? Basically, it’s a way of matching one particular profile with that of the printing press so the results are consistent.
An easy way to think of it is something we like to call the ‘toast analogy’. What’s this all about? Imagine if you loved your toast cooked to a particular shade of golden brown and wanted to replicate this in every other model of toaster using the same bread. You’d need some kind of setting that could be applied to each and every one of those different toasters, right?
Well, color profiles are designed to do the same thing. It means you could produce one piece of work on your calibated (color-balanced) computer screen, embed a color profile, and the results will be the same wherever it gets printed using the same color profile (both traditionally and digitally). Pretty cool, huh?
How to Print Digital Paintings and Drawings
OK, so that’s traditional media covered. But what if you want to print out your digital paintings or drawings?
The first thing to remember here is to set up your digital file properly. Decide what the full size of your work will be (such as A4, A3 etc), and then create a new document. You’ll lose quality if you try and blow a small painting up really big, so always work to the biggest size you want.
Important: Always set the resolution to 300 dpi – even if you only want to show your work online. This will ensure great quality results. You’ll be reducing this resolution to 72 dpi when you save for web, but you’ll need to create your document at 300 dpi to begin with.
These screenshots show you how to set the resolution of your document in Photoshop:
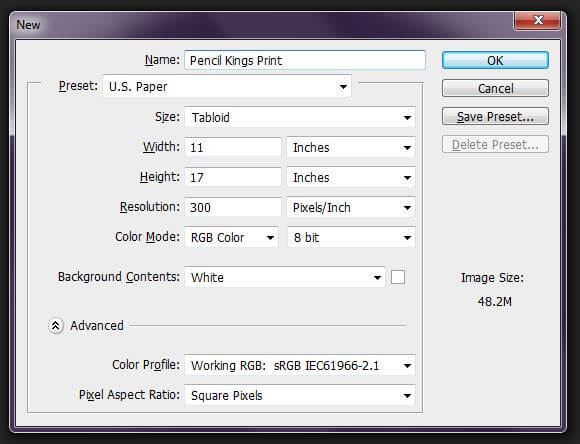
Always set up your document to the maximum size you want at 300 dpi
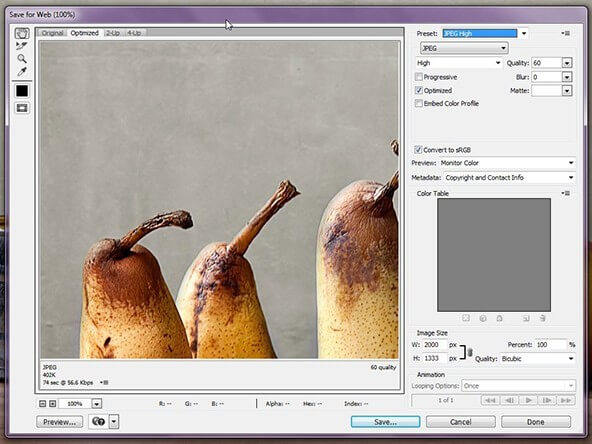
Save for Web is ideal if you want to post your art online too
Once you’ve finished your painting or drawing, just follow the earlier steps to get your work printed digitally, using giclée, or traditionally.
How to Prepare Digital Paintings and Drawings For Web
You’ll most likely have been working in layers, so you’ll need to create a flattened version of your work if you want to show it online.
To do this, go to File > Save for Web, and then follow the settings in the screenshot above:
Once you’ve created a web-ready version of your work, you might want to create several different sizes depending on where you want to post it.
For example, a size that looks good on your Facebook feed might not look so great on Twitter. Just Google ‘photo dimensions for social media’ and you should find all the info you need.
So there you go – our handy guide on how to make prints of your art to sell or exhibit. Did we miss anything out? Do you have any printing tips of your own or printers you’d like to recommend?
Just leave us a comment in the box below – we’d love to hear from you!
Great reference to print your own works or to send to a printer.
I would like to know how to adjust the image once transfered into the computer screen from a canvas. How to adjust, erase the white space around the drawing soI could print it on fabric? Do you offer classes that meets my needs? Thank you for this post!
Hi Roxanne and thanks for your feedback! We don’t have a specific class that meets your needs on this topic, but I’ll be more than happy to help you. Email the image you want to print onto fabric to me at: [email protected] and I’ll take a look for you 🙂
Do you have any tips on finding a business with a large format scanner to use? I’ve been trying to find a place with a scanner that can fit my 3’x4′ paintings.
Hi Shannon and thanks for getting in touch! You shouldn’t have too much trouble finding a repro house with a large format scanner – just Google large format scanning and see which one you prefer. I’m in the UK, so I’d probably opt for something like this: https://www.storetec.net/services/large-format-scanning You should be able to find something similar wherever you live. You could also try approaching your nearest college or uni – most of these have well-equipped printing departments. Another alternative would be to photograph your paintings using a decent digital camera mounted on a tripod – this way, you don’t have to worry about scanning your paintings before you get them printed out 🙂
I liked that ou pointed out that it would be smart to replace your cartridges if you need to before printing out your art. If I was going to be taking my art prints to a show or job interview I would want to have good prints for it. It might be a good idea for me to have a professional printer do those important prints for me.
Hi Ivy and thanks for your feedback. I’m glad you found my article useful and you’ve raised a very good point there about getting professional prints done for job interviews or shows. Thanks to digital printing, high quality results are now a lot more affordable than they were before and a quick Google search should give you plenty of options 🙂