Want to learn how to draw a realistic ear? Here’s a look at the final image that you will be learning how to draw in this last lesson on how to draw an ear.
At this stage, you already know how to draw the ear, so now it’s time to put it on the head.
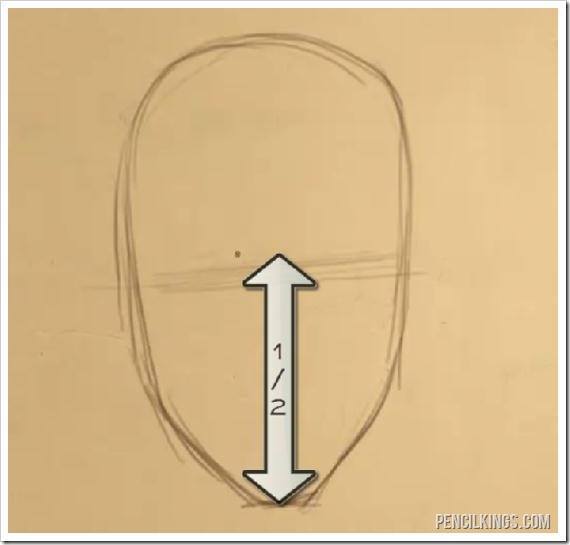
Start off by drawing the silhouette of the face and then dividing it in half vertically between the top of the head and the chin to establish the eye line. The ears sit between the height distance of the nose and the eye line.
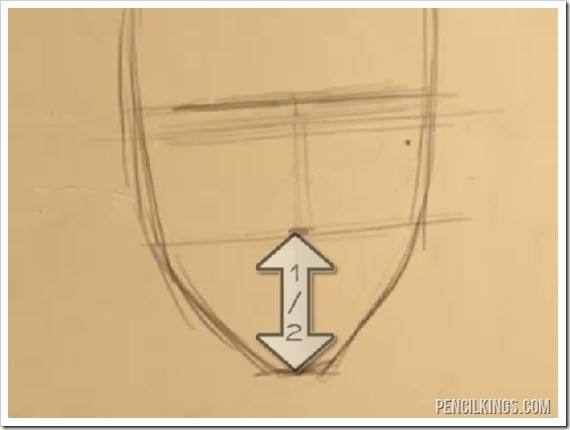
The next guideline that you need in this lesson on how to draw a realistic ear is to draw is the nose. To create this line, take half of the distance between the eye line and the chin.
Now that you have drawn in these two guide lines you can place the ears onto the head.
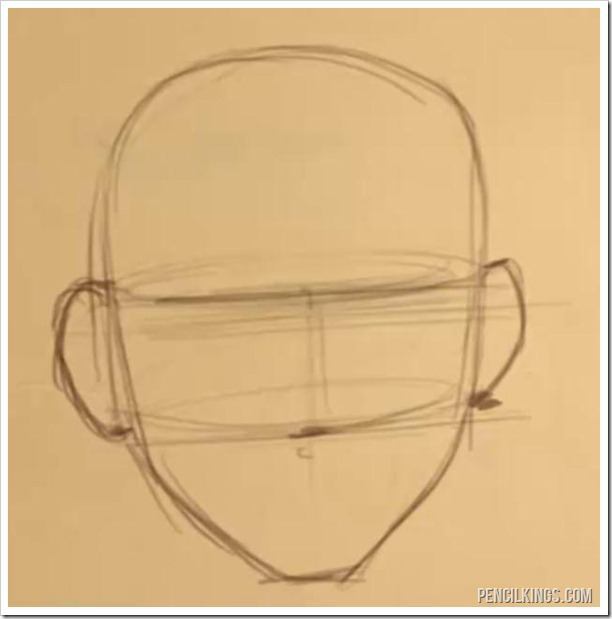
Placing the Ears from the Front View
Because the head is a three dimensional form, in this example image you can see that we have lightly drawn in some ovals at the points of the nose and eye line to use as guide lines that represent the natural curve of the face.
When you are just starting out it’s easy to fall into the trap of thinking of the face as a flat surface. By adding in guidelines like these to show the depth you can keep reminding yourself about the thickness of everything that you are drawing and deepen your understanding of the head as a three dimensional object.
Because of the curve of the face, the ears are going to be placed slightly higher than the guide lines that you drew for the nose and eye lines.
Usually the top of the ear will touch at the point of the eyebrows, and the spot where the ear attaches to the head at the top is right at the eye line.
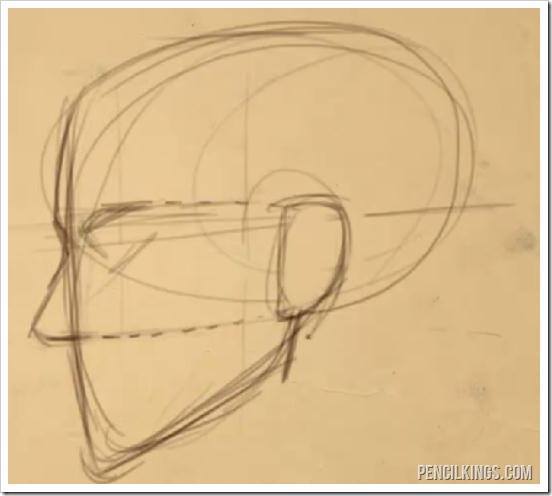
Placing the Ears from the Side View
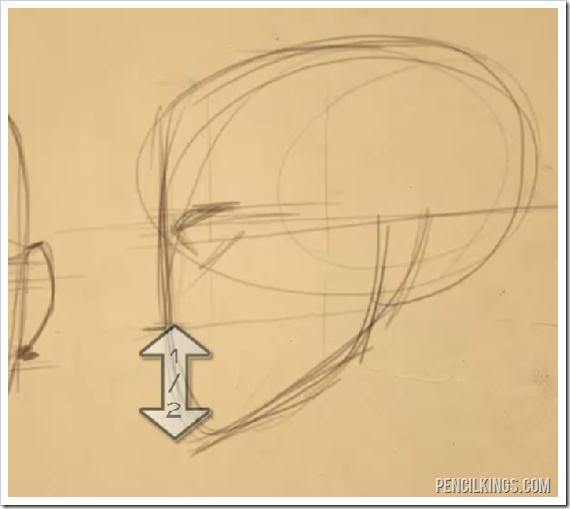
Start off by the next par of this lesson on how to draw a realistic ear by drawing the silhouette of the face from the side view.
To do this, create an oval to represent the spherical part of the skull, and then draw a line coming down from the front of the oval to establish the front of the face and the jaw.
Lastly, draw the jaw bone curving back and upward into the oval.
Divide the skull in half vertically just like you did in the previous example to establish the eye line. Then take half of the distance between the eye line and the chin to create the nose line.
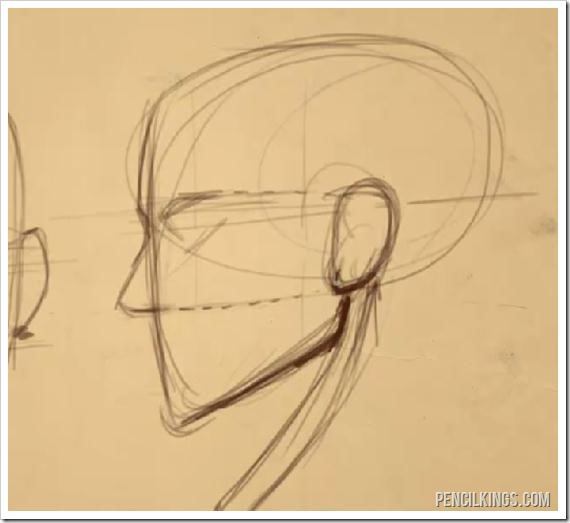
Draw in the ear between the lines of the eye and nose. In the front view because we were dealing with some perspective the ear was placed slightly higher, however in this example the ear is placed almost exactly between the two guide lines.
Using the Ear Drawing as a Guide for Other Parts of the Face
If you were to draw the ear first, you can also use that as your guide for placing the bottom of the nose and the eye line.
I strongly recommend always drawing the features of the face in the same order so that you can get into an easy to follow rhythm of always drawing the features in the same order such as:
- Head silhouette first
- Then eyes
- Nose
- Mouth
- Ears
Placing the ear also allows you to easily find the placement of the sternocleidomastoid muscle that attaches just behind the ear, travels along the neck and attaches to the collar bone on the front of the chest.
This is the last lesson in this series about how to draw a realistic ear. We hope that you learned a lot here, and that you’re pretty comfortable drawing ears from any angle that you want.
Remember to keep practicing until you can draw the ear without having to think about it too much, and use reference as needed to look at all kinds of different real world ears.
Return to the How to Draw an Ear Lessons Page