In this lesson about how to draw an ear from the side, we’re not going to dive into any specialized anatomical knowledge.
Instead, we’ll just focus on the basic shapes you will need to understand and master throughout this series.
By the time you are finished you will have a solid understanding of the ear, and the ability to draw it from any angle.
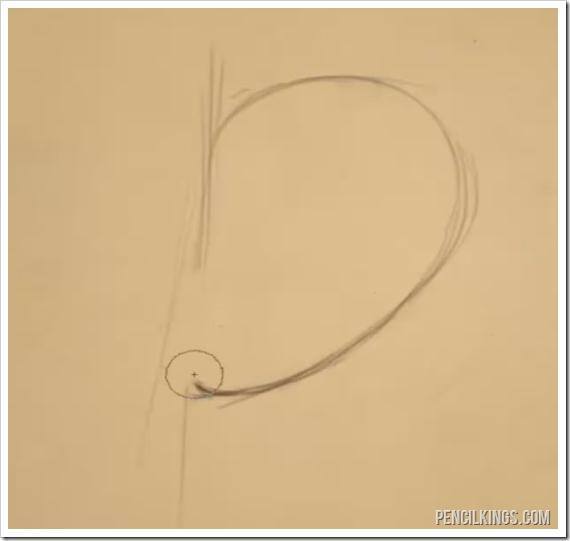
Start your Ear Drawing with a Curve
Draw a vertical line to show where the top and bottom of the ear attaches to the rest of the face. The curve of the ear goes up first and is much wider on the top than on the lower portion.
There are two different ways that the bottom of the ear (the ear lobe) attaches to the head, and it’s up to you to choose which one to use when you’re learning how to draw an ear from the side.
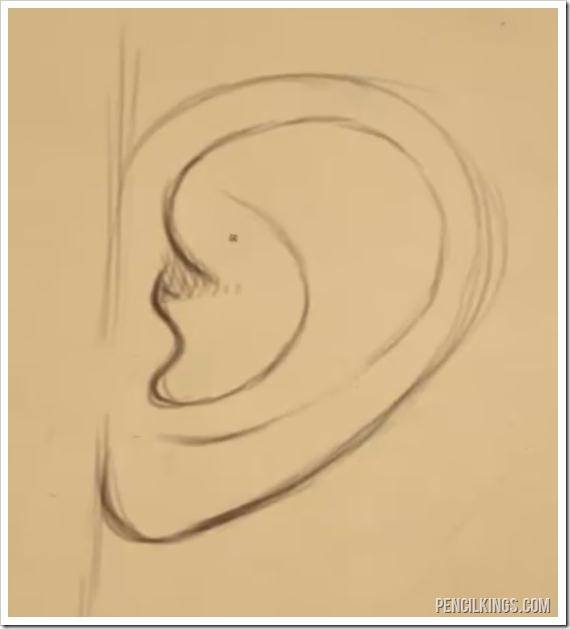
Drawing the Inner Ear
Start off by drawing the flap in the middle of the ear that covers the hole where sound enters.
This flap continues downward and then curves back and up in the middle area of the ear. As this line curves towards the upper part of the ear it begins to fade off.
The next major line to draw curves from the just above and inside the flap that you just drew and continues upward, following the outer curve of the ear all the way down to the bottom of the ear.
As this line continues downward it will become lighter as it becomes less defined.
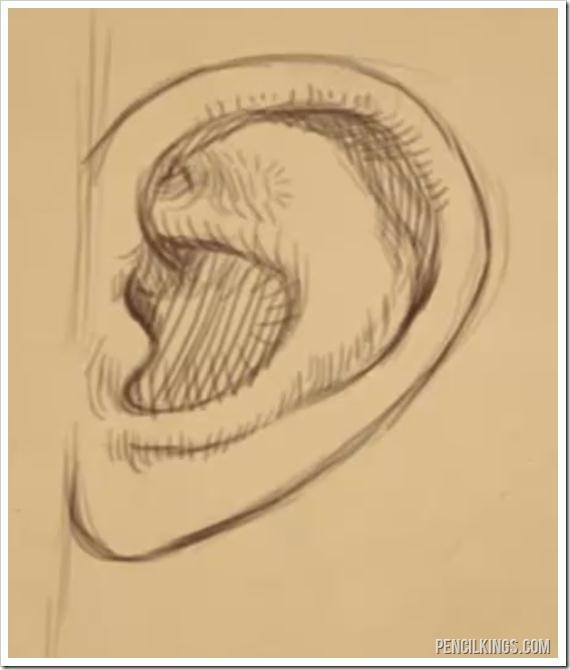
Detailing the Inside of the Ear Drawing
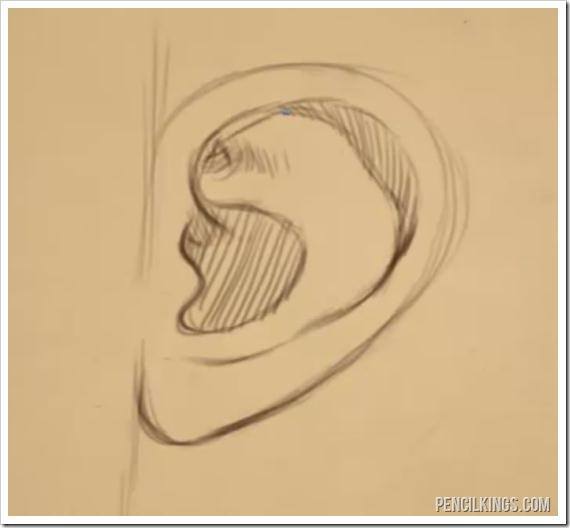
When learning how to draw an ear from the side, note that there is a rounded Y-Shape on the top inside part of the ear.
You don’t need to use lines to define this area because there are no sharp transitions or overlapping pieces of skin. Just use light shading to define this.
Additionally, you can use light shading to show the top outer area along the inside of the ear, and the pit of the ear where the ear hole is.
After you have added these lines you are all finished defining the major forms of the ear. The only thing left to do is add in some shading to these areas.
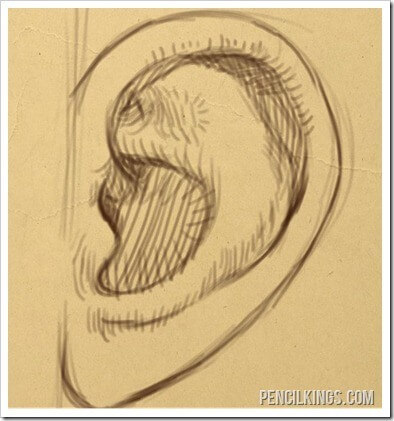
Finishing the Ear Shading
The last thing to finish off this drawing of an ear is to add in some additional shading and contour lines to help give some more depth and volume to the drawing.
It may be a good idea here to look at some reference photos if you are not familiar with how these different parts overlap and cast shadows on each other.
With this basic understanding of this simplified ear, you should practice drawing it several times to make sure that you have really grasped what needs to be drawn to complete an ear like this.
Remember that it’s not enough to just ‘know’ how to do this. You also need to apply this knowledge so that you can gain and eventually master the skill.
Grab your pencil and some paper and draw five ears from the side view right now!
We hope you learned a lot from this tutorial on how to draw an ear from the side. In the next lesson, you’ll take what you learned here, and learn how to draw an ear from the front view.
Return to the How to Draw an Ear Lessons Page