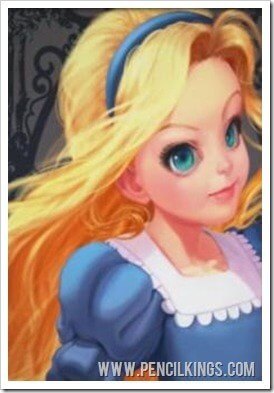
Here’s a quick look at how our finished painting will turn out:
Creating Structure in Your Sketch
Ready to learn more about drawing Alice in Wonderland characters?
Now that you’ve started sketching the figure of Alice, you’re going to need to apply structure to your drawing so that all the elements fall nicely into place.
In this lesson on drawing Alice in Wonderland characters, you’ll see how flipping your canvas often using some handy Photoshop Actions will help you catch any mistakes early on and allow you to correct them before you get too deep into your sketch or painting.
Understanding the Shape of the Body
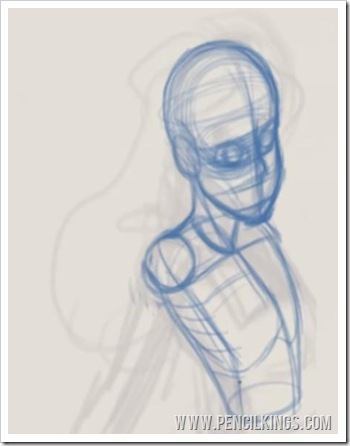
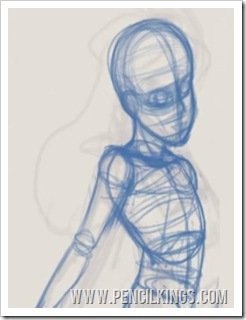
Once you’ve finished sketching Alice’s head, you can then move on to the rest of the body.
Notice how Sycra continues to use a series of 3D geometric shapes to help him work out where each feature of the body sits in relation to the rest.
Having drawn a line through the middle of the chest, you can then draw another one to help define the front and side planes of the body.
Here, you can see that the area just beneath Alice’s arm is the side plane, while her chest is the front.
Doing this when drawing Alice in Wonderland characters will help you establish how the various planes and shapes of the body work with each other to create a 3D human figure – in this case, the body of our seven-and-a-half year old character, Alice.
Keep Referring to the Thumbnail Sketch
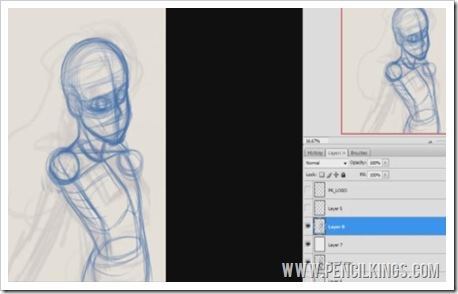
While you’re working, keep toggling layers and referring to your original thumbnail sketch so you can check you’ve still got the feel of the drawing correct.
Here, for example, you can see how Sycra has drawn the shoulders in the sketch at a slightly different angle to the original. So, to correct this, he refers to the thumbnail and then adjusts his drawing accordingly.

Adjusting the angle of the shoulders means Sycra has to then adjust the angle of the body slightly.
You can easily do this too, by simply erasing the previous lines and sketching in new ones.
Don’t worry if you don’t get it right first time – that’s what this lesson on drawing Alice in Wonderland characters is all about!
Just keep practising until you’re happy with how your drawing looks.
Getting things right in these early stages will save you a lot of work later on when you start to apply line art and color to your finished drawing.
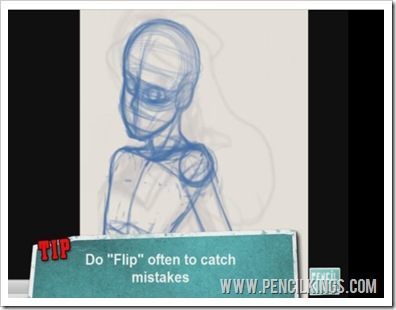
Remember to Flip!
Remembering to flip your canvas often will help you catch mistakes and correct them on the fly.
Here, Sycra has flipped his image and noticed that the angle of the body isn’t quite right.
So, if you have a similar problem, just erase those lines and redraw!
This is why flipping your image regularly is so important – it helps you spot mistakes you wouldn’t be able to see otherwise.
Notice how Sycra also decides to make Alice’s arm thinner as a result of flipping his image?
Again, this technique will highlight those areas of your drawing that still require attention.
Having re-drawn the areas that he wasn’t totally happy with, Sycra now flips the image horizontally once more to see how everything looks.
After you’ve corrected any areas that don’t look quite right on your drawing, you should end up with a basic frame of Alice’s body which you’ll now be able to use as the basis for your sketch.
Now, it’s time to bring this figure to life by going back to your reference pictures once more and adding some clothing.
Adding the Clothing
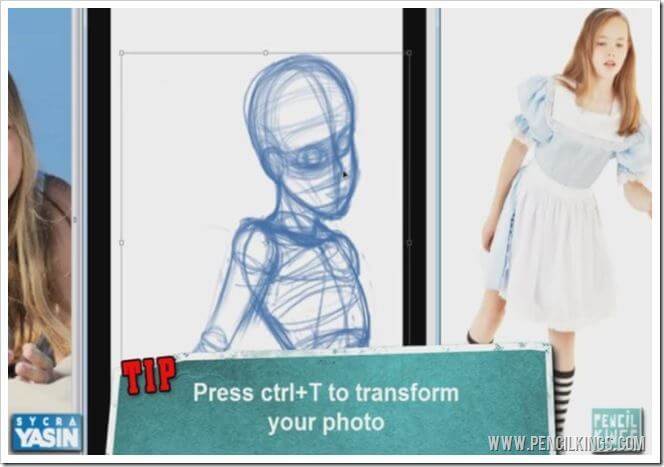
Before you start adding clothing to your framework, the first thing you need to do is reduce the opacity of the white layer – this will give you a clearer idea of how the framework site in relation to the original thumbnail sketch.
In this example, Sycra notices that his drawing doesn’t fill quite as much space as the thumbnail. No problem! Just increase the size of your drawing layer by hitting Ctrl + T to transform your layer and make it a little bigger.
Once you’re happy with the size and position of your drawing, you don’t need to refer to the original thumbnail so often, so increase the opacity of your white layer to 100 per cent so you have a nice clean area to work with.

However, we’re now going to start work on the clothing, so reduce the opacity of your blue drawing layer so that you can create a new one and start sketching this in.
So, having created another new layer, select a different color to draw the clothing with.
In this case, Sycra’s opted for red, but again, you can choose any color that shows up well on top of the blue.
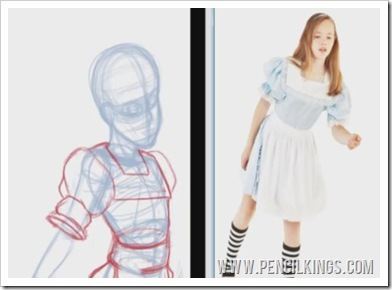
Using Your Reference Pictures to add the Clothing
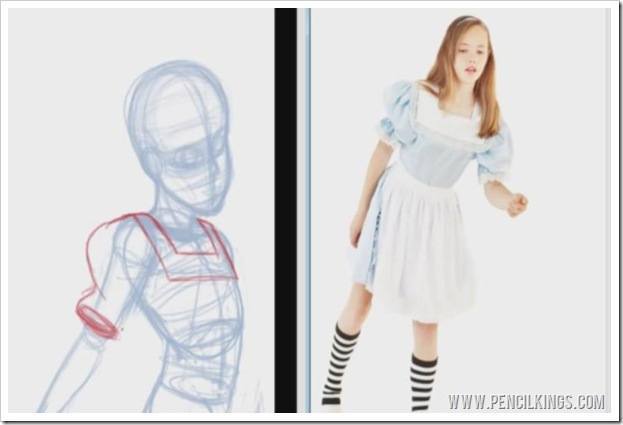
Here’s where you’ll be using those reference pictures to help you make decisions about drawing Alice’s clothing.
Note how the clothing goes over the body rather than sit beneath the framework of your drawing.
Continue top think in terms of 3D shapes when sketching the clothing – notice how the puffed-out sleeves of the dress sit on the arms and how these work in relation to the body.
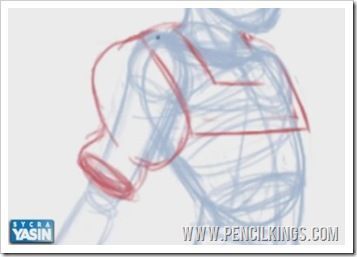
Feel free to draw through the form of the body so you can make sure everything is lining up correctly. Here, you can see how Sycra has drawn through the shoulders so that Alice’s dress lines up nicely on the other side of her shoulders.
It’s a little like putting clothes on a mannequin – try and think about which parts of the clothing you would see in reality and how they sit on the body. Your reference pictures will help you in doing this, showing how the folds of the clothing differ according to which part of the body they’re covering.
Always use lines that go around the form of the body rather than just sitting on it – this will help stop your drawing from looking flat and achieve a realistic 3D feel instead.
Try and also think about perspective when learning about drawing Alice in Wonderland characters.
In this example, we’re looking up, so you’d be able to see the inside of Alice’s sleeve. Again, looking at objects as 3D shapes when drawing them will help you achieve this.
Once you’re done, you should end up with everything you need for the next lesson, where we’ll be using this basic framework to add the hair before moving on to create the line work for our finished painting of Alice.
Did you enjoy this lesson on drawing Alice in Wonderland characters? Leave us a comment below!
Return to the Comic Penciling Lessons Page