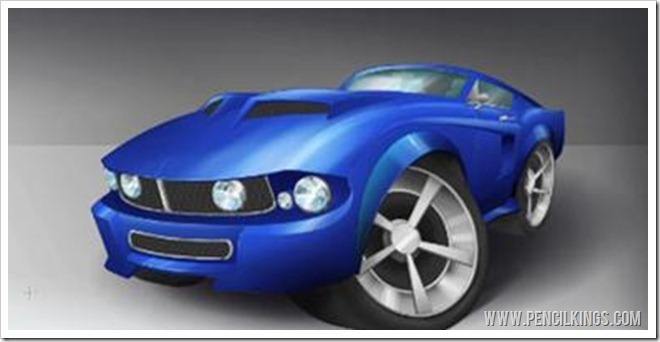
Take a look at how the finished painting in this series will turn out
In the previous lesson on cartoon car drawings, you learned about vanishing points and perspective to help transform your 2D thumbnail sketch into a 3D rough drawing.
Now, you’re going to expand upon this and use the same guidelines to add more detail to your rough initial sketch before creating some cleaner lines for the lineart.
So, pick up those tablets, hop into the driving seat and set your Satnav co-ordinates for awesome!
Adding More Details to Your Sketch
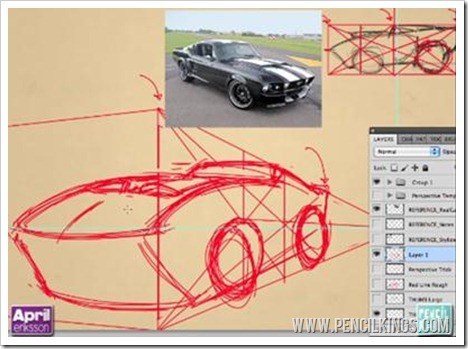
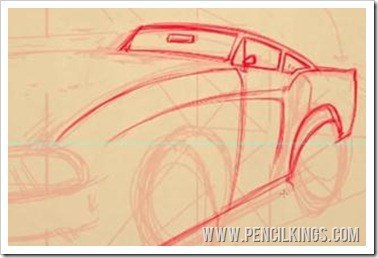
At the end of the last lesson, you learned how drawing a grid around your thumbnail sketch can really help when you start work on your 3D drawing.
Now, you just need to draw some more perspective lines to help you get the front of the car in proportion.
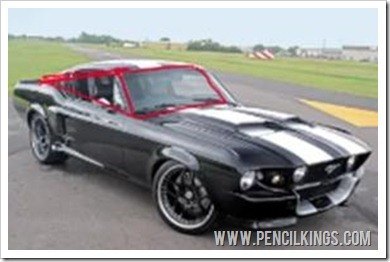
Once you’ve done this, use your reference photo to help you add all the other elements of the 1967 Mustang.
Your drawing might look a little rough at this stage, but don’t worry – these are just guidelines which you can use to create a much neater lineart layer.
Have fun and sketch in the forms of your car. Don’t be afraid to erase any lines which don’t look right and try again.
This stage is basically an extension of your thumbnail sketch and will help you determine where everything should be.
Breaking Down Your car Into Basic Shapes
When learning how to create cartoon car drawings, try not to get too bogged down with detail – drawing your car will be a lot easier if you break it down into basic shapes.
Here, you can see how April has looked at the windshield and side windows and broken this down into a much simpler wedge shape.
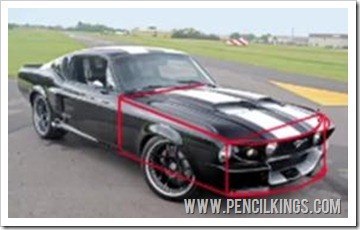
You can do the same thing with the rest of the car, too.
Notice how the side and front end can be broken down into rectangles.
Creating these easy-to-manage shapes will really help with your drawing and stop you becoming absorbed in too much complexity.
Again, you can apply this process to whatever you’re drawing (not just cartoon car drawings), so it’s a really useful trick!
Once you’ve got these basic shapes down, you can then start adding more complex forms and details to create your initial sketch.
In the next lesson, you’ll continue adding more details so your 1967 Mustang really starts to take shape!
And, after that, you’ll be ready to move on to the lineart, where you’ll learn how to create precise, clean lines as a great basis for your fully-rendered digital painting.
We hope this lesson on cartoon car drawings has taught you a lot about breaking objects down into simple shapes which are much easier to work with.
Let us know how you’re getting on by leaving a comment in the box below!
Return to the Car Caricature Lineart Lessons Page