
Take a look at the finished painting in this series on portrait painting in Photoshop
In the previous lesson on portrait painting in Photoshop, you learned how to create realistic-looking hair and then start cleaning up the lines in your painting.
Here, we’re just going to finish tidying things up, using different brush sizes as necessary to add detail and get things looking neat again. Again, this part of the video is in time lapse to speed things up.
Remember to keep changing your Layer Mode back to Normal so you can see how your painting is looking.
We’re now entering the exciting final stages of your painting, where you’ll be able to see how all your hard work has resulted in an awesome piece of digital art!
Carry on Cleaning
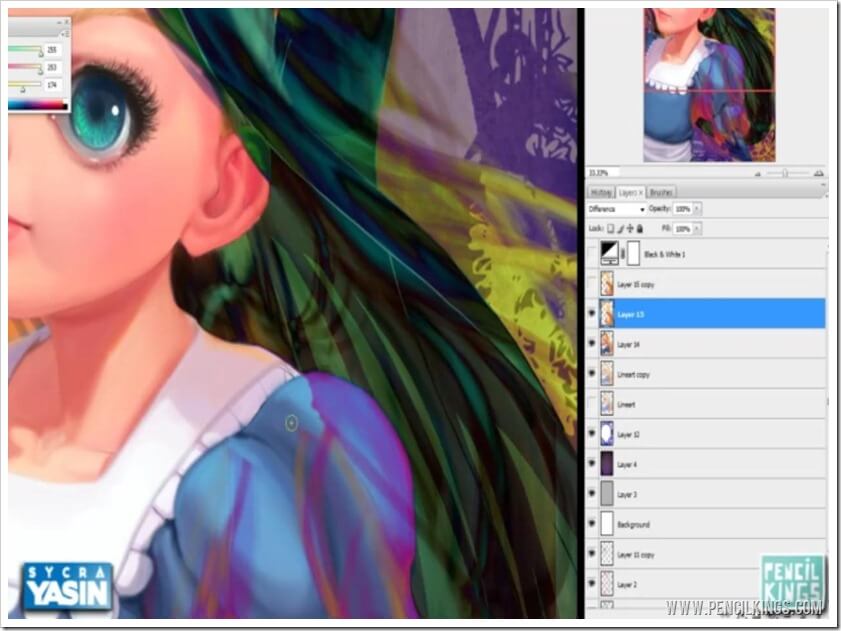
Keep cleaning up those lines and establish which areas should have hair flowing over them or not.
Gradually, you’ll see how painting the hair using this technique has resulted in an incredible effect – the hair actually looks as if it’s flowing around the head and body.
Once you’re done, it’s just a question of changing your Layer Mode back to Normal and then going in to make some small adjustments. This is known as refining your work and is another important stage in your fully-rendered digital painting!
Refining Your Work
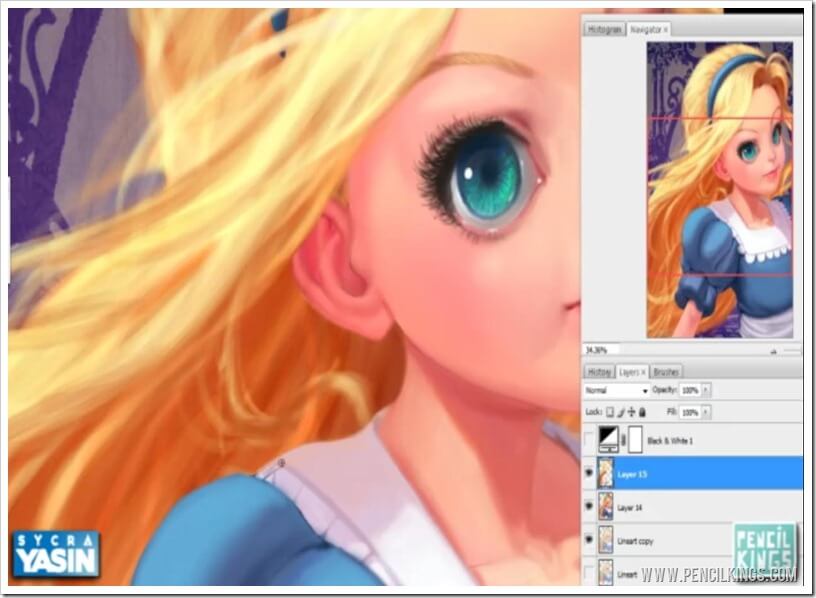
Now that you’ve finished cleaning up, it’s time to start refining some areas of your painting that just need a little more work.
Take a good look over your painting and try to spot areas that need attention. Sycra draws some fresh lines for the hair falling over the hairband and re-works the edges of Alice’s sleeve so that they look neater.
When learning portrait painting in Photoshop, remember to keep zooming in and out and flipping your canvas to get a different angle on your work. At this stage, it’s easy to miss small details, so doing this will give you a better chance of spotting them.
Adding a Final Flourish
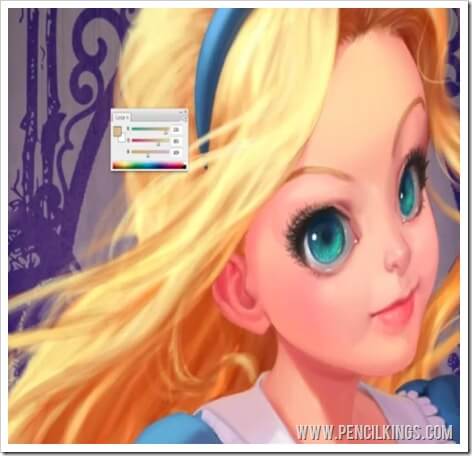
We’re almost done! Just keep making those final adjustments and adding finishing touches until you’re happy with how your painting looks.
At this stage, why not try adding some individual strands of hair using a small brush?
You don’t need many of these, but adding these small details will make your painting look even more awesome and add that all-important final flourish!
Add light and dark strands before going over your painting one last time to make any last-minute adjustments. In this video, Sycra decides to add more of a cast shadow to the ear, adjusts the contour of the nose slightly and just generally neatens everything up.
It’s amazing how these small details can make such a difference to your finished painting. Even a few strands of hair can give the illusion of detail and the viewer’s eye will naturally fill in those areas.
We hope you’ve enjoyed this article on portrait painting in Photoshop. By now, you should be able to see just how far you’ve come from the initial sketches of the previous series and how you’ve progressed as an artist!
In the final lesson of this series, you’ll be taking one last look around your painting before adding it to your portfolio.
Return to the Stylized Painting Lessons Page