
Take a look at the finished artwork in our digital fantasy art tutorials
Looking for digital fantasy art tutorials? In this article, we’ll show you how to paint Alice in Wonderland.
Let’s start with the eyes. It’s often said that these are the windows to the soul. And, taking the time to get this area looking good will make all the difference to your finished digital painting.
In this lesson, you’re going to continue working on this area, adding subtle blends and areas of color to create amazingly realistic eyes that will draw the viewer into your work.
You’ll be learning more about how colors reflect off each other and how you can use the existing colors in your painting to create a cohesive feel to your work.

Let’s Expand on the Eyes
In our previous digital fantasy art tutorials, we’d just begun blending some of the colors in the eye area, making some big changes to the look of the irises and eyelashes.
Now, let’s add to our painting by zooming in more closely on these areas and adding those all-important areas of detail which will really bring our painting together.
First, continue blending out the colors in the iris, picking up different areas of shadow and highlight to create what is now starting to look like a 3D object.
Once you’re happy with the results, start working on the upper eyelid, picking up some of the actual line art color to add subtle gradients of shadow and tone.
We already painted over the line art in our previous digital fantasy art tutorials, so we’ll be picking up a nice colored shade rather than 100 per cent black.
Don’t sweat it if you accidentally go over some of the eyelashes at this stage – you can easily paint them back in later. The important thing is to feel free and confident when applying these brush strokes!
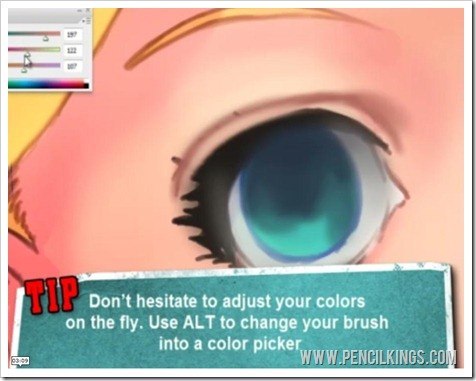
Fixing Muddy Colors
If you feel some of your colors are getting a little muddy at this stage in our digital fantasy art tutorials, don’t worry.
Simply hit the Alt key to turn your brush into a color picker and adjust your hue and saturation accordingly.
Remember, bring the color sliders closer together for less saturated colors and further apart for more saturated shades.
If it feels a little like you’re just killing all the hours you put in creating the line art in the first place, don’t stress! Try to look at it as if you’re building a foundation from the structure you created earlier.
Without this structure, you’d have nothing to work on, so by building these layers of soft colors up, you’re actually reinforcing what you’d already done.
Once you’ve finished one eye, move on to the next and do the same thing. Establish where the upper eyelid is, then add a subtle area of highlight because of where the light source is coming from. Consider the curve of the nose where it meets the eyebrow and add some areas of shadow to represent this.
While you’re working, keep glancing up every now and then to your Navigator Window and see how the changes you’re making in one area look in the overall picture.
Softening out the Eyebrows
Now it’s time to soften and smooth out some of those defined lines on Alice’s eyebrows.
To do this, pick up the line art color, and then use this to blend those lines a little.
You can also select some of the skin color to blend these lines in as they meet the nose. We’ll go back in later and add some more detail to this area, so don’t worry about all your definition being lost.
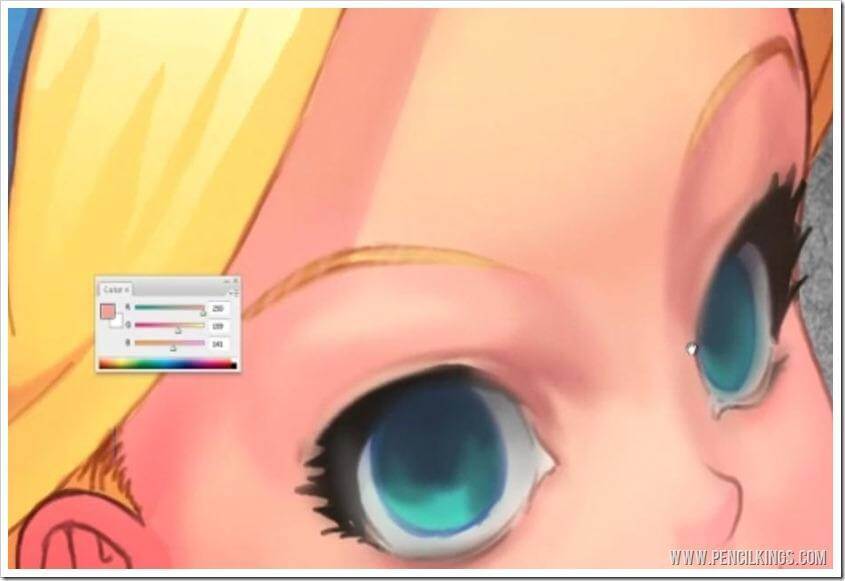
Dealing With the Tear Ducts
Next, it’s time to add some color to the tear ducts in the corner of each eye.
Pick up the pink color of the lips, and then use this to paint in the areas in question.
It’s a good idea to pick colors from your existing ones for your palette, because you already know that these colors are working well in your painting.
If you were to select new colors each time, it could result in your painting having an unnatural feel.
Adjust the value of the color you’ve just picked up if it seems too light.
Once you’ve added the tear ducts, paint in some shadow on the right-hand side of the eye on the left. Because this is facing away from the light source, this area will be in shadow.
To make the eyes even more realistic, go over this shaded area with a little of the pink you used for the tear ducts – this will represent the veins in the corner of each eye and also the color reflection from the tear ducts in the eyeball.
Try to use a fairly large brush when applying all these shades. It’s often better to start off big, and then go in later with a fine brush to complete the details.
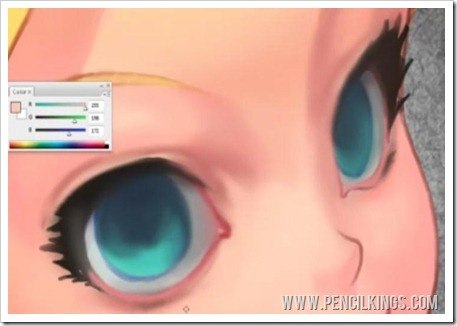
By this stage in our digital fantasy art tutorials, you might have noticed that Alice’s eyes are looking a little spooky! Don’t worry – this is all part of the painting process and something we can easily put right later on.
Try and think of your painting as something that’s constantly evolving and changing as you make these additional touches to your work.
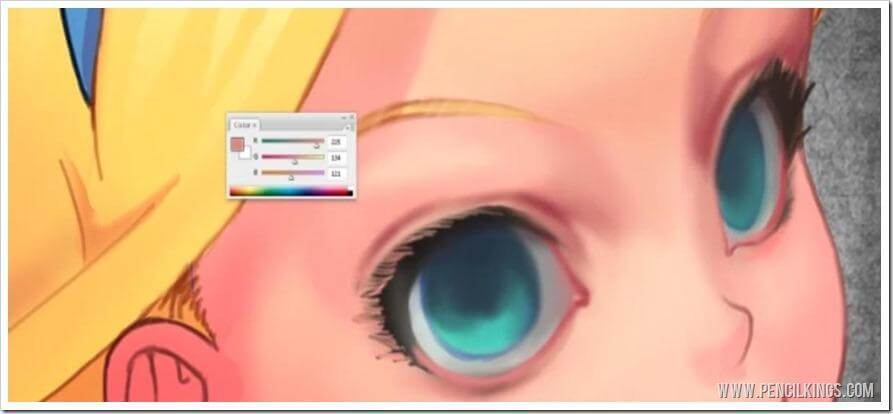
Bringing Lightness Back to Alice’s Eyelashes
Now, let’s start bringing some of the skin color back to Alice’s eyelashes. At the moment, they look very stylized and we want to create a more realistic feel. Because each eyelash appears in front of the skin, we can just start adding some finer brush strokes of light to the darker color to give this impression.
Notice how Sycra is using short brush strokes of lighter skin color which follow the lines of the eyelashes – it’s almost like starting from scratch, but because you’ve still got your foundation and structure to work from, you can’t go too far wrong.
Once you’re done, take another look at the eyes and see whether there are any other areas you want to change. Try and use darker shades only in selective areas to give your painting a sense of form. For example, Sycra adds just a little bit of darker shading to the top eyelid but doesn’t use this all the way through.
Just keep adding blended areas where you think necessary and remember to pick up colors from the ones you’ve already used. If you think a color is too dark or light, you can always just go over it with a more appropriate shade.
In the next of our digital fantasy art tutorials, we’ll be looking at how you can now start adding details to Alice’s eyes and creating a stunning focal point for your fully-rendered digital painting!
Return to the Stylized Painting Lessons Page