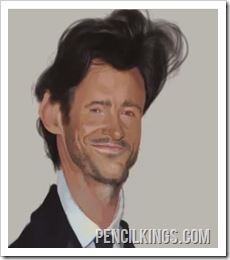
Here’s a look at the final painting in this caricature tutorial
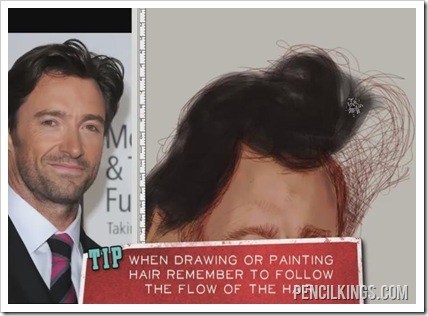
Painting the Hair
In this caricature tutorial, we’re going to learn how you can work with varying flows and opacity of brushes in Photoshop to create realistic blends based on tonal values.
But first, let’s just examine how you can paint hair following Giovani’s lead.
Notice how he paints in the hair following the flow of the hairline and each strand of hair.
You can also color outside of the line art to create a more organic feeling. Hugh Jackman’s hair is quite wispy, so this approach is ideal in this instance.

Creating a Duplicate Layer for the Hair
A useful technique that Giovani uses for this caricature tutorial is to create a duplicate layer for the hair so he can then evaluate which version works better.
Try it yourself – it’s a good way to experiment with different brush flows and tones to achieve the look you want. Once you’re satisfied with the result on one layer, you can simply delete the other layer.
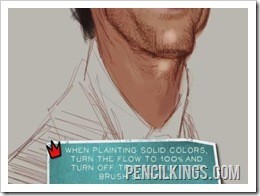
Using Solid Colors for Clothing
Having finished the hair in your caricature tutorial, it’s time to move on to coloring the clothing.
Because we’ll be working with solid colors here, you need to set the brush flow to 100 per cent and turn off the transfer in your brush settings – this will achieve the opaque look you’re looking for.
Making a Stylistic Choice when Using Colors
When painting the shirt or other items of clothing, it’s often a good idea to make your own artistic decision regarding the color in order to make your painting more visually appealing.
Although the shirt in the original photo is white, you might decide to follow Giovani’s example and color it blue instead, resulting in a more vibrant image.
Remember, since this is a caricature, you can take artistic liberties with colors that you wouldn’t necessarily apply when doing a more representational painting.
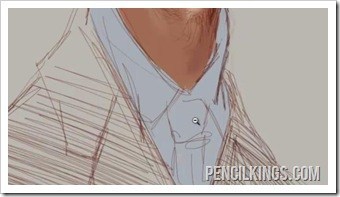
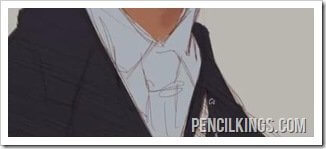
In this caricature tutorial, you can use the same approach when painting other solid areas of clothing.
Here, although the jacket in the original photo is black, Giovani opts for a navy blue instead because it works better in his painting.
Remember how we advised you earlier to avoid using true blacks and whites? This is a good example of where this technique comes into play.
In fact, the fabric of a true navy blue suit is designed to appear blacker than black in certain lights, which gives you another example of how flat colors such as black rarely appear in reality.
Having applied these base layers for the clothing, it’s time to move back to skin tones in our caricature tutorial and discover how you can use a variety of techniques to create an incredibly realistic effect.
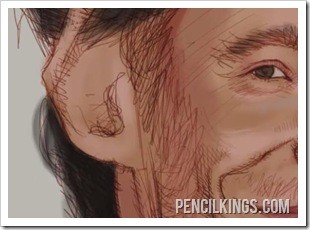
Skin Tones
Having blocked in some color for the clothing, it’s now time to turn the transfer setting of your brush back on and adjust the flow as you discover just how Giovani creates those amazing skin tones.
First, apply some lighter color to the ear, using the color picker to select the tone you need.
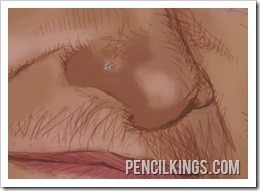
Moving on to the eye area, select a blue-gray color for the area beneath the bottom eyelid and then carry on working picking up colors on the fly and adjusting your brush flow and opacity.
This caricature tutorial is a good example of how different artists use the techniques which work best for them personally.
Whereas some artists recommend defining your palette in the early stages, Giovani likes to mix colors as he works. Both methods are equally valid – you just have to choose the one that works best for you.
When starting out, some digital artists experiment using Photoshop’s smudge tool to blend colors.
Although this can give a good effect, you can get a much more organic feel and achieve much more subtle variations by adopting the process used by Giovani and other artists featured in our videos.
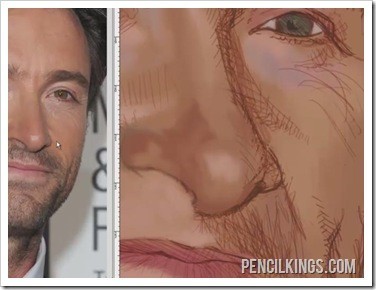
Painting Over the Line Art
Another great technique is to create another layer on top of the line art layer and then follow the lines using your choice of brush.
In this caricature tutorial, note how Giovani covers up some of the original drawing but leaves it more visible in other areas – this helps give the caricature a nice, painterly feel and makes it more visually appealing.
It’s also a good idea at this stage to drop the opacity of the line art layer down to around 30 per cent, meaning that your painted layers will blend more nicely with the drawing underneath.
You can always hide the painted layer from time to time just to check you’re painting the right areas. This is a good time to add in some darker, defining lines, in areas such as the underside of the nose.
Blending Colors
You’ll notice how the colors are now being blended using varying degrees of brush flow and opacity to create subtle variations.
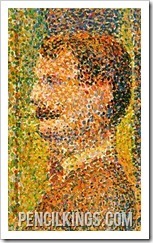
When working up close, it can often be difficult to establish just how much your colors need to be blended, but you needn’t worry – once you’ve zoomed out again, it’s surprising just how much information your eyes and brain actually fill in for you. Areas that look patchy up close can appear much smoother from a distance.
This was a technique adopted by the French Post-Impressionist painter, Georges Seurat, in the 19th century, who used a series of dots painted in different colors so that, when seen at a distance, the viewer’s brain would fill in the rest of the detail to create smooth blends.
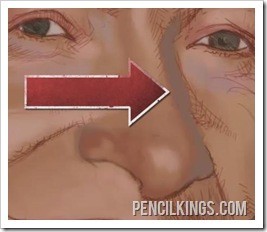
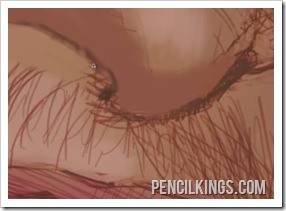
Adding Shadows
It’s now time to add some areas of shadow to the face to help define it. Notice how Giovani applies a blue-gray shaded area to the side of the nose in his caricature tutorial – this is partly because of the way all colors reflect off each other.
In this case, there’s a strong light source on the left of the original photo, meaning the nose is reflecting the color of the darker gray background to the right.
It’s also because shadows on human skin usually appear to have a blue tint, which are due to the way our veins beneath appear when seen thru the epidermis.
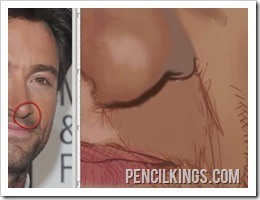
Finally, paint in the dark line on the tip of the nose, remembering to avoid using a solid black.
Again, this may look a little stark when viewed up close, but once you’ve zoomed out, you’ll soon see how all the different tonal values blend together to create a realistic and visually stunning picture.
In the next caricature tutorial, you’ll learn how Giovani works with more subtle blends and tonal values on other areas of the face, particularly the lips.
Return to the How to Paint a Caricature Lessons Page