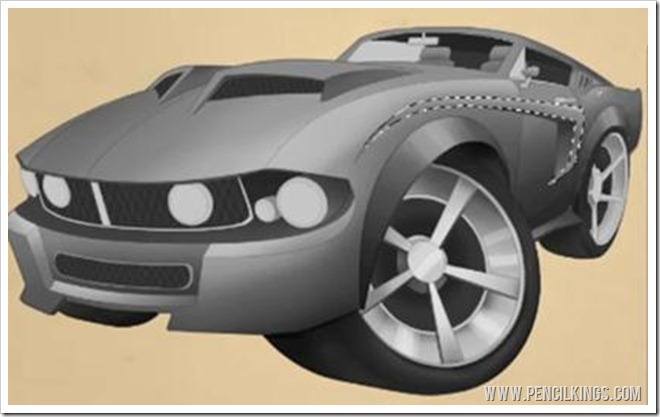

Let’s accelerate to the finished painting in this series
In the previous lesson on how to draw a cartoon car, you learned how to add dark and light tonal values to your digital painting of a 1967 Mustang.
Now, you’re ready to start using these as a basis for a fully-rendered painting using a variety of professional Photoshop techniques.
Although we’re painting a vehicle here, you’ll be able to apply the skills you learn to every other aspect of your artistic career.
April Eriksson paints a wide range of subjects and, after watching this video series, you’ll be able to do the same!
So, pick up your graphics tablets and step on the gas – let’s get revved up for rendering!
Here are the Main Takeaways From This Lesson on How to Draw a Cartoon Car:
Learning how Your Brushes Work
The brush you’ve created will allow you to add smooth, subtle gradients to your painting and, when you press harder, will create darker areas.
Before you start rendering, it’s worth experimenting with your brush and seeing all the different cool effects you can achieve.
As we mentioned in the previous lesson, it’s important to remember which layer you’re working on – make sure you’re not accidentally coloring on your lineart layer!
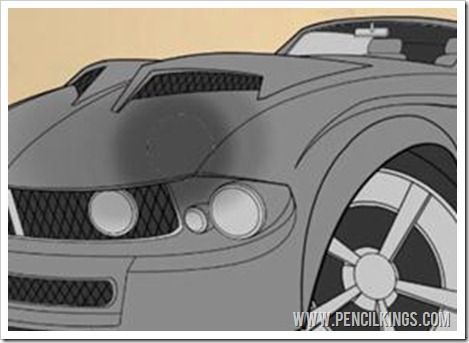
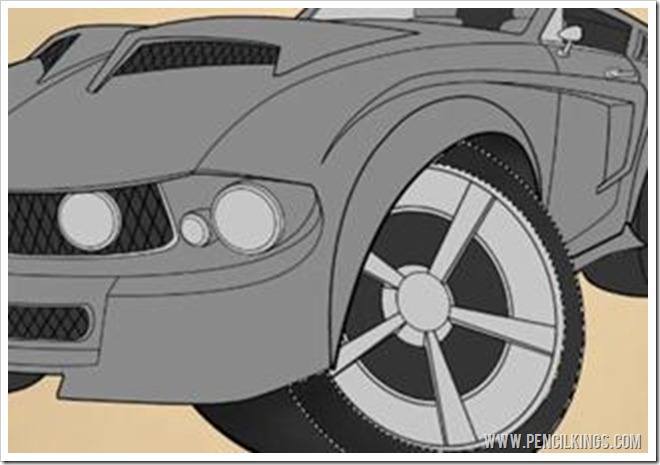
In this example, the areas of highlight will be the chrome trim, the wheel rims and some areas of the bodywork.
Just like with the darker areas, try to avoid going too light too fast – you’re looking for a shade of gray that’s just slightly lighter than the mid-tone used on the bodywork.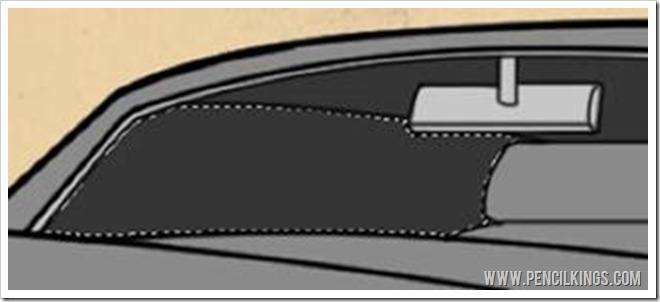
Take Action on Repetitive Tasks
Having to do the same thing over and over in a painting can get a little boring. The solution is to use a Photoshop Action to perform repetitive tasks so you can get on with the fun parts!

In this series, you’ll probably find that constantly going to Select > Modify > Expand and then expanding your selection by 2 pixels is getting to be one big yawn.
So, why not set up a Photoshop Action to do this instead? Here’s how:First of all, create a new layer and make a selection anywhere on your painting. You don’t have to use the Lasso Tool for this – you can either use your Magic Wand or a simple Rectangular Marquee.
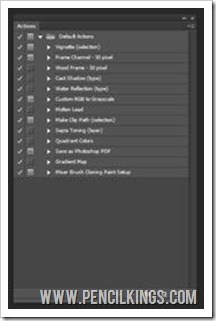
Then, go to Window > Actions to bring up your Actions Palette.In the bottom right of your Actions Palette, you’ll see a symbol that looks like a piece of paper with the corner folded over. Clicking on this will enable you to create a new Action, so once you’ve done this, name your new Action ‘Expand Selection 2 Pixels’.
Then, hit Record to begin recording your Action.
Now, anything you do in Photoshop will be recorded until you press the Stop button.
The advantage of using Photoshop Actions is that you can assign each Action to a keystroke and therefore save yourself a whole lot of time.
Choose a Function Key (F1 etc) to assign your Action to. You even have the option of playing your Action by hitting Shift and a Function Key if you need to.
Once you’ve stated recording, simply repeat the process you’ve been using to expand your selection.
Go to Select > Modify > Expand and then expand your selection by 2 pixels as before.
Hit the Stop button to stop recording and you’ll now have a handy Photoshop Action which you can use whenever you need to perform this task!
You might find that you have to re-assign a Function Key to your Action once you’ve saved it. This is because Photoshop will automatically put your new Action into its default settings in the Actions Palette.
To do this, click the New Folder symbol on your Actions Palette and call it ‘Custom’. Then, double-click on the name of the Action and assign a Function Key.
Actions can take a little while to get used to, but they can come in really useful when performing repetitive tasks such as this. Your Actions are always active even when your Actions Menu is closed, so you’ll only need to hit your assigned Function Key to see them working.
Once you’ve recorded your action, delete the new layer you created to do this and go back to your render layer – it’s time to add some smooth shades to your 1967 Mustang and see how to draw a cartoon car just like a professional artist would!
Getting Into Gear With Gradients
You can start adding smooth gradients to any part of your painting, but in this example, April starts with the wheels.
Try and think about where your light source is coming from and use your reference photos to help make decisions about how the forms should look.
In this painting, the underside of the wheel is in shadow because the light source is coming from the top. Keep adjusting your gray color to achieve smooth blends and gradients.
In the next lesson on how to draw a cartoon car, you’ll discover the key to color rendering and how you can take this grayscale painting to the next level with a variety of professional Photoshop techniques.
We hope you enjoyed this lesson on how to draw a cartoon car. How did you get on with creating your own Photoshop Action?
Leave us some feedback in the box below!
Return to the Car Caricature Color Lessons Page