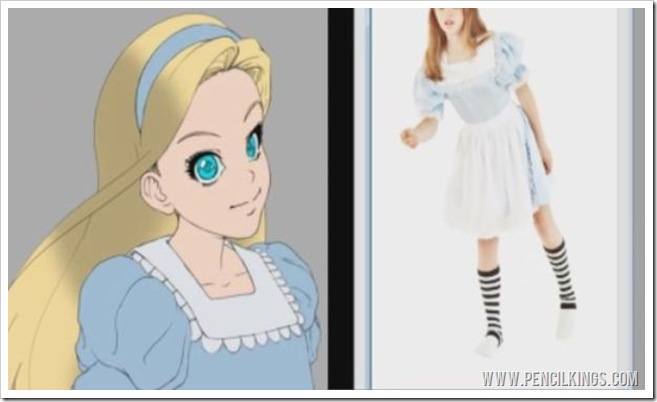
Take a peek at how the finished painting in this video series on painting anime will look
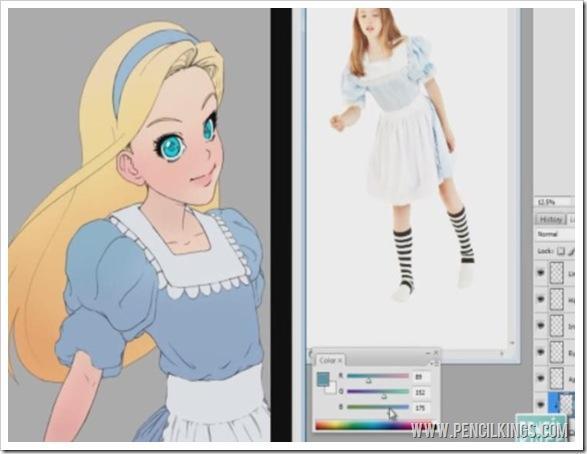
Adjusting the Color of Alice’s Eyes
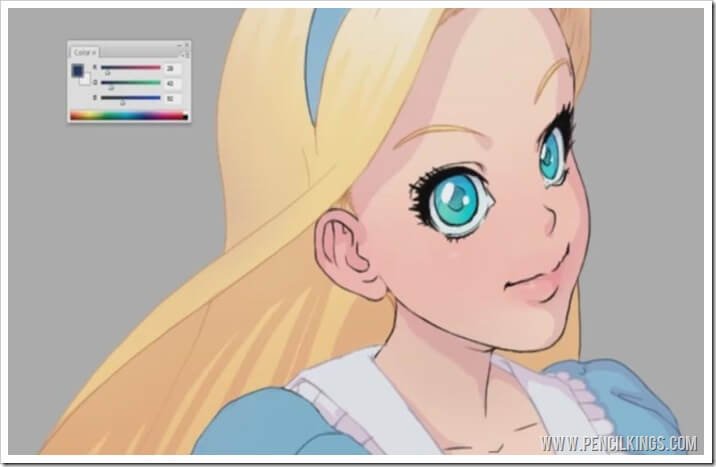
Sycra finished off his last video on painting anime by adding color to Alice’s eyes, changing them from a scary red (the flat color) to a more suitable blue.
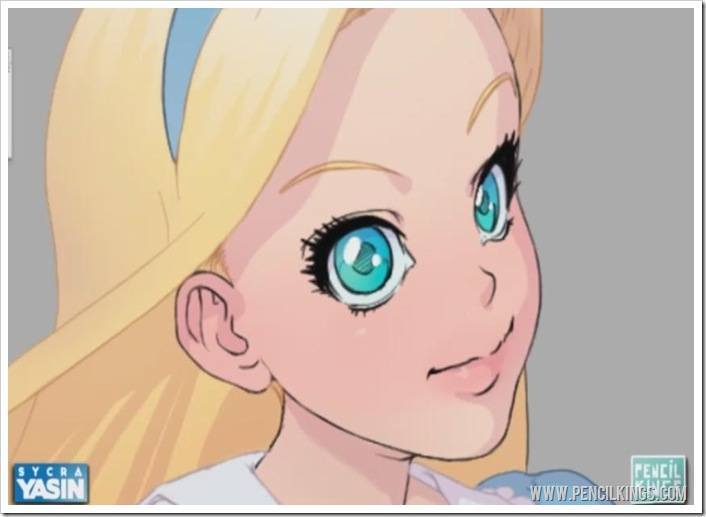
Having looked at the eyes again for this video, he decides to change the color slightly, choosing a more saturated blue/green color that really stands out.See how the eyes now really jump out of the painting at you? Using more saturated colors with less saturated, subtle shades is all part of the creative process and the skills you’ll pick up in this video series will become your ‘go to’ for every any other paintings you work on.
So, let’s get to it and learn some cool Photoshop tricks and techniques to help you get the colors you want each and every time!
Painting Anime – Adding Color Variation
All your flat colors should now be in place, so now it’s time to add some color variation to our digital painting of Alice and see how different shades applied to various areas can make all the difference.
To do this, select the Brush tool and let’s make some adjustments to the brush you’re going to be using. First, select a round brush and change the hardness to zero per cent.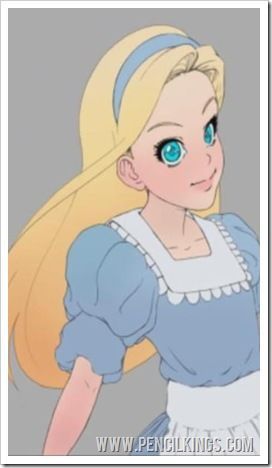 Then, adjust the size of your brush to around 325 pixels – this will make your brush act like an airbrush and give you some nice color variations.
After this, bring up your brushes menu and adjust the spacing to seven per cent. Under ‘Other Dynamics’, check that your Opacity and Flow are set to zero, and then make sure Pen Pressure is selected.
You’re good to go! Before you make the first mark with your brush, be sure to lower the Flow and Opacity to 27 per cent – what we’re after here are subtle tones that reveal the color beneath them.
Creating a New Clipping Layer
When you’re painting anime and adding color variations, you only want them to apply to the later you’re working on and not affect the other layers.
There are two ways of doing this. You can either lock the layer you’re working on (for example ‘hair’) and then any marks you make with the brush will only appear on that layer.
However, many artists, Sycra included, don’t like to do this because it means you’re making marks on that layer which can be difficult to undo if you make a mistake.
The best solution is to create what’s known as a ‘Clipping Layer’ above the layer you want to work on – this will mean that your brush strokes will only appear on your chosen layer and they won’t affect your original work.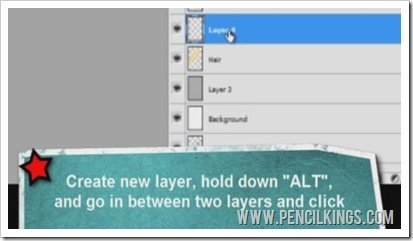 To do this, create a new layer above the one you wish to work on, then hold down the Alt key to link this new layer with the one beneath.
You’ll see a little symbol of two intersecting circles appear, which means once you click on the new layer, it will be linked to the one beneath. This is called a Clipping Layer.So now, you can go to work with that airbrush without affecting any of the other layers and you can adjust the hue and saturation without altering anything but the Clipping Layer – neat!
For example, let’s say you used your brush on Alice’s hair but decided you wanted to make that color darker. By creating a Clipping Layer, you’ll notice that any adjustments you make will only apply to your brushwork – not to Alice’s hair.
Choosing Colors for Your New Clipping Layer
Use your Color Picker Tool to select colors for your Clipping Layer. In this video, you can see how Sycra selects the bright yellow color of Alice’s hair then darkens this slightly using the Hue and Saturation palette to create a perfect color for applying shading to his painting.
Keep experimenting until you find the shade that works for you – remember, because you’re now working on a separate layer, this won’t affect any of your other work.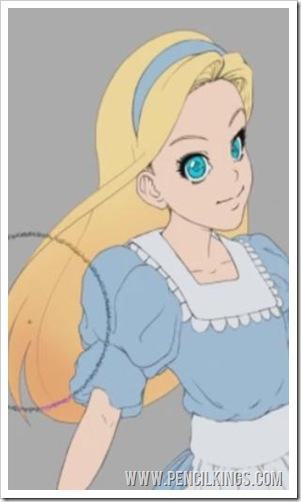 Try to choose colors that are just slightly darker than the original – this will mean you get nice subtle blends that work well in your painting and look realistic.
Experiment with the Hue and Saturation palette and get to know how the sliders work. Try adjusting the values of each color and see how this affects the look of the colors used in your painting.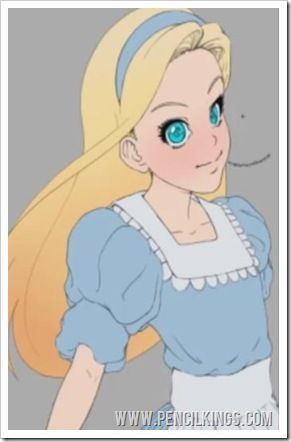
Putting Some Color in Alice’s Cheeks
Using this same technique, let’s now put some color in Alice’s cheeks. Again, select the layer you want (in this case, the ‘skin’ layer), create a new layer on top then hold down the Alt key to create a Clipping Layer.
For your next task in painting anime, you can then select a reddish hue based on Alice’s skin color to add subtle variation.You might find it easier to select a smaller brush size since we’re working on a smaller area – this will give you more control and allow to work upon specific areas of the ‘skin’ layer that your new Clipping Layer is linked with, such as the cheeks, the neck and Alice’s arm.
You can add as many subtle color variations as you like – for example, Alice’s lips are going to be a darker shade of red than her cheeks, so use your Color Picker tool to select the color, then make it darker using the Hue and Saturation sliders.
Changing Colors in Alice’s Clothing
Repeat the process for Alice’s clothing. After you’ve created a new Clipping Layer, use your Color Picker tool to select the blue of Alice’s dress, then make this darker using the Hue and Saturation palette.
A large brush is best for this area, because it’s one of the largest sections in your painting. Add some darker areas towards the bottom, on the sleeves and at the bottom of the chest.
We hope you enjoyed this video course on painting anime and that you continue to have fun and experiment!
In the next part, you’ll learn how to apply these same principles to areas such as the eyes and discover how to create realistic-looking shadows that will give your digital comic painting of Alice real depth and form.
Return to the Anime Comic Painting Lessons Page