Anime Painting in Photoshop – Clothes

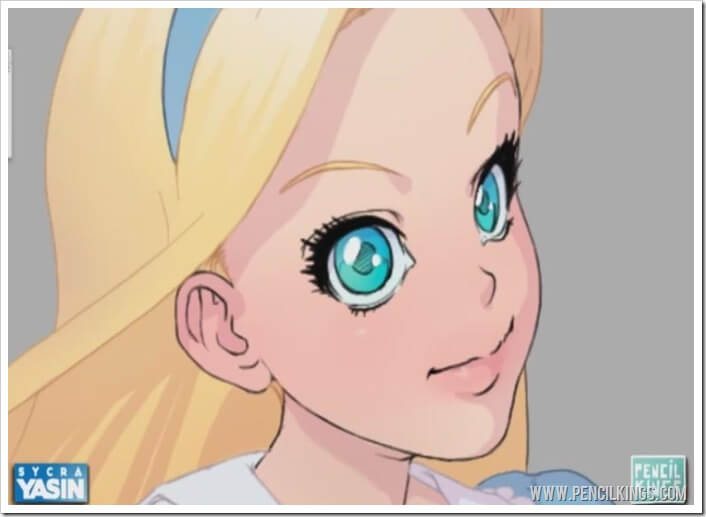
Here’s a preview of how the final painting in this lesson will look
Finishing off the Flats
Want to learn anime painting in Photoshop? In the previous parts of our video course, you learned how to lay in some wild and crazy colors for the skin and clothing.
Now, you’re going to continue working on laying in the flats for the other areas of our digital painting, such as the hair, eyes and apron.
Remember, your painting may look a little strange at this point, but don’t worry – all will be revealed once you start work on the later lessons in this series.
Laying in areas of flat color is a quick and easy way to get started with anime painting in Photoshop. And, it will help you enormously when it comes to shading and rendering later on.
So, let’s see how you can apply the same laying in techniques to other areas of your digital painting!
Waving Goodbye to White Space

Having filled in most of the areas of clothing, it’s often worth taking a second look to see if you’ve missed any parts.
If you have, select the Pencil tool and wave goodbye to that white space! For small areas, it’s probably quicker to use this method than the Magic Wand tool.
Adding Color to Alice’s Apron
Once you’ve layed in the flats for Alice’s dress, you can now get to work on her apron.
Create a new layer for this, double-click to name your layer, and then choose a suitable color to work with – in this case, Sycra’s chosen a lighter green.Remember to expand your Magic Wand selection to six pixels to save yourself some work.
It’s a Flat Hair Day!
Now, for the next part of anime painting in Photoshop, let’s get to work on laying in the flats for Alice’s hair.
Zoom in on your painting and you might notice certain areas, such as the eyebrows, which contain some of the vivid green color used for the ‘skin’ layer. You can put this right easily by simply selecting your Eraser tool and rubbing out any areas on the ‘skin’ layer where the flat color has overlapped.
Create a new layer called ‘hair’ and make sure this is underneath the ‘skin’ layer – this will allow you to lay in the hair color without worrying about making any unwanted marks on the layer above.
Next, use your Shift key to select multiple areas on the ‘hair’ layer and expand the selection to six pixels. You’re now ready to choose a flat color for Alice’s hair.
Sycra has chosen an electric blue, so go right ahead and fill in the hair using this color. We know what you’re thinking – our picture of Alice now looks like a zombie Katy Perry, right? Don’t worry about it – these colors are only there as a basis for your painting and the finished result will look completely different!
Finish off your ‘hair’ layer by increasing your brush size and filling in any white areas that still remain – because your ‘skin’ layer is sitting above the layer you’re working on, you can paint freely without worrying about it.
Checking Over Your Painting

We’re almost done with laying in the flats, but before we move on to the eyes, it’s worth having a final look at your painting to see whether there are any areas that still require some work.
In the video course which accompanies this post, Sycra notices that he has missed an area of Alice’s apron. So, if that’s the case for you too, go back onto the ‘clothing’ layer to select the area you want to add to the ‘apron’ layer – in this case, the frilly area at the top.
Again, use your Pencil tool to fill in any areas that didn’t quite get filled when making and expanding your selection.
Anime Painting in Photoshop – It’s all About the Eyes

Finally, we’re ready to move on to the eyes, where you’ll be able to make Alice look even more like a zombie Katy Perry by using a vivid red for the flats!
Create a new layer called ‘eyes’ which sits on top of everything else. Then, select a color for the white areas of the eye – Sycra chooses a light blue.
Because this is only a small area, you can just use your Pencil tool to color this in. Once you’re done, create another new layer called ‘iris’ so that you can work on this layer without affecting the others.
Now, it’s time to add to that zombie effect by selecting a bold red and filling in Alice’s irises. Wow – she looks a million miles away from the cute character we started off with!
Finally, create one more new layer for the highlights in the eyes and choose white to fill this area in using your Pencil tool.
During this lesson on anime painting in Photoshop, you’ll notice how Sycra is continually zooming in and out of his painting.
If you want a quick way to do this, simply hold down the Ctrl key and then press the + or – keys to zoom in and out. If you hold down the Spacebar, this will also give you the ability to move around your painting easily.
Once the eyes are finished, take a final look over your painting to see if there are any more areas which need attention.
Then, you’re ready to move on to the next exciting stage in our anime painting in Photoshop course, where you’ll be learning how to adjust these vivid flat areas of color and turn Alice back from a zombie Katy Perry into a cute cartoon character once more!
Return to the Anime Comic Painting Lessons Page