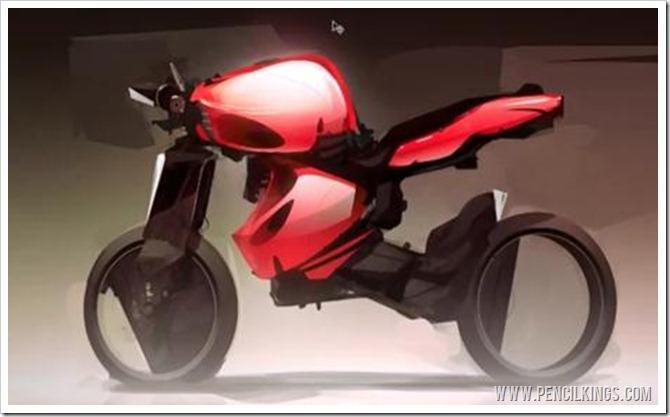
Here’s how the finished painting in this series on drawing motorcycles will look
In the previous lesson on drawing motorcycles, you learned how to refine your thumbnail sketch in preparation for working on your motorcycle concept painting.
Now, you’re going to start blocking in some basic tones and shapes to define your painting using a variety of brush techniques.
After this lesson, you’ll have picked up skills and techniques which you’ll be able to apply in every other aspect of your artistic career, so get the motor running and let’s get started!
Here are some important points to remember from this lesson:
Create a new Layer for Basic Tones and Shapes
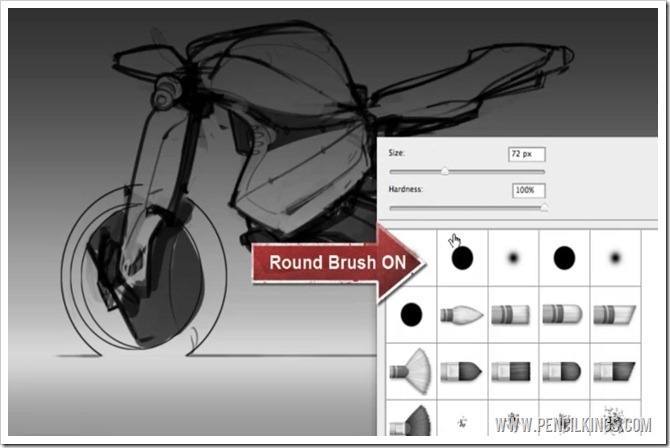
To start rendering and learning about drawing motorcycles, create a new layer above your gradient layer so your drawing is sitting on top.
Then, take a round brush of around 72px and you’re nearly ready to begin painting.
Setting up Your Brushes
When getting started with drawing motorcycles, it’s always a good idea to set up your brushes before you start painting. This will enable you to get the effects you want and make working on your painting a lot quicker and easier.
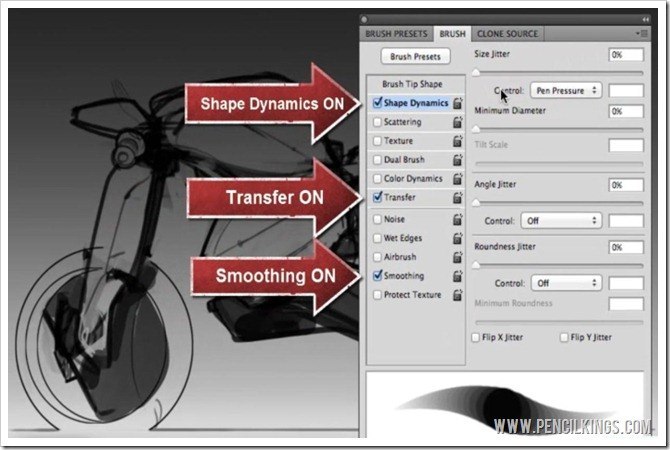
Bring up your Brushes Palette and check that Shape Dynamics are on and set to Pen Pressure.
Ensure your Transfer and Smoothing are also turned on and set the Spacing of your brush to one percent – this will give you a nice smooth line to work with.
Blocking in Basic Tones and Shapes
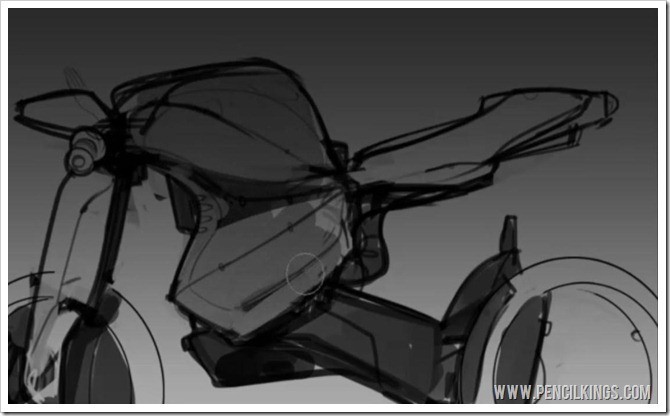
For the next part of this lesson on drawing motorcycles, you’re now ready to start painting. Select a black with an opacity of around 40 percent and begin filling in the bodywork of your motorcycle.
We’ll be working with blacks and grays for most of this series and adding color later.
Try not to be too precise at this stage – the key idea is to work quickly so you can get as many different motorcycle concepts down as possible.
Adding Shadows and Lighter Areas to Your Painting
As you’re blocking in areas on tone, try and think about where the light source is coming from and use reference pictures to help you out.
Here, you can see the light source is coming from the top, meaning the top of the tank will be lighter while the underside will be in shadow.
Also add some shading to the ground line (hold down Shift to get a straight line) and then erase the line you drew for the ground earlier in your lineart layer.
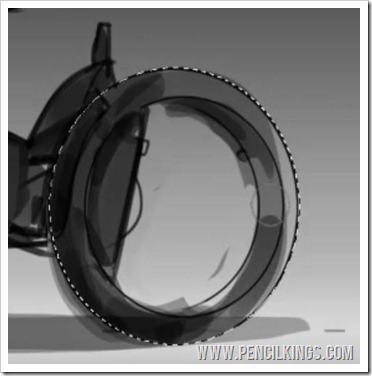
Using Masks to add Shading to the Wheels
Although we’re working quite roughly here as we show you about drawing motorcycles, it’s worth being a little more precise when you come to the wheels.
To do this, select the Elliptical Marquee Tool from your Toolbar and draw a circle around the wheel.
Then, you’ll be able to quickly add shading to this area without worrying about going over the lines.
This will give you a clean, defined edge for your wheels.
Repeat this process for the other wheel and again, think about which areas will be in light and which in shadow.

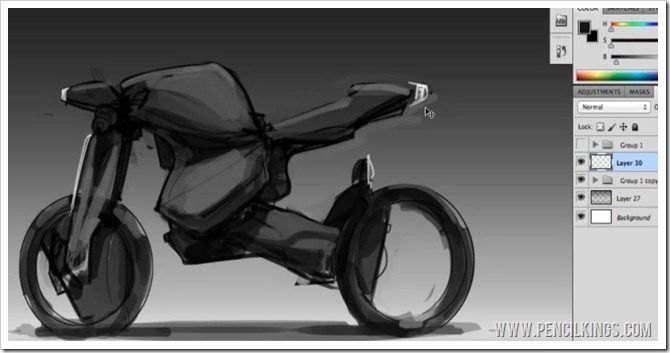
Adding Highlights to Your Painting
Now you’ve blocked in the shaded areas, create a new layer and start adding some highlights.
Again, use reference photos to help you decide where the light source is coming from and zoom in and out of your painting adding highlights to areas such as the top of the seat and the part of the petrol tank which catches the light.
Some artists like to work on many layers, creating a separate one for each aspect of their painting. James prefers to keep things simple and works on two or three layers. Find the method that works best for you!

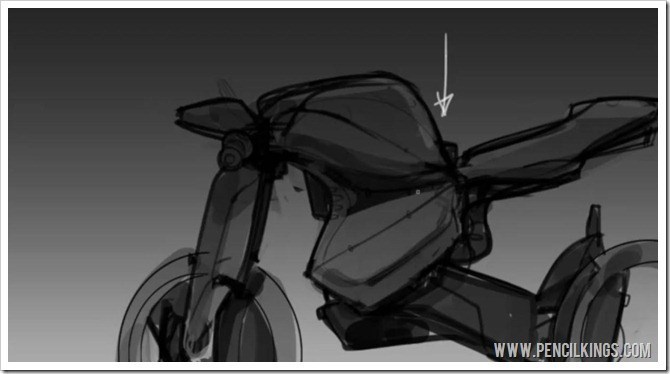
Adding Fine Details to Your Painting
As well as blocking in areas of shade and highlight, you can also go through your painting and add areas of fine detail wherever you think necessary.
These will help give an added dimension to your work and create visual interest.
Simply make your brush smaller and select the shade you want to work with.
Here, you can see how James adds a small area of detail to the rear of the motorcycle.
Grouping Your Layers
Once you’ve finished blocking in all your areas of form and shadow, you need to group your layers so you can begin working on top of them.
To do this, highlight the areas you’ve been working on (background, painting layer and lineart) and then in the Layers Palette, go to New Group.
These layers will now be placed in a separate group to the rest of your painting and you should see a folder icon appear in your layers.
It’s also a good idea to duplicate this group just in case you need the original to go back to. You can do this by going to your Layers Palette and selecting Duplicate Group.
Once you’ve done this, you’re ready to move on to the next lesson in this series, where you’ll be creating the wheels of your motorcycle.
We hope you’re learning a lot so far in this series on drawing motorcycles. Why not let us know how you’re getting on by leaving us a comment in the box below?
Return to the Motorcycle Concept Sketching Lessons Page