How to Draw a Geisha: Create the Neckline and Hanging Fabric
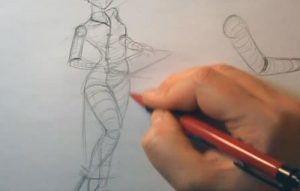
After going through the last lesson on how to draw a Geisha, you should have a good idea about how this fabric is going to flow over the curves of the body.
Because this is going to be a robe the left side is going to fold over the right at the neck.
As you continue to draw the robe over the hip notice how it falls straight down from the widest part of the body right to the ankle.
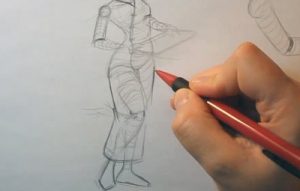
Adjusting for the Knee
Because the knee is pushed out from the torso the fabric of the dress is going to be pulled in toward the back of the knee as you learn how to draw a Geisha.
After you’ve drawn that in, you can add the line work to show the edge of the dress on the left leg.
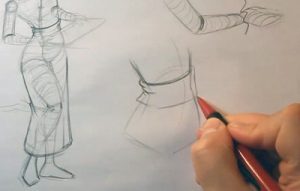
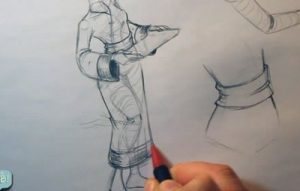
Waist Study
Notice how Laurie takes a moment to go through and explore how the sash is going to look on the character.
Tugging Fabric
As you work through your drawing remember to take care to draw those areas where the fabric should be pulled tight because of the character’s pose.
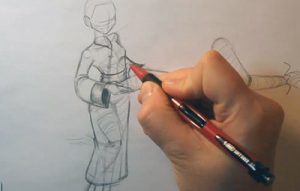
When learning how to draw a Geisha, the key areas to focus on are: the knee, elbow pelvis and armpit.
Another good place to add in wrinkles in the clothing is anywhere the clothing is folding over itself.
Finishing Up
Draw in some cuffs at the end of the sleeves and a decorative band at the bottom of the dress to finish off this lesson.When you are doing your own drawings, don’t be afraid to take a moment to do a few exploratory sketches to get a look that you feel is right for what you’re trying to make.
Scrap paper is a good place to create these sketches.
That’s it for this tutorial. We hope you enjoyed learning how to draw a Geisha girl with flowing robes!