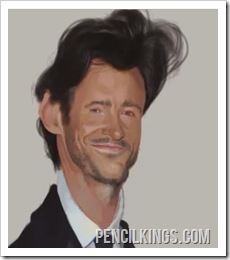
Here’s a look at the final painting in this lesson
How to Paint Eyes: Working on the Final Details
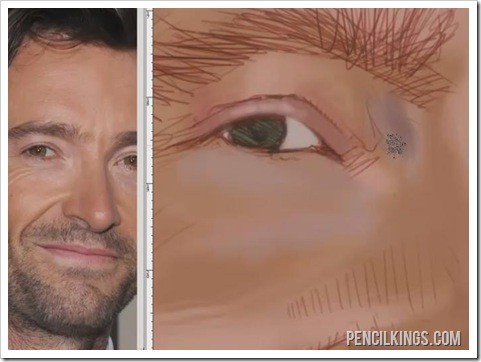
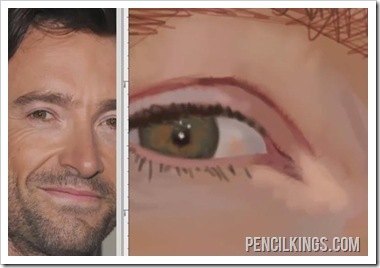
Want to learn how to paint eyes? Now that most of the work has been done on other areas of the face, you can now select a smaller brush and zoom in to add detail to the eye area.
Note how Giovani has also zoomed in on the original photograph to give him a clearer idea of which areas require attention.
The aim here is to add definition to this area and paint over most of the underlying line work, so you end up with a painterly looking image which reflects your individual style.
Working on the Eyelids
You’ll have noticed from other tutorials with artists such as Sycra Yasin that the upper eyelid is often more in shadow than the lower.
When learning how to paint eyes, you can adopt a similar technique to add real depth and form to this area.
Take a dark color and follow the line of the upper eyelid before adding some more shaded and highlighted areas on the eyelid itself.
The lower eyelid is usually much lighter because this is one of the areas where the light hits the face.
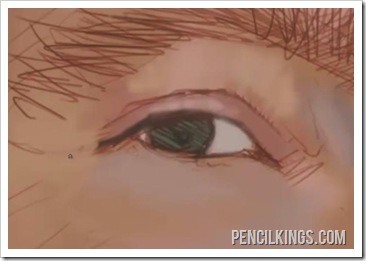
Adding More Detail to the Iris and Pupils
Moving on to the eye itself, you can add some splashes of color to certain areas which may not look defined close up but will add to the overall image when you zoom out.

Using the original photograph as your guide, add some splashes of lighter green to the iris followed by some areas of peach to suggest the underlying blood vessels in the eyeball itself.
This is a technique used extensively throughout the history of art and can be seen in works such as this example by the 17th century Dutch Master Rembrandt.
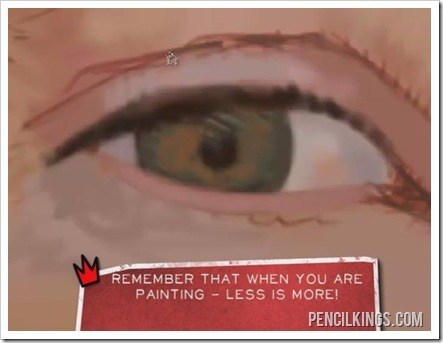
Remember When Painting That Less is More
An important point to bear in mind when you’re learning how to paint eyes is that less is more. In fact, this principle applies to any subject matter!
So this means you don’t have to zoom in and work on every single minute detail to achieve the effect you require – it’s amazing how much of the information in a painting is actually processed and completed by the human brain.
Therefore, just applying splashes of color can result in a superb effect when your painting is viewed from a slight distance.
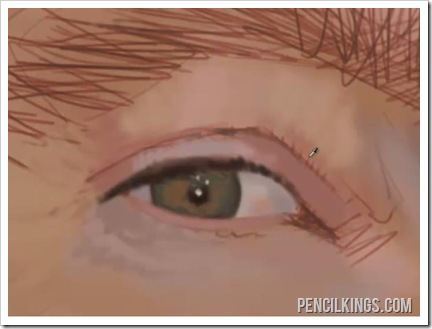
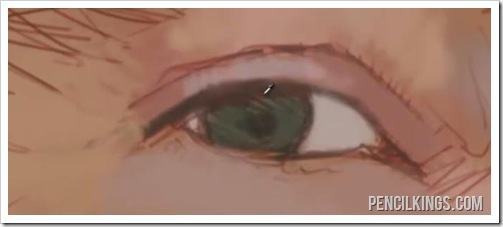
Adding Highlights to the Pupils
Having selected a really fine brush to blend some of those colors in the eye further, it’s time too add some highlights to really bring this feature of the face to life.
Note that in this example, there are three light sources reflected in Hugh Jackman’s pupils, so we’re going to add those here using the original photo as our basis.
Painting the Eyelashes
When painting the eyelashes, remember that when working on a male subject, you don’t have to paint each individual eyelash – there can be represented by simply painting in some clumps of color.
It’s different when learning how to paint eyes on females, since each individual eyelash is often more clearly defined through the use of mascara and other cosmetics.
While working on the eye area, you can also take some cues from the original photograph to pick up on certain elements, such as the light area here where the eyelids meet the rest of the face.
Again, you don’t have to work in too much detail – just add a splash of color to represent this.
How Using the Right Brushes can Help Create a Painterly Feel
By this stage, the portrait is really coming together.
It’s interesting to note how using the right brushes can stop your painting from looking too digital, so you end up with a stunning painterly, almost analogue effect.
Remember that adjusting your transfer settings will enable you to interact with your painting, making darker marks as you press down harder using your tablet.
This results in a warmer, more organic painting that truly reflects your individual style.
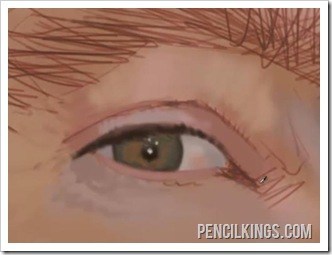
Refining the Shape of the Eyes
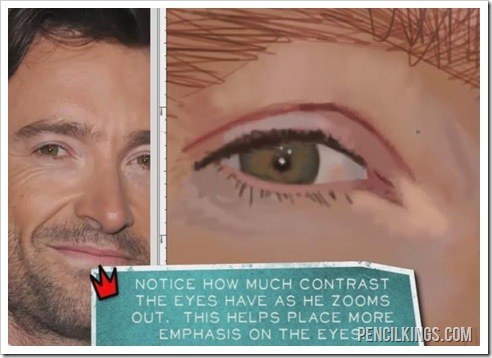
According to a famous proverb, the eyes are “the windows to the soul”. They’re certainly one of the crucial areas of the face to get right when working on a realistic painting or caricature.
Notice how the eyes have a great deal of contrast. This helps place more emphasis on this feature and will make your portrait really stand out.
All those little splashes of color you added will now really come into play as you zoom out of your portrait and see the overall effect.
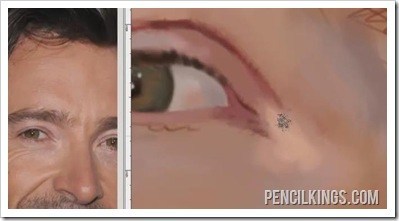
Working on the Rest of the Face and Adding Wrinkles
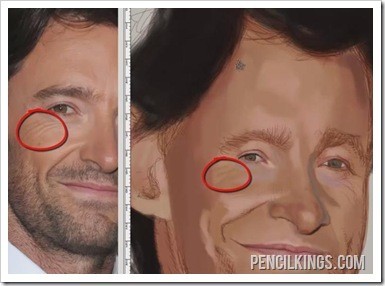
After zooming out and remembering to save your work, you can get a much better picture of which areas of the face still need working on.
A particular area to focus on when learning how to paint eyes are the wrinkles around the eyes and other areas. These help define a face and make it look human rather than too airbrushed as in some celebrity magazines!
Note how the original photo is again being used as a reference point for this. Although there’s a sharp contrast in the photo, you can choose not to make the wrinkles so deep in your painting – something your subject will certainly thank you for!
Nevertheless, it’s worth including wrinkles to some degree, since they add character to a face and reflect the subject’s personality. Just be sure to flatter your subject slightly when doing a caricature – this will help you in your artistic career and ensure your services are in demand.
Everyone has flaws they’re not particularly happy with – the trick as an artist lies in including these without making the portrait too unflattering and keeping an element of comedy.
Adding Wrinkles to the Neck Area
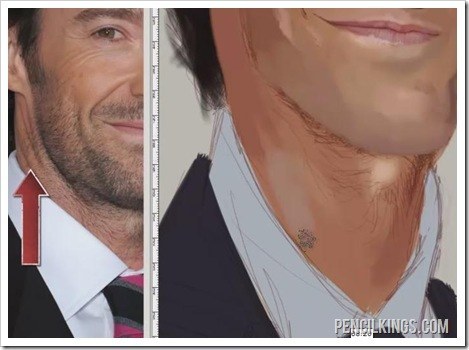
Note the deeper wrinkles on the neck area? You can add these by selecting some darker colors and painting them in to give extra form to your portrait.
Again, don’t go overboard with these – you have the choice as an artist to depict them without being too unflattering to your subject.
Now most of the line work underneath has been painted over, it’s a good idea to turn your layers on and off again to ensure you’re still following the original lines of your portrait.
Continue to zoom in an out again, adding more areas of definition, such as some shading around the Adam’s apple and on the right-hand side of the neck. You can work fairly quickly here, since the main focus of your painting will be on the face.
We hope you enjoyed learning how to paint eyes. In the next lesson, you’ll see how Giovani adds realistic-looking stubble to the face before moving on to complete his caricature.
Return to the How to Paint a Caricature Lessons Page