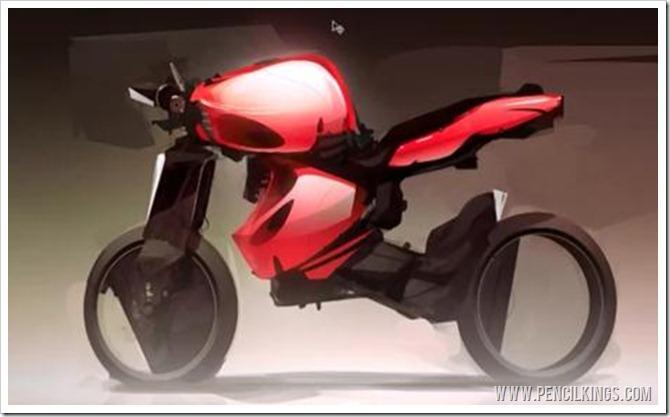
Take a look at the finished painting in this series on how to draw a motorbike
In the previous lesson on how to draw a motorbike, you learned how to create a variety of quick thumbnail sketches to develop the initial concept of your motorcycle design.
Now, you’re going to take your favorite sketch and add some more detail. In this lesson, you’ll learn a variety of professional Photoshop techniques that will really add flair to your artwork.
So, let’s get the engine running and get drawing!
Here are some important points to remember from this lesson:
Expanding on Your Original Drawing
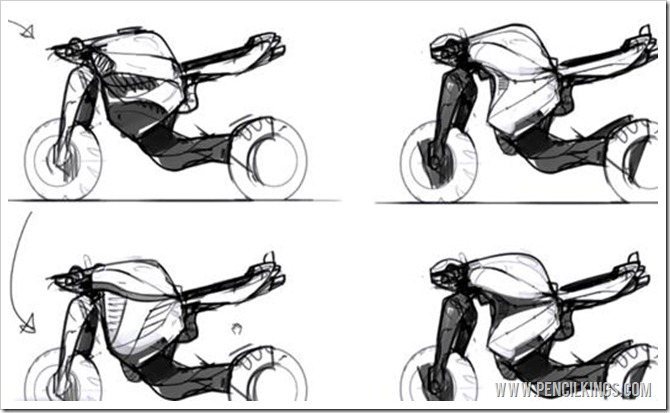
Once you’ve chosen your favorite thumbnail sketch, you need to duplicate this several times and try out different ideas on each one until you’ve found the right look for your motorcycle.
When learning how to draw a motorbike, remember that negative space (the area between objects) is just as important as the positive space of the objects themselves.
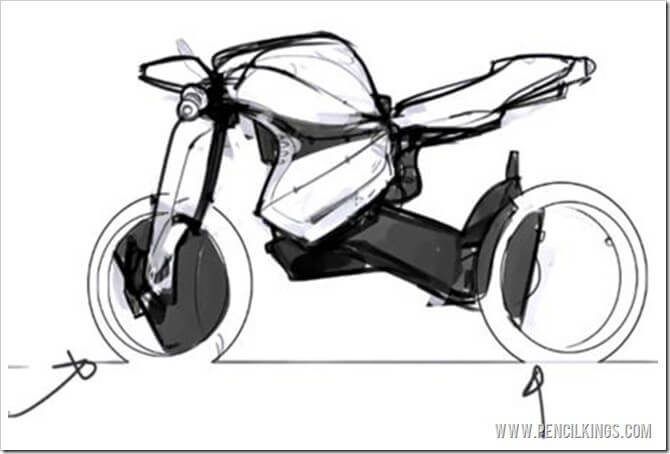
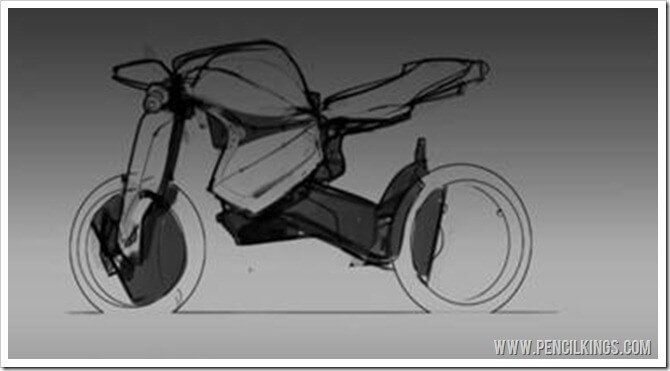
Altering the Size of the Wheels
Try making the wheels larger and sketching in a lower profile tire as in the example above. Notice how doing this makes your motorcycle more dynamic.
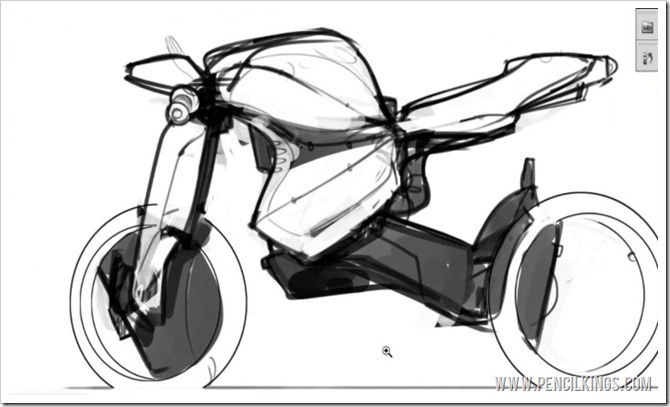
Taking Your Motorcycle Concept to the Next Level
Once you’re happy with the overall look of your motorcycle, you can begin taking your concept to the next level by blocking out the shapes and adding tone, form, shadow and lighting.
Creating a new Document for Your Final Thumbnail
Now you’re ready to start work on your finished motorcycle design concept, you need to first save your work and then create a new document that only features your chosen drawing.
To do this, select the Rectangular Marquee Tool from your Toolbar and draw this around your chosen image. Then, you can either create a new layer and hit Ctrl + C followed by Ctrl + V to paste your selection into this new layer, or create a new document and paste your selection into it.
Adding a Gradient to Your Background
Next, it’s time to get rid of that white background. Change the mode of your motorcycle layer to Multiply and then create a new layer beneath this for the gradient.
This will allow the background to show through your drawing layer.
To create your gradient, select the Gradient Tool from your Toolbar and draw a line running from top to bottom. If you want to darken the gradient, simply repeat this process.
If necessary, make your image bigger by going to Image > Image Size, change the Document Size measurements to percent and then up this to 150 percent.
You’re now ready to start rendering! In the next lesson on how to draw a motorbike, you’ll learn a variety of techniques which will enable you to work quickly and create awesome results.
By the time you’ve finished, you’ll be able to create a rough render in around 45 minutes!
Return to the Motorcycle Concept Sketching Lessons Page