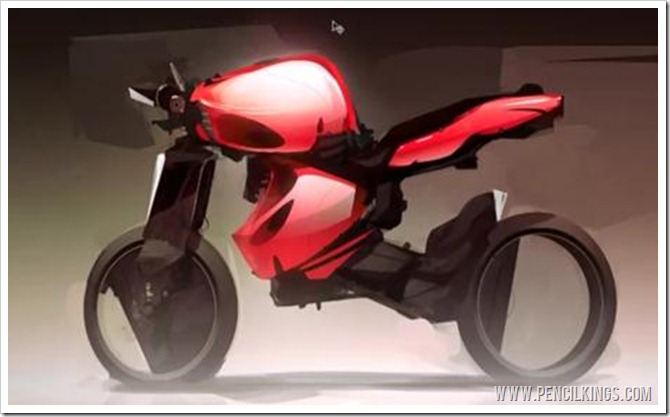
Take a look at the finished painting in this series on motorcycle concept sketches
Now you’ve learned about the various parts of the motorcycle in our previous articles on motorcycle concept sketches, you can step things up a notch and start creating some thumbnail sketches!
In this lesson, you’ll learn how to let your creativity flow and come up with a series of different concepts using a range of professional Photoshop techniques.
Try drawing as many different designs as you can – once you’ve understood the basic structure of a motorcycle, the possibilities for design are limited only by your own imagination!
Laying Down Some Different Shapes
We’re ready to start laying down some shapes for your motorcycle concept design! When learning how to make motorcycle concept sketches, here are some handy hints to remember:
Setting Up Your Brush
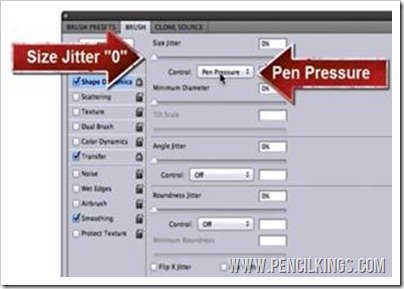
Taking a round brush, select your preferred brush size and change your brush dynamics by going to your Brushes Palette and selecting Pen Pressure for Shape Dynamics with a Size Jitter of zero.
Do the same for Transfer, and then turn Smoothing on if necessary and set your Spacing to around one percent – this will give you a nice smooth brush to work with.

Draw the Ground First
Drawing the ground first is a great starting point for learning how to create motorcycle concept sketches.
You can either do this freehand and hold down Shift while drawing to give you a straight line or go to the Line Tool which you’ll find in the main Toolbar.
Once you’ve drawn your line, you’ll have a good foundation upon which to develop your thumbnail sketch.
Adding the Wheels
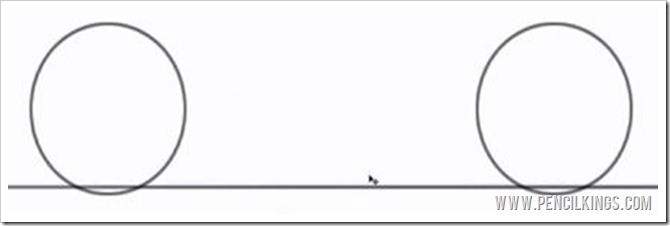
Create a new layer and then, taking the ground line as your basis, you can draw two wheels easily by selecting the Elliptical Marquee Tool from your Toolbar. Once you’ve drawn a circle, give it an outline by going to Edit > Stroke and then selecting a stroke width of 2px.
Remember to have your wheel sitting just beneath the line – this will give the impression of the wheels sinking into the ground slightly.
To create the other wheel, select Duplicate Layer from your Layers Palette and move the circle into position.
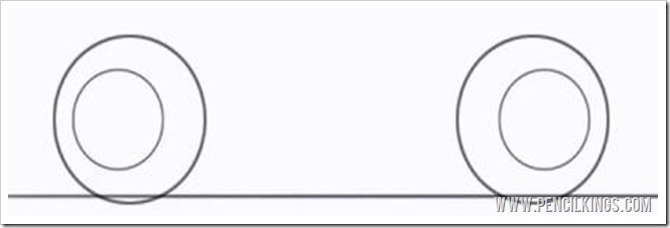
Adding Volume to Your Wheels
The wheels of your motorcycle are 3D objects, so to create the inner wheels and add form, make a duplicate layer of the circle, then hit Ctrl + T to make the circle smaller and offset it slightly.
Notice how placing the offset inner wheels off-center and opposite to each other gives your drawing an effective wide-angle feel. Once you’re done, hit Ctrl + E to merge your layers down.
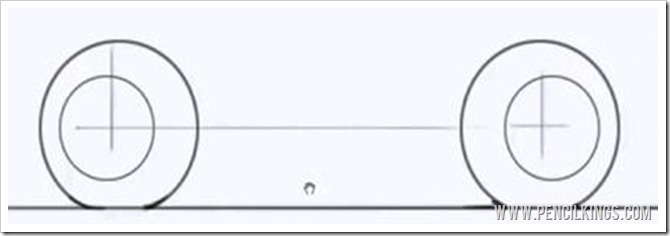
Creating a Rough Thumbnail Sketch of Your Concept
Once the wheels are in place, you’re ready to start sketching the shape of your motorcycle. Create a new layer, and then draw a horizontal line running between both wheels followed by some vertical lines from the center of each wheel.
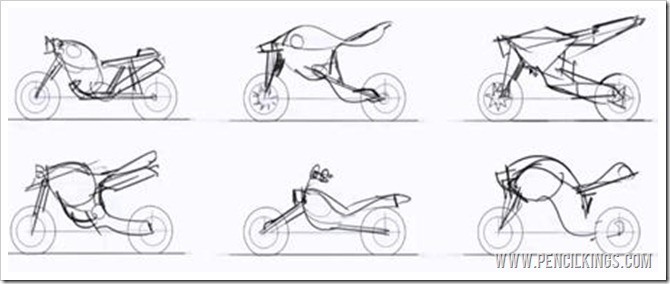
Next, start sketching out some rough ideas – aim to spend no more than 20 seconds on each one. Don’t sweat it if some of your drawings don’t turn out right – no-one gets it perfect the first time!
To start each new thumbnail, simply duplicate the layer your wheels are on and start sketching! Feel free to add more details to bring your sketches to life.
Eventually, you should end up with a series of rough sketches from which you can choose a favorite design.
We hope you enjoyed this article on motorcycle concept sketches. In the next lesson, you’ll be taking your chosen thumbnail and adding more detail to bring your motorcycle to life.
Return to the Motorcycle Concept Sketching Lessons Page