Learning how to photograph paintings and drawings can work wonders for your art portfolio
Learning how to photograph paintings and drawings is incredibly useful if you want to create a killer portfolio.
After all, what’s the point of spending hours on a painting or drawing if the photos in your portfolio don’t do it justice?
We’ve all been there – camera in hand, finger poised on the shutter, hoping to catch that great shot that really showcases all the subtle tones and colors in our work. Only to find that, when we look at the picture, it’s blurry or has a huge lens flare right in the middle of it.
Want to put an end to bad art photography for good? Here’s what you need to do….
Standalone camera…

…or smartphone?
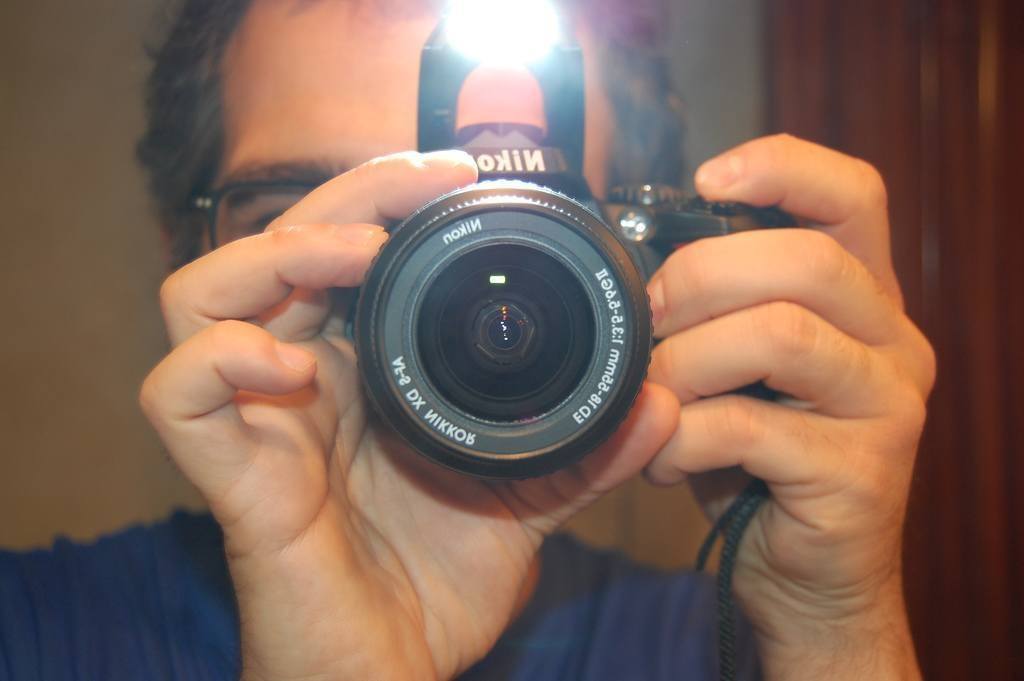
1. Choose your equipment – standalone camera or smartphone?
Just a few years ago, a picture taken using a cellphone was pretty much a recipe for disaster. Sure, it might have been OK for the odd selfie etc, but when it came to taking a high quality photograph? Nah.
However, times have changed. Today’s smartphones are often just as good at taking photographs as standalone cameras, but you might need to learn a few tricks to get the best out of these super-handy pocket-sized gizmos.
So the first trick you’ll need up your sleeve is a decent camera app (if your smartphone doesn’t already come with one). Why? Because you’ll need to be able to set the focus and exposure of your camera independently.
Apple user? Try Pro Camera 8 or Camera+
Android devotee? Go for Camera 360 Ultimate or Camera ZOOM FX Premium
Give Your Photographs Some Punch
Next, you’ll need an app that lets you adjust things like contrast, white balance, and color saturation. This is because your average, raw camera photo tends to look a bit flat, so you’ll want to push things a little to give your pic some real punch.
Try Photoshop Express or Snapseed – both will do a pretty fine job of this.
Whether you’re using a standalone camera or a smartphone, it’s worth taking some time to figure out how everything works.
It might sound like a no-brainer (What? Don’t you just point and shoot?), but each piece of kit has a different way of working. Therefore, getting to grips with this is going to save you time and a whole heap of frustration.2. Choose The Right Light For Your Photographs
This is probably the number one cause of crummy-looking pics, so it’s something you’ll definitely want to get right. But how do you do this?
Indirect natural light (but never direct sunlight) is best, but what about if it’s a dull, overcast day where even your brightest colors look drab?
That’s where artificial light can save the day. Take two table lamps, and then place them either side of your work – ideally at a 45 degree angle. Try and ensure each lamp is of equal brightness, and position them so you don’t get any cast shadows over your masterpiece.
Thinking of using the flash on your camera? Don’t!
3. Why The Flash is Not Your Friend
If it’s gone dark outside, or it’s just a dull, gray day, you might be tempted to use the flash. Don’t!
Not only do you run the risk of having a big, ugly lens flare over your photograph, using a flash will bleach out all your colors and make everything look flatter than a pancake.
Instead, just use the simple lighting set-up we described in point 2. This should provide you with a nice, balanced light for photographing your art.4. Stand Straight to Take Your Photograph.
Unless you’re planning to fill your portfolio with quirky shots of your work taken from different angles, you’ll need to stand straight in front of your painting or drawing to get a good shot.
Ideally, you’ll need to hand your paining or drawing on the wall to do this. Don’t be tempted to lean your canvas against the wall – even a slight angle is going to cause distortion when you photograph it.
Make sure your viewfinder is level with the center of your work, and that you haven’t got too much space either side.
If it’s a very big piece you might need to lay it on the floor and use a stepladder to get the best shot. However, for regular-sized work, standing straight in front should work just fine.
Avoid zooming in wherever you can – you’ll lose quality, especially with a smartphone.

Blurred photos can look cool, but not when they’re not meant to be.
5. Keep it Steady
Blurry photos can kill your killer portfolio, but don’t worry if you don’t have a tripod. It’s still possible to take a steady shot without one.
Try doing this:
> Holding your camera or smartphone in your hands, bring your elbows back until they meet your middle – this should help you get a nice, sharp shot.
> Alternatively, rest your arms on the back of a chair or anything that’s a suitable height for your photo.
> Finally, try this old-school trick: Just hold your breath before and during pressing the shutter button, and then exhale. Check it out – it really works!
So there you have it. Our handy guide to how to photograph paintings and drawings.
No more less-than perfect shots in your art portfolio – just crisp, sharp images that truly do justice to your artistic talents.
Got any more photography tips to share? Just pop them in the comments box below.
great tips, Owen! I’ve used a Canon EOS for some time but have found the camera in my iPhone 6 plus to be often superior in getting shots, especially for those I want to quickly and easily post online. My works are all 3D sculptures and daylight is my preferred light but not direct sun. I try to shoot in the magic hours without direct sun which is a moving target at my far northern latitude.
I also set up my Canon and take shots at the same time I take the iPhone shots, extra but cheap insurance with digital.
Hi Eric, thanks so much for your feedback! I’d love to see some shots of your sculptures, so feel free to drop me a link to your site 🙂
You suggest that one should not zoom. Where a mobile is concerned, I totally agree. However, with a DSLR or compact camera, a certain amount of zoom, probably to around half of the zoom range, will avoid barrel and pincushion distortion.
I usually photograph my art in the shade to avoid unwanted shadows and highlights on the canvas. A bit of post-processing in my photo editor and I’m done.
Hi David and thanks so much for your feedback. You’re totally right about using zoom on good quality DSLR or compact cameras, but I though it prudent to suggest avoiding zoom altogether on this occasion. This is because the quality of cameras can vary wildly, so I wanted to make sure people can get decent results in the easiest way possible. Thanks so much also for your tip on photographing your art in the shade – I’m sure lots of artists will find this useful 🙂
Hi Chris,
I like the fact that you have something positive to say about everyones comments and you encourage a positive dialogue.
Nice work! Your tips are pretty darn helpful too.
Jeff
Hi Jeff, thanks so much for your feedback. I guess my outlook reflects that of the whole team at Pencil Kings. We strongly believe that fear and negative comments hold a lot of artists back, so we always try to offer friendly, helpful and positive advice that will hopefully give them the confidence to succeed. In our view, there’s way too much negativity around – especially online. Glad you like my tips too 🙂