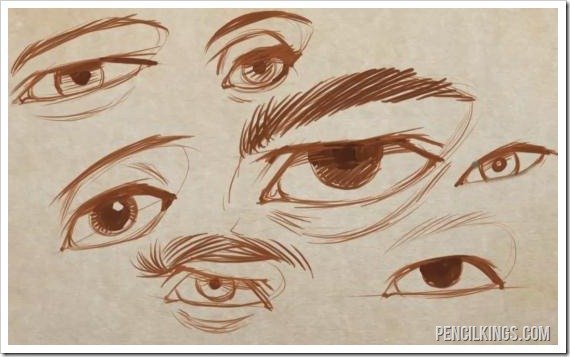

The 4 Basic Lines of the Eye
Want to learn about drawing basic eyes? It’s simple! The eye is made of up four basic lines as shown in this example image.
- The inner part of the eye
- The top of the eye
- The outer part of the eye
- The lower part of the eye
Where the eyes differ is determined by the following:
- Where the lower line meets the inside of the upper eyelid
- Where the lower line meets the outside of the eyelid
- Whether or not there is a crease on top of the eye
- The angle of the line making up the top of the upper eyelid
The rest of this lesson will be spent exploring how modifying the placement of the points of the eye listed above can give you a wide variety of different eyes.
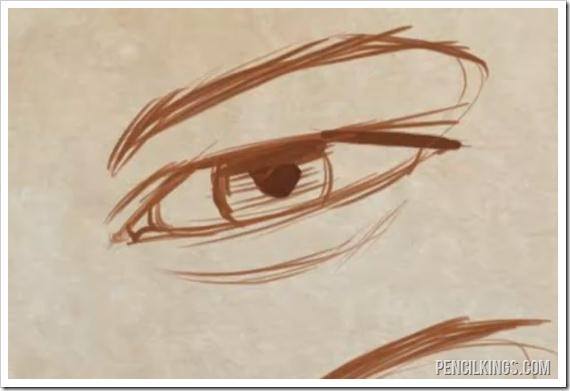
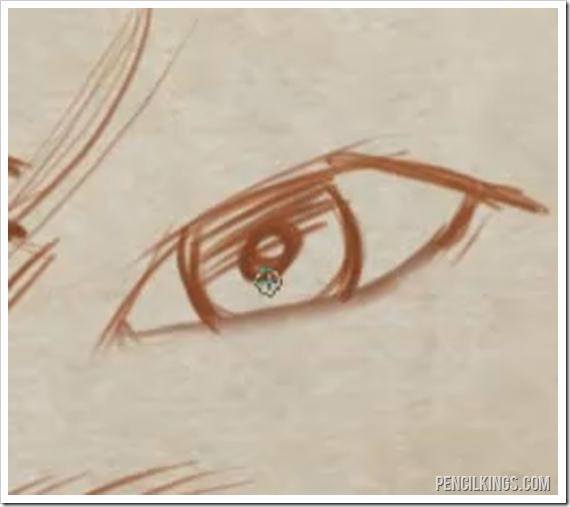
Example Eye Drawing #1 – Inside and Outside Corners on a Flat Line
In this example, fist a line was drawn and then the points for the inside and outside corners of the eye were placed on that line. The top of the upper eyelid was drawn almost parallel to this initial line, and then a very subtle crease was added to the eye.
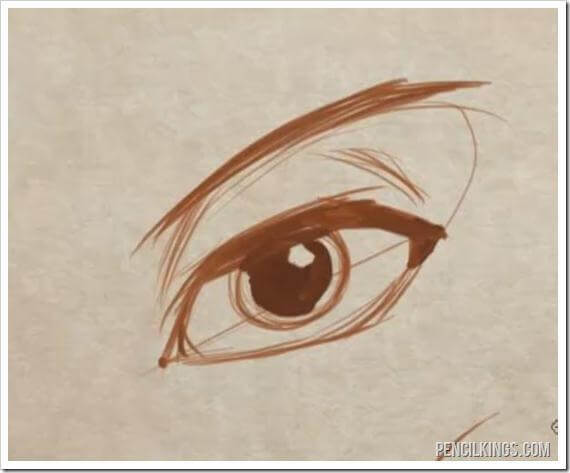
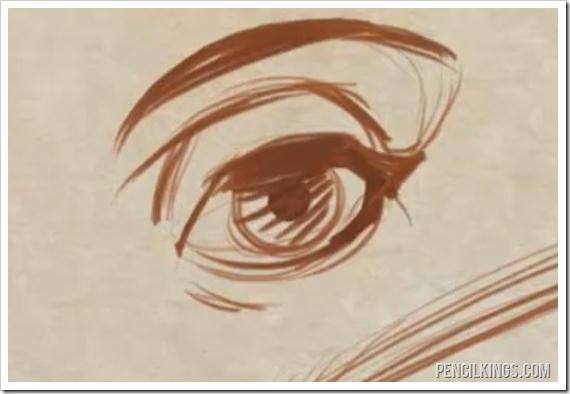
Example Eye Drawing #2 – Higher Outside Point
In this example, the outside point of the eye was placed much higher than the inside point, and the crease of the upper eyelid was also raised.
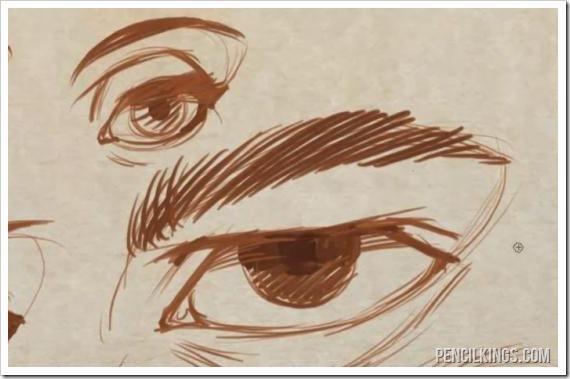
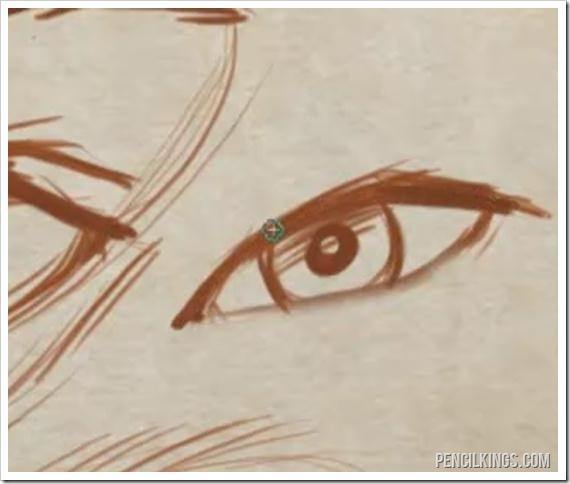
Example Eye Drawing #3 – Higher Inside Point
When learning about drawing basic eyes, this type of eye is a good starting point for characters with tired eyes, or possibly to show the character’s age.
Draw the inside point higher than the outside, and then when you are drawing the crease of the eye, use a curve and let it hang down over top of the top of the upper eyelid.
Finish the eye by indicating a little bag under the eye.
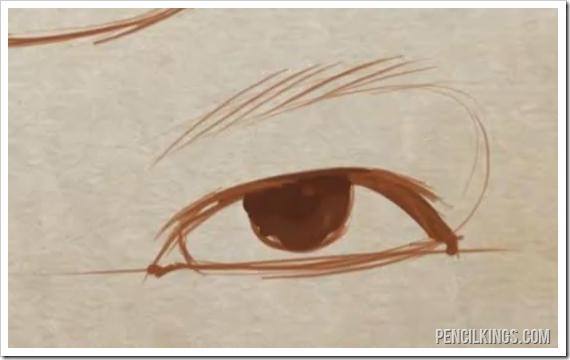
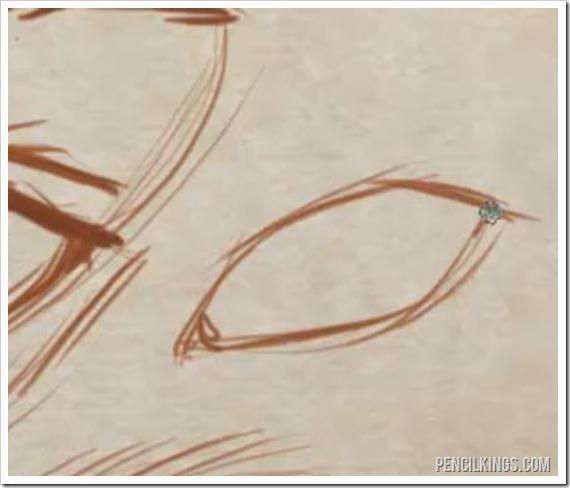
Example Eye Drawing #4 – The Thin Eye
Even when you want to draw an eye that is very thin, you still want to use the 4 basic lines to establish the shape of the eye. The crease of the eyelid is very slight in this example.
Example Eye Drawing #5 – The Tall Eye
Here again you can see the same 4 lines used to achieve a completely different affect for the eye. The crease has also been raised above for a more dramatic effect.
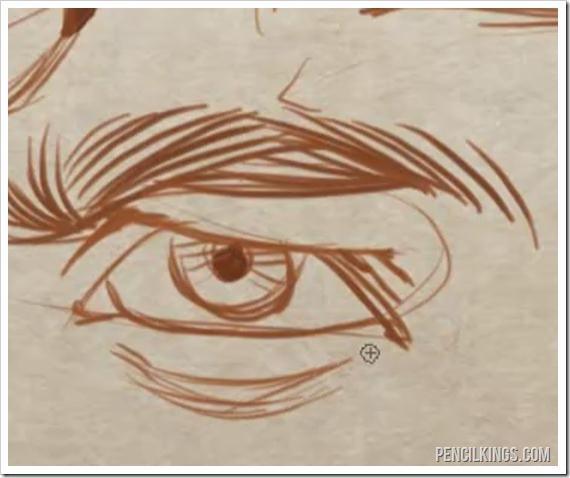
Achieving a Different Look for the Eye
In addition to changing the eye shape and the position of the crease you can also use shading to achieve a much different look for the eye.
In this example the iris has been darkened, additional shading added to the top of the eye ball, the eyebrow thickened, and extra lines added to the bag below the eye.
We hope you learned a lot from this article on drawing basic eyes. See you in the next tutorial!
Return to the How to Draw an Eye Lessons Page