Want to learn how to draw an ear from the back?
In this lesson you’re going to learn how to draw the ear from the back, and back three-quarter views.
Thankfully, you won’t often need to draw the ear from these angles, but it’s important to understand them.
Knowing how to draw the ear from the back will help strengthen your understanding of it as a three dimensional shape by exploring it from all angles.
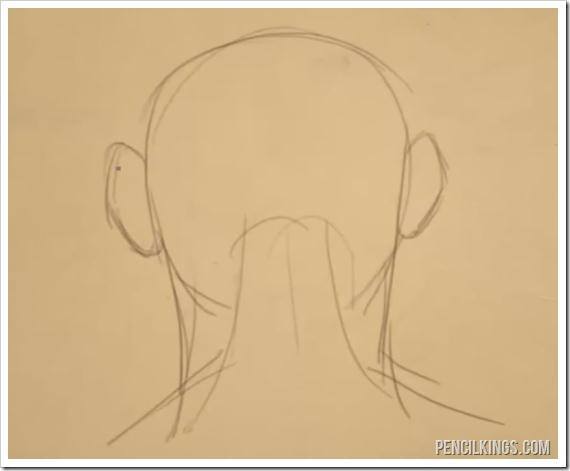
Start with the back view silhouette including the ears. This image may look a little strange at first, but don’t get thrown by it.
If you focus just on the outline, you’ll realize that it’s exactly the same silhouette as you would have if you were drawing the face and neck from the front view.
This particular drawing has also included the muscles that stretch up from the back and attach to the lower base of the skull.
How to Draw an Ear from the Back
Because the silhouette is the same from the back view, the main difference is what you will be drawing inside that silhouette.
While you are watching the lesson and thinking about the ear, make sure to take your fingers and feel the shape of your own ear to help with your understanding of the forms before you dive into drawing.
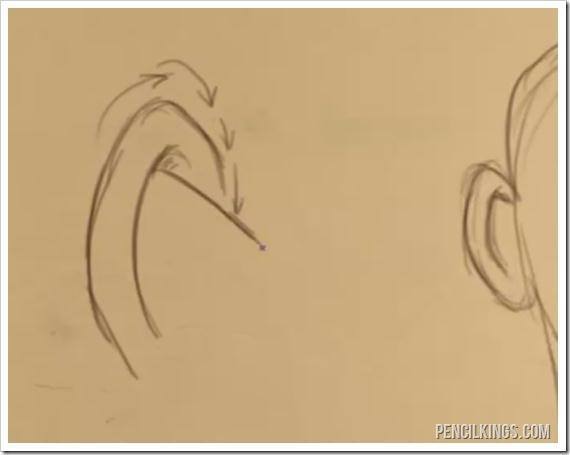
The first thing to draw here is the line that defines the outer rim of the ear. You can think of this outer rim as kind of rolling up and over the skin that attaches the ear to the head.
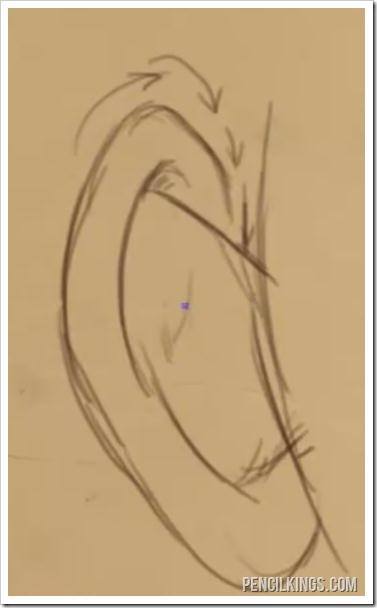
Here’s a close up view of what the finished ear drawing from the back view looks like.
How to Draw an Ear from the Back Three Quarter View
If you can remember how you learned to draw the ear from the side view, you’re now going to be turning the ear slightly to combine the side view with the back view to give you the three quarter view.
I think it’s worth saying again that even through it’s unlikely that you will need to draw the ear from this view very often, it’s still an important exercise to help you better understand the ear, that will actually improve your ability to draw an ear from any angle.
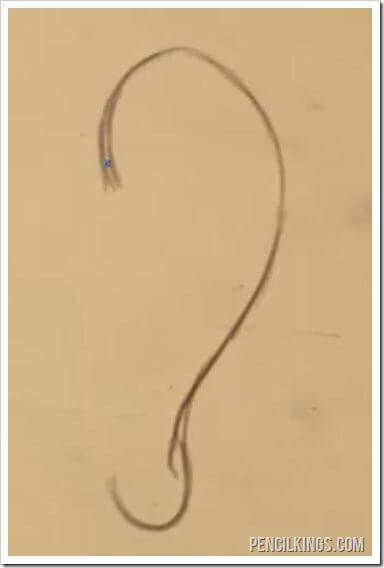
To simplify the major shape of drawing the ear from this view you can think of it like a question mark.
The hook part of the question mark forms the top of the ear, and as it curves down towards the bottom the ear lobe creates the dot on the bottom of the question mark.
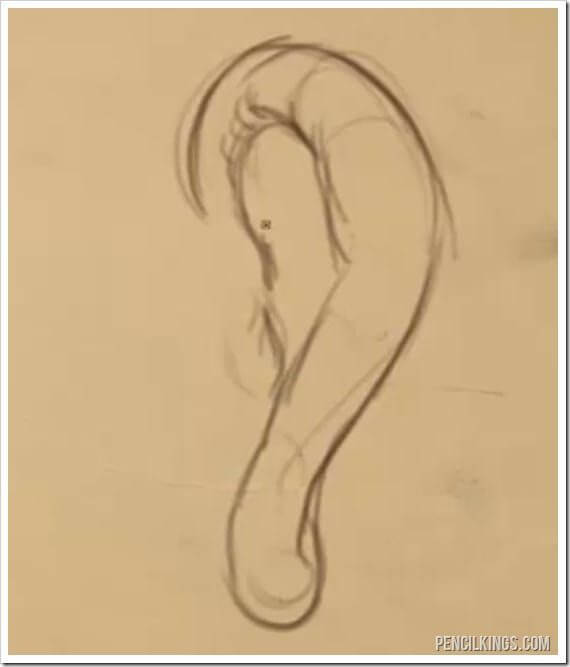
Start by first drawing the outer rim of the ear. If you are following the video, you can see that the instructor is starting to draw the outer rim at the very bottom of the ear.
Then, he continues to draw that line stretching upward and around towards the front of the ear, before ending as it turns inward towards the middle of the ear.
Leave a little bit of separation between the rim of the ear and the ear flap in the middle-front. When learning how to draw an ear from the back, remember the flap is the little piece that sticks out and partially covers the hole of the ear where sound can enter.
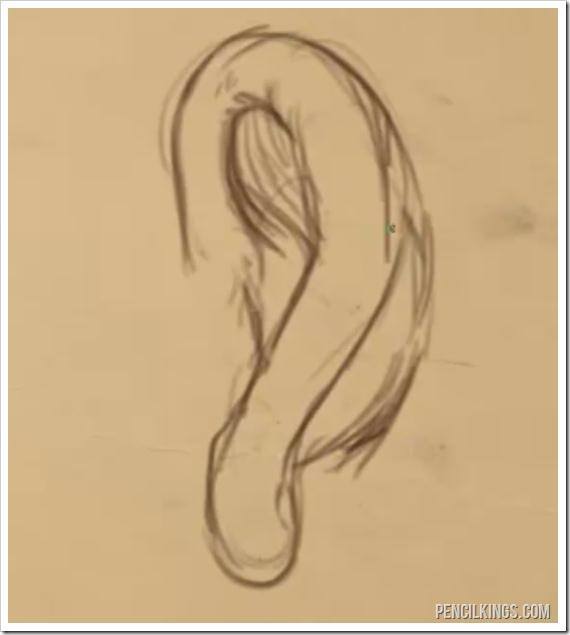
Finish of your drawing of the ear from the back three quarter view by adding a bit of shading into the inner part of the ear that is under the outer rim. The other part to add is the curved piece of skin that attaches the ear to the head as seen from the back view.
We hope you enjoyed this article on how to draw an ear from the back. In the next lesson, you’re going to finish up this study of the ear and learn how to place the ear on the head.
Return to the How to Draw an Ear Lessons Page