[full_width_section bg_pos=”Left Top” bg_repeat=”No-Repeat” text_color=”Dark” top_padding=”50″ background_color=”#ffffff”][vc_column width=”1/1″][fancy-ul icon_type=”font_icon” icon=”steadysets-icon-pencil” color=”Accent-Color” enable_animation=”true”]
Table of Contents:
- Item 1
- Item 2
- ITem 3
- Item 4
- Item 5
[/fancy-ul][vc_column_text]
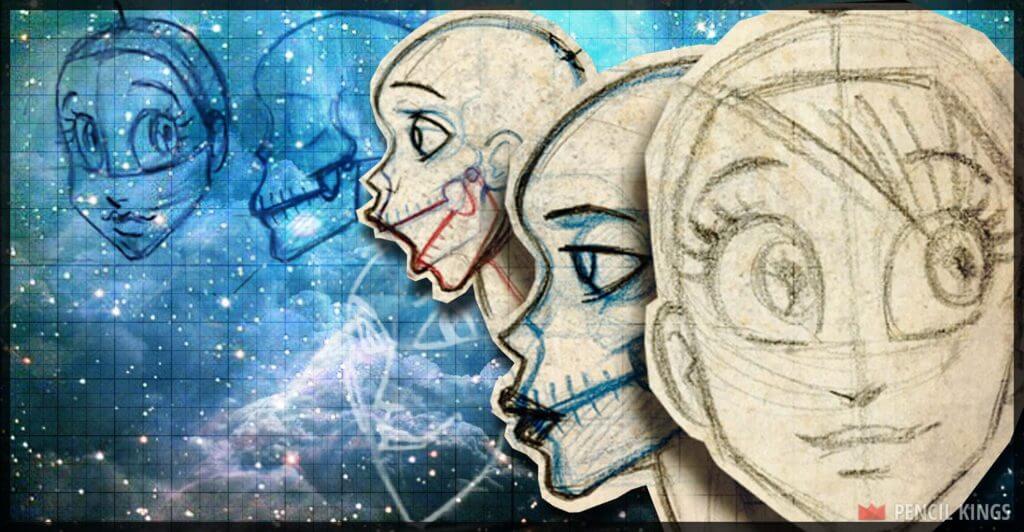
Drawing Skin on the Skull
[/vc_column_text][divider line_type=”No Line” custom_height=”30″][vc_row_inner][vc_column_inner width=”1/2″][vc_column_text]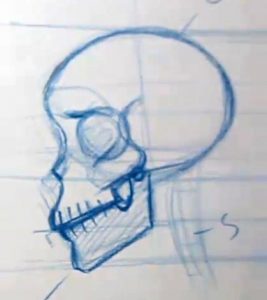 [/vc_column_text][/vc_column_inner][vc_column_inner width=”1/2″][vc_column_text]
Start With the Eye Socket
Start off by drawing the eyeball in the eye socket. Notice that the eyeball is larger than the socket and that’s the reason why our eyes don’t actually go and bulge right out of our heads. The next thing to be aware of with the eyeball is how the eyelid falls on top of the eye ball. The upper eyelid naturally sits slightly above the horizontal middle point of the eye and the lower eyelid falls further below the horizontal midpoint. It sounds confusing to read as text, I know, but when you watch the video this is an important part to take note of.
The effect of how the eyelids wrap around the eye gives you a form where the lower eyelid is pushed in a little but more than the upper eyelid. You can see this most clearly from the side view.[/vc_column_text][/vc_column_inner][/vc_row_inner][divider line_type=”No Line” custom_height=”30″][vc_row_inner][vc_column_inner width=”1/2″][vc_column_text]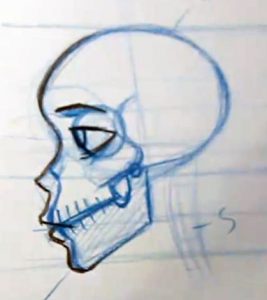 [/vc_column_text][/vc_column_inner][vc_column_inner width=”1/2″][vc_column_text]
Then Start Drawing Skin on the Skull
Start to draw over top of your skull where the skin would appear. We’re not going to go over things in a ton of detail because it’s not necessarily needed for drawing cartoons, but there are areas between the skull and the skin that have more or less muscle and fat. The result of this is that you will have some areas like around the nose and mouth where the skin naturally pushes out as it covers the cartilage bone for the nose and the muscles around the mouth and lips.
Take note that along the forehead and the chin there is very little music at all in these areas and the skin sits almost right on top of the bone here.[/vc_column_text][/vc_column_inner][/vc_row_inner][divider line_type=”No Line” custom_height=”30″][vc_row_inner][vc_column_inner width=”1/2″][vc_column_text]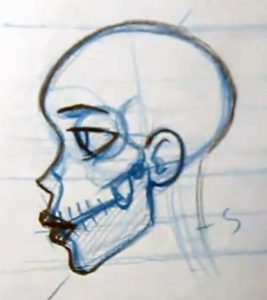 [/vc_column_text][/vc_column_inner][vc_column_inner width=”1/2″][vc_column_text]
Finding the Placement for the Ear
Place the ears onto the head. The ear falls in the back half of the center of the circle that was drawn earlier for the skull. The top of the ear lines up approximately with the corner of the eye, and the lower part of the ear matches up with the hinge of the jaw, which is also in line with the bottom of the nose.[/vc_column_text][/vc_column_inner][/vc_row_inner][divider line_type=”No Line” custom_height=”30″][vc_row_inner][vc_column_inner width=”1/2″][vc_column_text]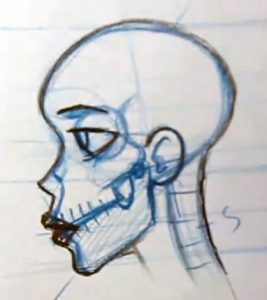 [/vc_column_text][/vc_column_inner][vc_column_inner width=”1/2″][vc_column_text]
Finish Off with the Neck
As you have finished off the major features of the face it’s now time to move onto the neck. Earlier you drew in some curved lines for the spine, and now when you are drawing the skin that goes on top of it you need to remember that the spine is not the only part of the neck! The spine does form the back of the neck, but in the front part there are many different parts that you need to keep in mind like the throat, windpipe, and not to mention all of the muscle and tendons that keep your head in place. So the lesson here is to remember not to make your throat too thin or it’s going to end up looking a bit strange if you are trying to create characters with a natural feeling to them.[/vc_column_text][/vc_column_inner][/vc_row_inner][/vc_column][/full_width_section]