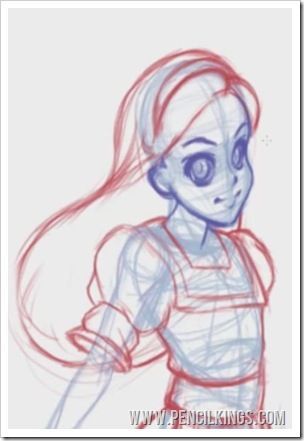
Here’s a preview of how the finished painting will look:

Revisiting Revisions
Learning how to use the Photoshop transform tool is a viral skill for any digital artist.
Why? Because once you’ve sent your first sketch off to your editor, he or she will probably come back with some suggestions or revisions for your work.
In the previous lesson, Sycra showed you how he acted upon suggestions from the founders of Pencil Kings by making Alice look younger and giving her much larger eyes.
Now, after sending his revised drawing to the editor, he has two more changes to make before he can start work on creating the line art for his digital painting of Alice.
The final requests from the editor were to make the eyes 15 percent smaller, cut down on the cheek slightly and adjust the size of the image so it could be used on a 12 x 18 inch poster.
So, in this lesson you’ll see how Sycra uses the Photoshop transform tool to make these final changes to his drawing and then starts work on the line art in preparation for his fully-rendered digital painting.
Making the Final Changes with the Photoshop transform tool
Sycra needs to make some final changes to his drawing before he’s ready to begin working on the line art.
The first change he’s going to make is to reduce the size of the eyes by 15 percent as requested.
However, you don’t need to draw these again – this is where the Photoshop transform tool is your friend. Just use Photoshop’s Lasso Tool to grab the selected area and adjust it to the correct size using the Photoshop Transform Tool.
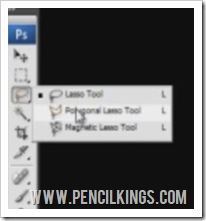
To do this, select the Lasso Tool from the toolbar and use the Polygonal Lasso Tool.
Now, you can draw a lasso around the area you wish to change quickly and easily.
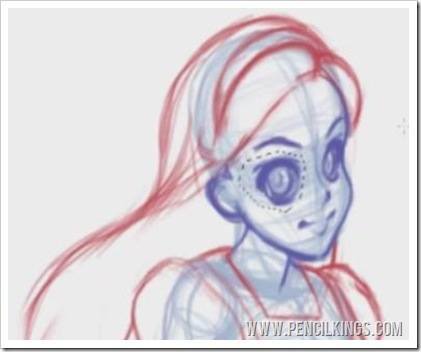
First, make sure you’re on the right layer – in this case, the one with the drawing of the eye on it – then lasso the area you want to change.
Once you join the end of the lasso up to the beginning, you’ll see that the area you want is now selected.
Now, we know that this eye needs to be reduced in size by 15 percent, meaning that it should be 85 percent in size rather than 100 percent as it is now.
Altering this is made easy, thanks to the Photoshop Transform Tool!
To do this, go to Edit > Transform > Scale then look in your top menu bar. You should be able to see the object’s ‘Aspect Ratio’ which will tell you the width and height of your object.

In the middle of the two boxes, you’ll see a symbol which looks like a chain – clicking this will lock your object’s proportions, so that any changes you make will affect both the width and the height. In other words, this will stop your object from being distorted when you adjust the size.

In the box for the height, change the percentage from 100 percent to 85 percent and hit ‘Enter’. Because you’ve locked the ‘Aspect Ratio’, Photoshop will automatically adjust the width to 85 percent too.
https://www.pencilkings.com/2012/04/18/
Going back to your drawing, you can see how the eye has now been made smaller by 15 percent.
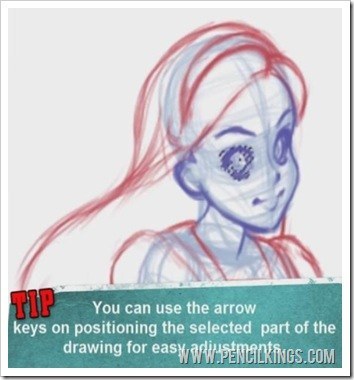
If you need to, you can press ‘V’ to bring up your Move Tool, then use the arrow key to help you re-position the eye at this stage.
Next, do the same on the other eye, using the Lasso Tool followed by Transform and then locking the ‘Aspect Ratio’ before changing it to 85 percent.
Again, hit the ‘V’ key and use the arrow key to re-position the second eye if necessary.
Learning techniques such as this not only save you a lot of time when making revisions – your clients will also be impressed by the speed at which you return a new version of your drawing to them with all the changes made!
Getting Cheeky
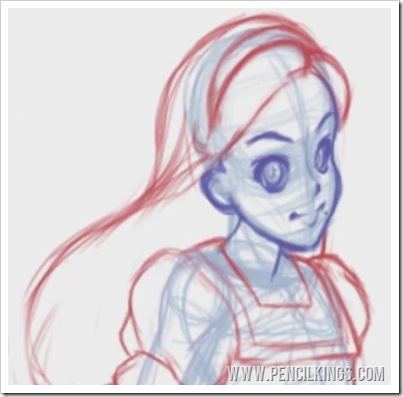
After, he’s adjusted the eyes, Sycra moves on to make Alice’s cheek slightly smaller.
This is just a question of taking his original line and using it as a basis for drawing a new one.
Once he’s happy with the result, he erases the original line and takes one last look at his drawing by zooming out.
Having decided that the eye on the left is still too low, he uses the Lasso Tool to grab it before moving it into a slightly higher position.
Putting Alice on the Poster

The final request from the Pencil Kings editors was to adjust the image so it could be printed out on a 12 x 18 inch poster.
To do this, go to File > New, then create a new document that’s 12 inches wide and 18 inches high.
Make sure your resolution is set to 300 dpi or pixels/inch – doing this will mean you have a high quality image that can be printed without any loss of quality.
Oh, and by the way, if you’re wondering what ‘dpi’ stands for, it’s ‘dots per inch’!
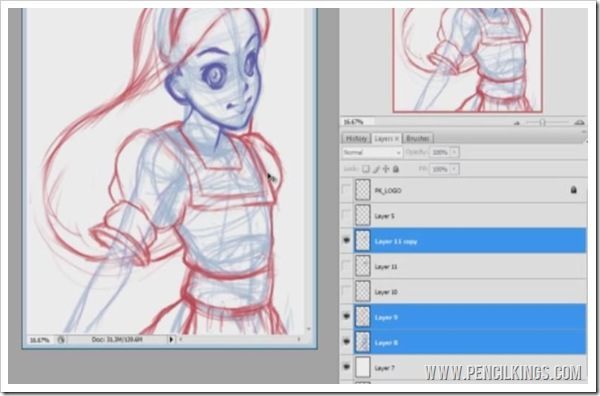
Having created his new document, Sycra then selects the layers he needs from the original document before dragging them over into the new one. In the example above, you can see how these layers are highlighted in blue.
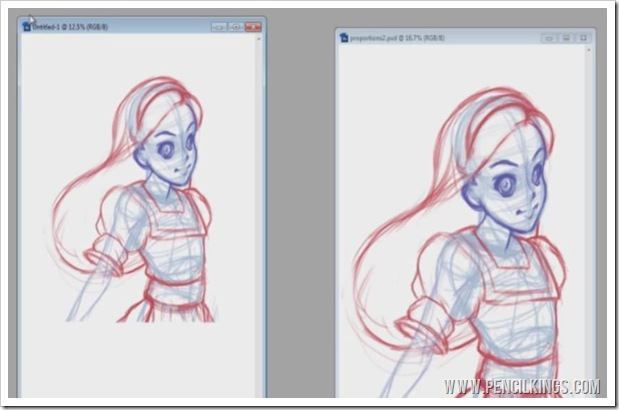
One he’s dragged his layers into the new document, it’s then just a question of altering the size of his image to fit the new dimensions.
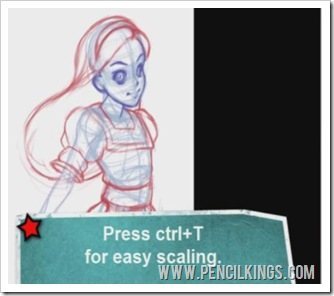
To scale your image easily, press Ctrl + T – this will bring up the Photoshop Transform Tool and allow you to adjust the image to whichever size you require.
Having made his image larger, Sycra also decides to rotate it slightly to make it sit more dynamically in the frame.
To do this yourself, let the mouse hover over a corner of your image once you’ve selected the Photoshop Transform Tool – you’ll see a circular arrow appear, which means you can then grab the image at the corner and rotate it.
Once you’re happy with how your image looks, you’re ready to move on to creating your line art!
Creating a Line Art Layer
The first part of creating your line art is to create a new layer specifically for this.
So, create a new layer, fill it with white and then reduce the opacity of this layer so you can see what’s beneath it – Sycra opts for an opacity of around 73 percent.
Once you’ve done this, create a new layer, bring up your Color Palette and select a black to draw with.
For the line art, Sycra’s using a brush width of 10 pixels. Now, you need to zoom in on your work so you can decide where to start drawing.
Moving Around Your Document
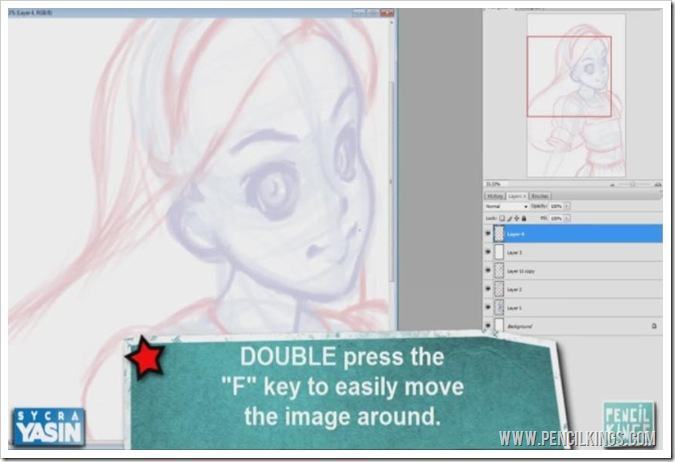
When working on your line art layer, you’ll find it useful to be able to move around your canvas easily.
To do this, hit the ‘F’ key twice – you’ll then find that you have a full-screen view and can move anywhere you want around your image. If you just hit ‘F’ once, you’ll still be able to see your image in full-screen, but you’ll only be able to move it up and down.
Outlining Your Line Art
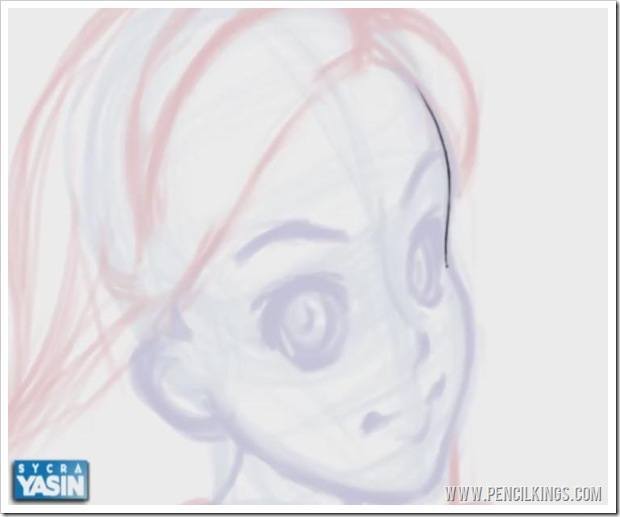
We’re now ready to begin drawing the line art! As we mentioned earlier, Sycra has chosen a regular hard round brush with a width of 10 pixels – this will give him a nice sharp line whether it’s viewed up close or from afar.
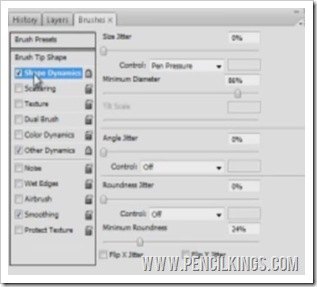
The final thing you need to do is check your brush settings and ensure that Size Jitter is on.
Then, reduce your spacing to seven percent. Once that’s been checked, you’re good to go!
Start following the outline of your sketch and adjust the brush size again if necessary – in the video, you’ll note how Sycra decides to reduce his brush size to seven percent.
Don’t worry if you make any mistakes – you can simply erase them and re-draw the line easily!
Try to work using short brushstrokes – this is a technique known as ‘feathering’, which helps you achieve nice, clean lines and will form a great basis for your fully-rendered digital painting.
As you can imagine, creating the line art is a very time-consuming process. So, to speed things up, Sycra is going to use time-lapse for the next lesson in the series so you get an idea of how he’s working.
It’ll take some time, but one you’ve created and adjusted your line art using the Photoshop Transform Tool, you’ll be able to move onto what’s probably the most exciting part of any painting – adding color and shading to your image so you end up with a truly stunning piece of digital art!
Return to the Comic Penciling Lessons Page