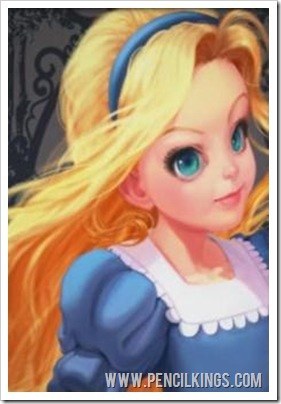
Here’s a sneak preview of the final painting in this series:
How to Draw Clothing for Your Characters
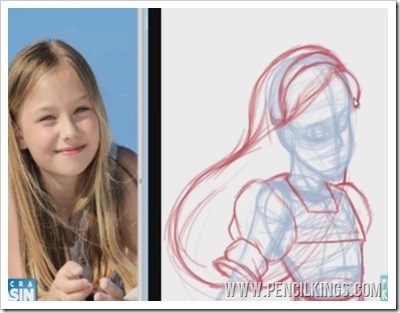
In this lesson, you’ll learn how to draw clothing and realistic hair for your characters. We’ll be focussing on drawing Alice in Wonderland, and using reference pictures to help you along the way.
In this lesson, you’ll see how flipping your canvas often sing those handy Photoshop Actions will help you catch any mistakes early on and allow you to correct them before you get too deep into your sketch or painting.
Hair, There and Everywhere
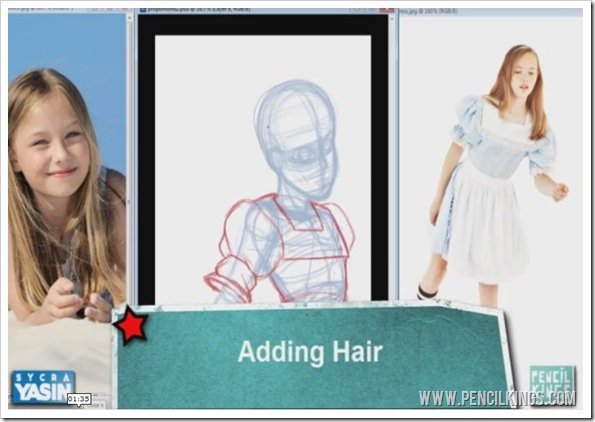
Looking at the reference photo, you’ll notice how Alice is wearing a hair band, but that much of this is covered by her hair which flows over it.
To establish where the hair band should be, keep thinking in 3D and sketch in the shape following the lines of the head.
As before, feel free to draw through the form of the body to help you determine where objects sitting on top of it should fall.
Without our original thumbnail sketch, this very structured approach could result in a boring, flat drawing. However, because we’ve referred to this throughout, it keeps the drawing looking fresh and full of life.
Go With the Flow
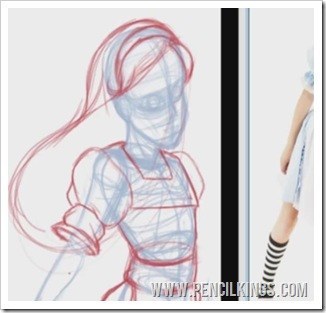
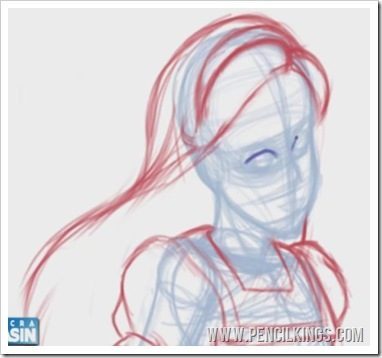
When drawing the hair, try and think about how this would flow over the head.
If you need to, go back to Sycra’s video series on drawing hair to refresh your memory.
Remember, Alice’s head is a 3D object, so keep this in mind as you draw her hair flowing across the skull and then falling down towards her back before curving back in towards the body.
Refer to your original thumbnail to remind you of the general composition and how Alice’s long, flowing hair sits into this.
Use light, sweeping lines to represent the hair – this will give you the free-flowing look you want to achieve.
By drawing through the form and connecting the lines of the hair all the way round, you’ll be able to see which parts fall behind the side of Alice’s face, her neck, the sleeve of her dress and her arm.
Of course, hair doesn’t actually fall in one piece, but drawing it this way will help you establish its form and allow you to break this up into sections later on.
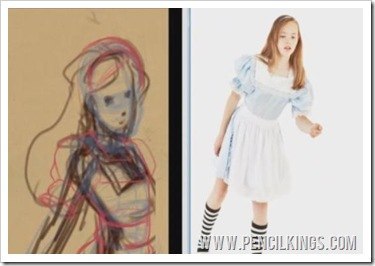
Using the larger reference photo on the left, notice how although the girl’s hair is mostly moving in the same direction, there are some strands which are being blown by the wind or curving.
You can use this information to inform your drawing of Alice and help create flowing locks of hair that look really realistic.
In this example, Sycra decides to have the hair flowing in front of the hair band, as in the reference photo. Notice how the hairline is quite high, showing that this is a portrait of a child rather than an adult.
Finding the Folds
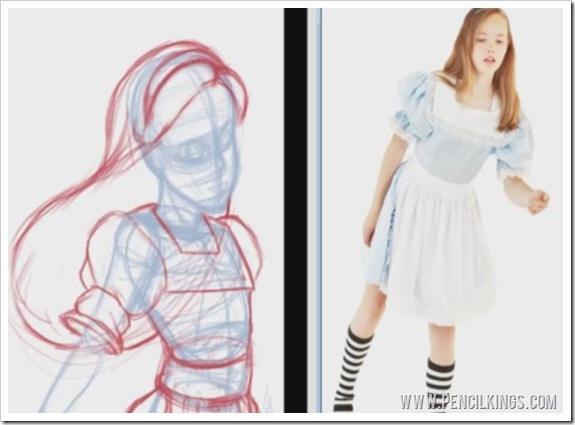
Having sketched in the hair, you can also use the reference photo to help you when learning how to draw clothing. Notice where the fabric creases and bunches.
This is where having a reference photo is so important – you don’t have to follow it exactly, but it will help you pick up on details you might otherwise miss and fill in the gaps as you go.
There might be small details you wish to include, such as Alice’s waist band or the trim of her apron. All this information will come in incredibly useful when learning how to draw clothing and working on your finished painting.
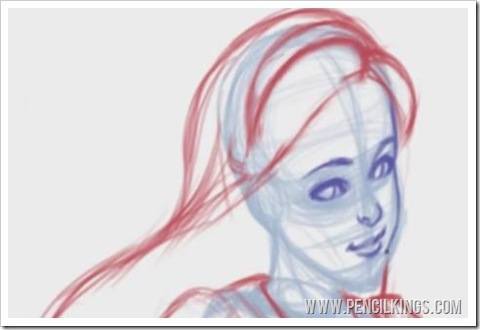
Adding Facial Features
It’s now time to add some facial features to our drawing of Alice. To do this, create another new layer, and then pick a different color to work with. Here, Sycra’s using purple, but feel free to pick whichever color works for you.
Drawing the features is probably the hardest part of any portrait – you need to get these correct in order to give your portrait the right feel.
If you need to, go back to Sycra’s lessons on how to draw facial features to give you a better idea. Here, having sketched in the eye sockets earlier, he then draws the eyes themselves, followed by the eyebrows.
Having drawn the eyes, you can then add the nose and mouth.
Remember to keep the nose quite simple and follow the form of the face when drawing the mouth.
Again, refer to Sycra’s series of lessons on how to draw faces if you’re unsure.
When drawing the side of the face, remember to keep the cheeks quite full – if you draw an angular cheekbone, for example, it will have the effect of making Alice look much older.
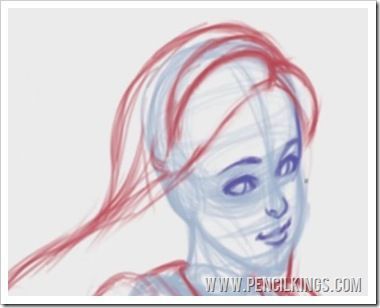
Once you’re done, you should end up with a child-like face which you can then expand upon to create your finished piece.
In the next lesson, you’ll learn more about drawing the face and how you can apply these techniques when working on your finished sketch in preparation for your digital painting of Alice!
We hope you enjoyed learning how to draw clothing, hair and facial features in this lesson. If you did, why not leave us a comment?
Return to the Comic Penciling Lessons Page