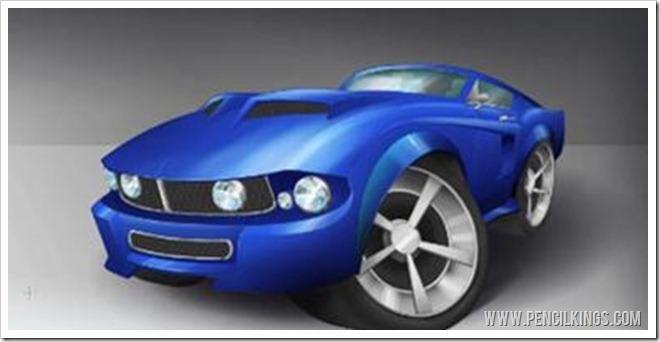
Here’s a look at the final painting in this car drawing tutorial
In our previous car drawing tutorial, you learned how to draw freehand and rotate the canvas to follow the natural arc of your arm.
Now, we’ll demonstrate the Pen Tool in more detail so you can use this technique in your own work. It’ll help you create super precise lines that work well when you’re drawing vehicles or other hard objects.
So, if you’re ready, lets fill up the tank and get moving!
Use the Pen Tool for Precision
In the previous lesson, you learned how to draw precise curves or paths using the Pen Tool. For the next part of our car drawing tutorial, you’re going to discover how to turn these into lines for your lineart drawing.
If you look on your Toolbar, you’ll notice there’s a Path Selection Tool in addition to the Direct Selection Tool. Selecting this means you’ll be able to move the whole path to wherever you want it and this gives you great flexibility when creating your lineart.
So, how do you turn this path into a line? There are several ways of doing this.
You can either click on your Brush Tool, select Shape Dynamics and hit Enter – this will now create a brush stroke from your path that mimics how it would look if you’d drawn it freehand and pressed harder in some areas.
Alternatively, you can turn Shape Dynamics off and hit Enter, which will give you a uniform line that works well in this particular project. If you then hit Delete, this will get rid of the path and just leave you with the line.
Another method is to click on your path using the Direct Selection Tool, right-click and select Stroke Path. You can then choose to use a brush or a pencil to create your line.
Remember to select the path you want to make into a line during this car drawing tutorial. If you don’t do this and simply hit the Brush Tool, Photoshop will apply a stroke to every single path on that layer. Similarly, if you hit Delete, it will delete all the paths too.
Using the Pen Tool to Clean up Your Lineart
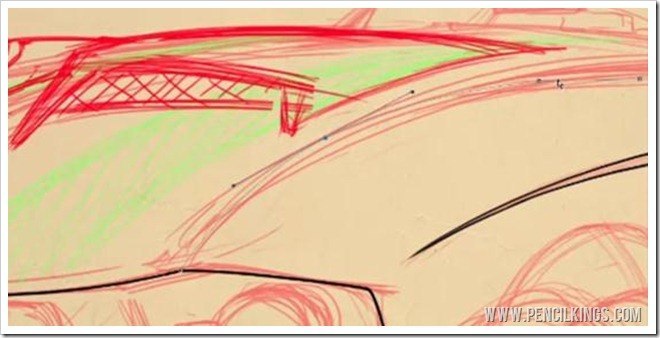
Now you understand how the Pen Tool works, you can use this to clean up your lineart layer and apply some sleek, precision curves to your drawing.
This may all seem a little complicated at first, but don’t worry – practice makes perfect and you’ll soon get the hang of it!
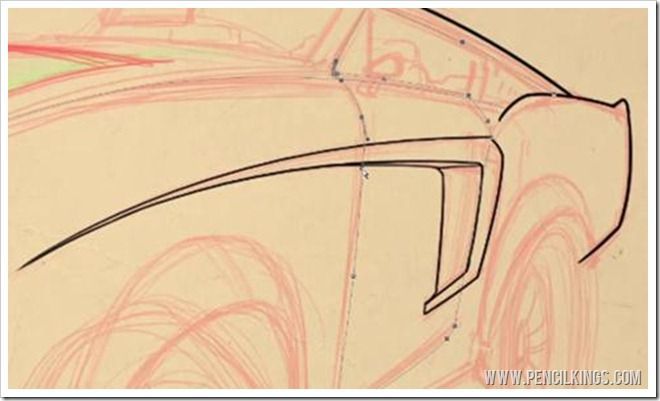
In this car drawing tutorial, note how the curve of the hood is drawn using this technique. Our tutor. April Eriksson, finds her start, middle and end points and then adds more points so she can manipulate this curve using the Direct Selection Tool.
At this stage, it might help to turn down the opacity of your sketch layer so you can see the paths more clearly. You can use the paths throughout your drawing for precise cutlines and detailed areas – remember to make the size of your brush smaller for these.
You can also create your line on a different layer after you’ve created a path. Simply create a new layer, select the Brush Tool and hit Enter – you’ll now see that your line appears on this new layer.
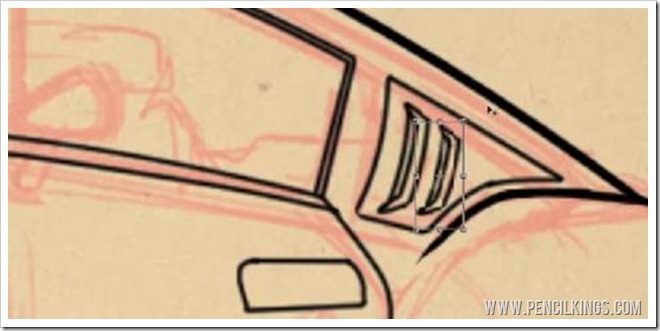
Duplicating Elements of Your Drawing to Save Time
When creating your lineart, you’ll find that many elements of the vehicle are the same, such as the headlights or the window vents as in this example.
Rather than drawing them individually, you can simply select, duplicate and re-size them to suit. You can even do the same thing with lines!
Find the method that works best for you and experiment – because you’re working digitally, you can always undo anything that doesn’t look right.
You may decide the Pen Tool is not for you. It doesn’t matter – there are no hard and fast rules here.
We hope you’re enjoying this car drawing tutorial so far. In the next lesson, you’ll learn how to apply the finishing touches to your lineart layer before moving on to rendering your digital painting of a 1967 Mustang.
Have fun and leave a comment below to let us know how you’re progressing!
Return to the Car Caricature Lineart Lessons Page