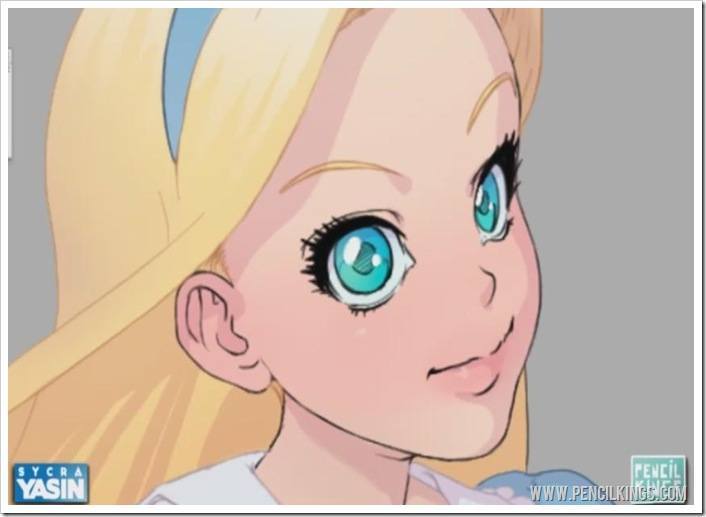
Let’s take a look at the finished painting in this series
Adding More Color Variety to Your Painting of Alice
In this lesson, you’ll learn how to add shadows to your digital painting of Alice which will give your artwork an awesome sense of form. But, before we do that, let’s just take a little time out to get the colors in Alice’s eyes and apron looking just right.
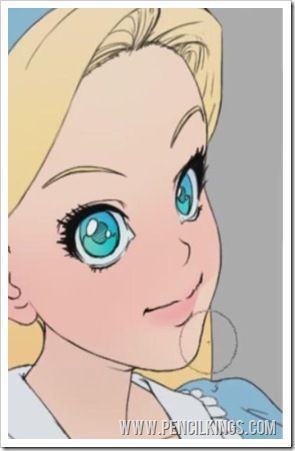
First make sure you’ve created a Clipping Layer, then add subtle color variety to each layer. On the apron layer, Sycra adds a faint wash of blue to add depth.
Then, for the eyes, experiment with different shades of blue and green to make these stand out.
Because the opacity is set so low, you can add subtle washes of color without changing the look of your painting too dramatically.
Have fun experimenting with color variety on the eye and iris layers and keep zooming in and out and changing your brush size to suit.Once you’re through with the eyes, go back onto the skin layer to make any final adjustments such as blending colors and adding a little more redness to the lips and cheek.
Finally, finish off the hair by adding a subtle wash of purple to the top of the head and the bangs at the front of Alice’s head.
If you’re not happy with a color or you feel it’s too strong, you can easily change it by using the Color Picker tool to select your original color, and then paint over the areas you want to change.
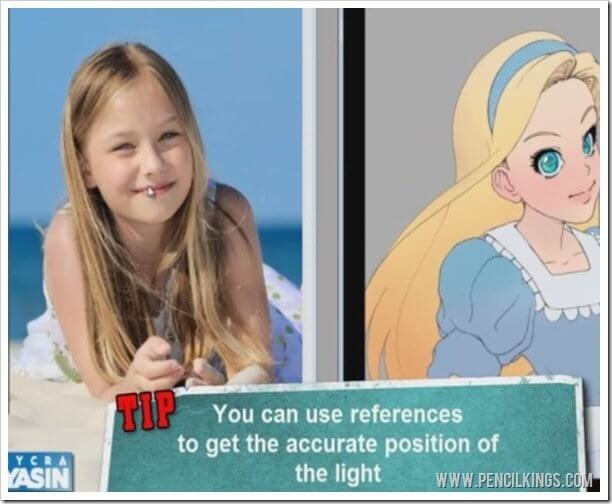
 Use your reference photos to give you an idea of how different colors can be used to represent different areas in your painting.
Notice how colors appear different according to how the light source is falling on them.
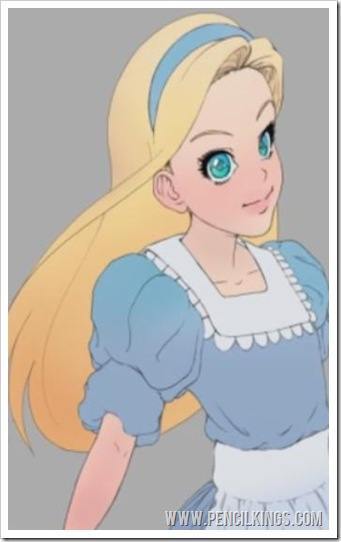
Adding color variety will really make your painting stand out and the techniques you’re learning now are ones you’ll be able to use in any other digital paintings you create!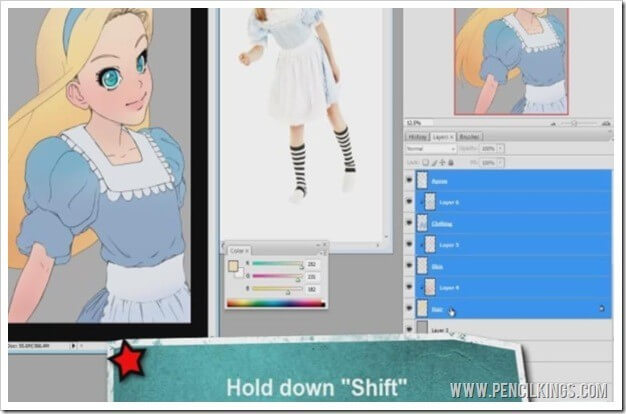
Getting Shady With the Shadows
We’re now ready to start laying in some shadows, but before we can proceed, we need to merge some layers in our painting.
To do this, click on the ‘highlight’ layer, then scroll down your layers palette until your get to the bottom layer, which in this case is the ‘hair’ layer. Hold down the Shift key and click on this layer and you’ll see that all the layers in between are now highlighted.
To merge these selected layers, hold down Ctrl and then hit E. Now, you’ll see that all the colors are on one layer, which you can rename to ‘Base Colors’ or something more recognizable.
Once your layers are merged, you’re ready to start laying in some shadows. Create a new layer above your merged ‘Base Colors’ layer and hold down Alt to create a Clipping Layer.
Then, change from your Brush Tool to the Pencil Tool – this will give you nice clean lines with 100 per cent opacity. When choosing a color for your shadows, select a neutral shade such as 25 per cent gray.
Deciding Where the Light is Coming From
Before you can start adding shadows, you need to decide where the light source is coming from. You can use your reference photos to help you do this – take a look at the picture on the left and notice where the shadows are being cast on the young girl’s face.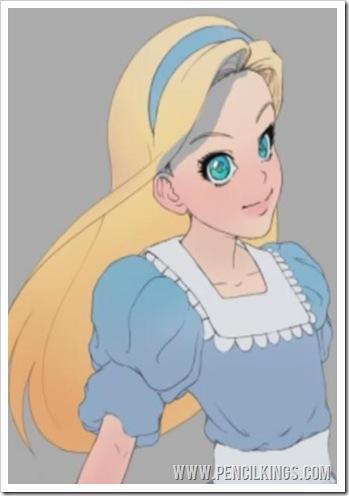 If the light source is coming from the top left, it’s going to cast shadows beneath Alice’s hairline and underneath her neck.
Taking a few moments to consider where the shadows are going to fall will really help with your final painting.
If you’re unsure of where to put the shadows, take a look at your own face in the mirror and see how the light source affects them.
Experiment with applying shadows based on where the light source is coming from – for example, imagine the light source is coming from the right and think about how this changes where the shadows fall on Alice’s face.
Sycra decides that having the light source coming from the top left works best, so follow his example and start laying in those shadows.
Don’t worry about the gray color not looking quite right at this stage – we’re going to adjust our Hue and Saturation later just like we did with the color layers earlier in this series.Try and imagine where the shadows will fall – the more you paint, the more you’ll learn about form, so the skills you’re picking up now will become really useful in every aspect of your artistic career!
If your lines get a little messy, go right ahead and clean them up using your Eraser tool.
Don’t go too overboard with your shadows – what we’re aiming for here is a comic-book or Anime feel with precise but subtle areas of shadow.
 Less is more! Take a look at some examples of other people’s work to give you a better idea.
Remember, because you’re working on a Clipping Layer, you don’t have to worry about painting over the background at all – another great benefit of working digitally!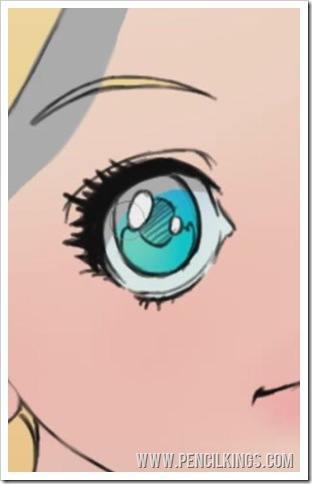
Adding Shadow to Alice’s Eyes for Added Effect
When adding shadow to Alice’s eyes, it’s worth remembering that the top eyelid almost always casts a shadow over the rest of the eye.
Be sure to include this, as it will really help your painting look more realistic and draw more attention to this part of your artwork.
You can also add shadow to other areas of the eye, such as the little creases at the top.
Adding a little shadow to the bottom of Alice’s nose will also help this feature stand out from the rest of the face.
Add shadow to Alice’s cheek and notice how the shaded area follows the contours of her face.
The top lip would also be casting a shadow over the lower lip, so feel free to add a little shading here.
Remember, you can always use your Eraser tool if you make a mistake.When adding shading to female faces, it’s best not to add too much – instead, just go for subtle areas of shading and use your reference photos to help you out.
Understanding where shadows fall takes a lot of practice, but it’s something you’ll pick up as you go along.
In the next lesson, you’ll learn how to apply shadows to other areas such as the clothing and hair before adjusting the colors and creating awesome realistic blends.
Have fun and experiment and we’ll see you next time here at Pencil Kings!
Return to the Anime Comic Painting Lessons Page